
Fluffy Homemade Twinkie Cake Recipe: Nostalgic Sweetness Awaits
Crafting a delectable twinkie cake brings pure nostalgia and childhood memories flooding back.
Sweet memories dance across kitchen counters while creamy possibilities unfold.
Homemade magic transforms simple ingredients into a dreamy dessert that sparkles with comfort.
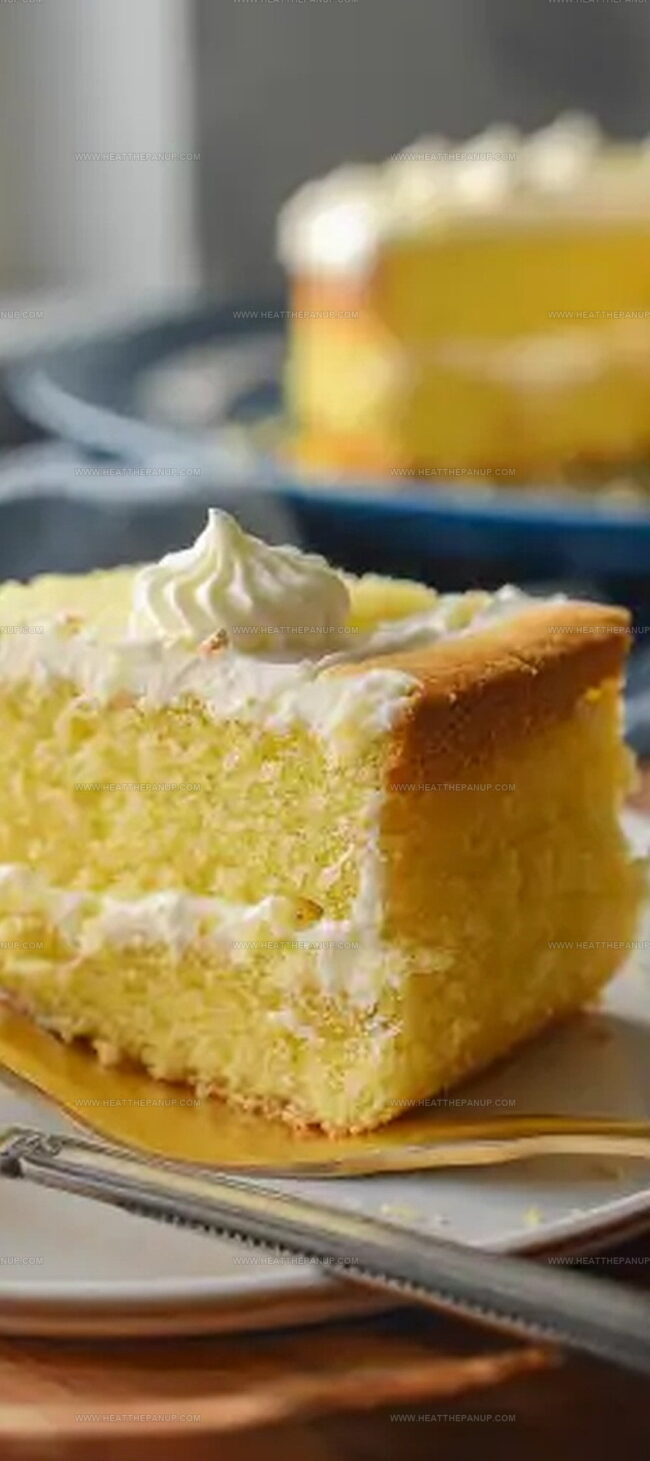
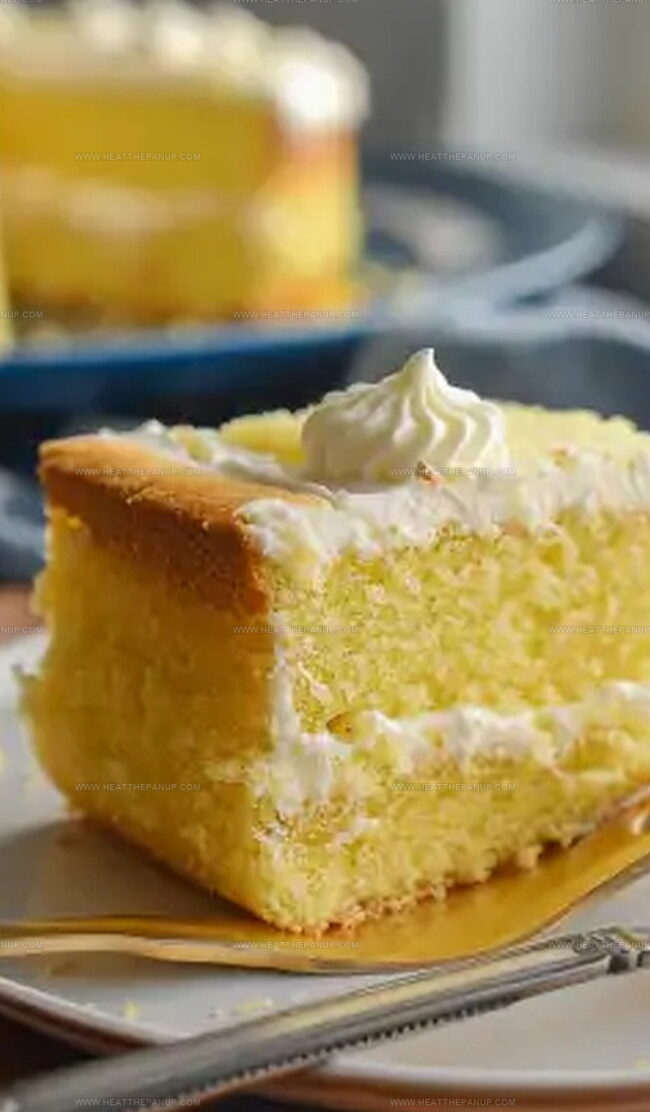
Soft, golden sponge layers promise indulgence beyond store-bought treats.
Bakers can recreate this classic American snack with surprising ease and minimal equipment.
Whipping up this delightful cake requires just a few pantry staples and a dash of enthusiasm.
A single slice will transport you straight to happy moments of pure sugary bliss.
Twinkie Cake That’s Simple and Sweet
Twinkie Cake Ingredient List
Cake Base:Filling Ingredients:Twinkie Cake Simple Assembly
Step 1: Bake Yellow Cake Layers
Preheat the oven following cake mix package instructions. Mix the yellow cake batter according to package directions. Pour the batter into two 9-inch round cake pans. Bake as directed and allow cakes to cool completely at room temperature.
Step 2: Craft Creamy Filling Base
Whisk flour and milk together in a saucepan over medium heat. Stir continuously until mixture thickens and becomes smooth, approximately 5 minutes. Remove from heat and let cool to room temperature.
Step 3: Whip Butter Mixture
In a mixing bowl, beat shortening and butter until they become light and airy. Gradually add sugar while continuing to beat. Mix until the combination becomes fully incorporated and develops a creamy consistency.
Step 4: Blend Filling Components
Incorporate the cooled flour mixture into the butter blend. Add salt and vanilla extract. Beat on high speed until the filling becomes smooth and fluffy with a cloud-like texture.
Step 5: Layer and Decorate Cake
Place the first cake layer on a serving plate. Spread a generous amount of filling across the top. Carefully position the second cake layer over the filling. Use remaining filling to frost the top and sides of the cake. Refrigerate for at least one hour before serving to allow filling to set and flavors to meld.
Smart Ideas for Easy Twinkie Cake
How To Keep Twinkie Cake Fresh Longer
Twinkie Cake Goes Great With
Cake Layer Variants
FAQs
The unique combination of yellow cake mix, homemade creamy filling with flour and milk base, and classic shortening-butter mixture creates the nostalgic Twinkie taste that reminds people of the beloved snack cake.
Not at all! This recipe uses simple box cake mix and straightforward filling technique. Even novice bakers can successfully create this delicious cake with basic mixing and baking skills.
Unlike traditional buttercream, this filling uses a cooked flour-milk base that provides a lighter, smoother texture. When combined with butter, sugar, and vanilla, it creates a uniquely creamy and less sweet filling characteristic of classic Twinkies.
Yes, this cake actually benefits from chilling. Refrigerating for at least an hour helps the filling set and allows flavors to meld, making it perfect for preparing in advance for parties or gatherings.
Print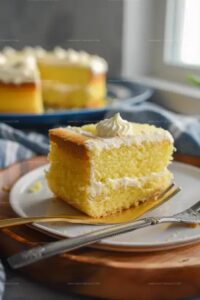
Twinkie Cake Recipe
- Total Time: 55 minutes
- Yield: 12 1x
Description
Nostalgic childhood memories come alive with this Twinkie Cake, blending creamy filling and golden sponge for a delightful dessert that sparks pure joy. Sweet comfort waits inside each slice, beckoning you to savor a classic American treat.
Ingredients
Main Ingredients:
- 1 box yellow cake mix (plus ingredients listed on the box)
- 1/2 cup shortening
- 1/2 cup butter
- 1 cup sugar
Filling Ingredients:
- 5 tablespoons flour
- 1 cup milk
- 1/2 teaspoon salt
Flavoring Ingredient:
- 1 teaspoon vanilla
Instructions
- Prepare the cake foundation by preheating the oven according to yellow cake mix specifications. Carefully mix cake batter following package directions and distribute evenly into two 9-inch round pans. Bake until golden and a toothpick emerges clean, then allow layers to cool completely at room temperature.
- Create the creamy filling base by whisking flour and milk in a saucepan over medium heat. Stir continuously until mixture thickens and reaches a smooth, pudding-like consistency. Remove from heat and let cool to room temperature.
- In a separate mixing bowl, cream shortening and butter until light and airy. Gradually incorporate sugar, beating until the mixture becomes smooth and fluffy with no granular texture.
- Merge the cooled flour mixture into the butter mixture. Add salt and vanilla extract, then whip on high speed until the filling becomes exceptionally light, smooth, and voluminous.
- Construct the cake by positioning the first layer on a serving plate. Spread a thick, even layer of filling across the surface. Carefully place the second cake layer on top. Use remaining filling to generously coat the top and sides of the cake, creating a uniform, creamy exterior.
- Refrigerate the assembled cake for a minimum of one hour to allow filling to set and flavors to meld. This chilling process enhances the cake’s texture and taste, ensuring a delightful dessert experience.
Notes
- Ensure cake layers are completely cool before adding filling to prevent melting and maintain distinct layers.
- Whisk flour and milk constantly while cooking to avoid lumps and achieve a smooth, creamy base.
- Refrigerating the cake helps stabilize the filling and enhances the overall flavor and texture.
- Substitute gluten-free cake mix and flour for a celiac-friendly version of this nostalgic dessert.
- Prep Time: 30 minutes
- Cook Time: 25 minutes
- Category: Desserts
- Method: Baking
- Cuisine: American
Nutrition
- Serving Size: 12
- Calories: 300
- Sugar: 25g
- Sodium: 200mg
- Fat: 15g
- Saturated Fat: 5g
- Unsaturated Fat: 10g
- Trans Fat: 0g
- Carbohydrates: 40g
- Fiber: 1g
- Protein: 3g
- Cholesterol: 30mg
James Hambly
Founder & Recipe Creator
Expertise
Recipe Development, Culinary Education, Farm-to-Table Cooking, Southern Cuisine
Education
Asheville-Buncombe Technical Community College
Certificate in Culinary Arts
Focus: Hands-on training in professional cooking techniques, emphasizing farm-to-table practices and Southern cuisine.
The Chef’s Academy
Associate Degree in Culinary Arts
Focus: Comprehensive culinary education covering global cuisines, kitchen management, and food safety.
James grew up surrounded by the smells of cast-iron skillets and slow-cooked Southern meals in Asheville, North Carolina.
He sharpened his skills with a Certificate in Culinary Arts from Asheville-Buncombe Technical Community College, and later leveled up with an Associate Degree from The Chef’s Academy.
James’s philosophy is simple: the best meals don’t need fancy tricks, just fresh ingredients, a hot pan, and a little bit of heart. His favorite days are spent testing one-pan wonders, chasing bold flavors, and creating recipes that feel easy, even on a busy night.