Fluffy No-Bake Twinkie Cake Recipe: Nostalgic Sweetness Awaits
Whipping up a delightful twinkie cake without turning on the oven sounds like a sweet dream come true.
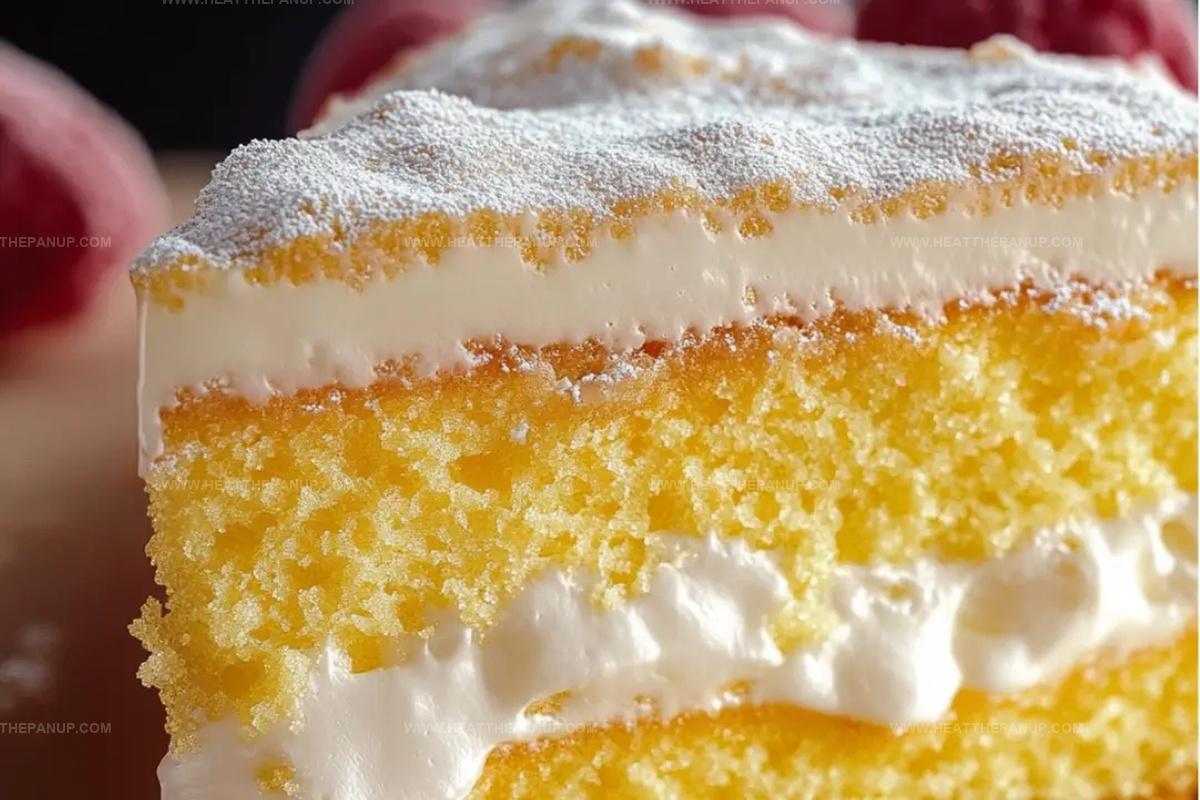
Creamy layers of nostalgic flavor await you in this decadent dessert.
Childhood memories blend perfectly with modern convenience in this simple treat.
Minimal ingredients and zero baking time make this recipe a total game-changer.
Soft, luscious, and packed with classic twinkie essence, this dessert will become your new go-to indulgence.
Rich cream filling sandwiched between tender cake layers promises pure bliss.
No-Bake Twinkie Cake That’s Fun and Fuss-Free

Twinkie Cake That’s No-Bake Ingredients
Base Ingredients:Pudding and Topping Ingredients:Fruit Ingredients:Build a Twinkie Cake (No Bake)
Step 1: Craft the Twinkie Base
Unwrap the Twinkies and gently place them side by side to completely cover the bottom of an 8×8 inch baking dish.
Press them lightly to create a smooth foundation for your dessert.
Step 2: Whip Up Creamy Pudding
Grab a medium mixing bowl and combine instant vanilla pudding mix with whole milk.
Whisk vigorously for about 3 minutes until the mixture transforms into a thick, luscious cream.
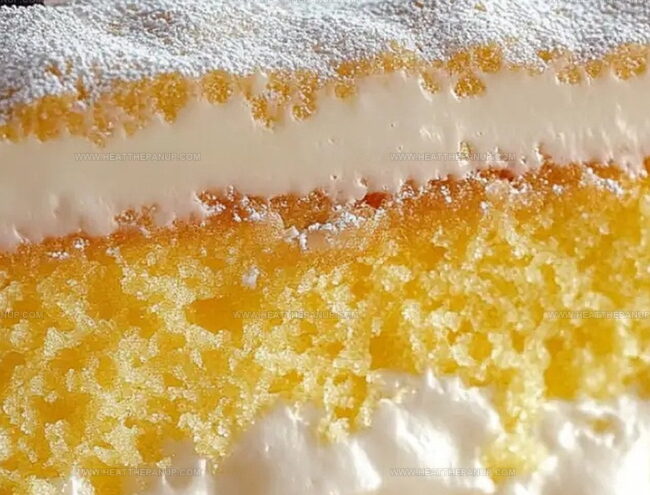
Step 3: Create Pudding Layer
Pour the silky vanilla pudding directly over the Twinkie base.
Use a spatula to spread it evenly, ensuring every Twinkie gets a perfect pudding coating.
Step 4: Prepare Strawberry Mixture
Select fresh, ripe strawberries and prepare them for the dessert:Step 5: Design Strawberry Layer
Take the remaining strawberries and slice them into delicate ¼-inch thick rounds.
Arrange these beautiful slices in a single, elegant layer completely covering the pudding surface.
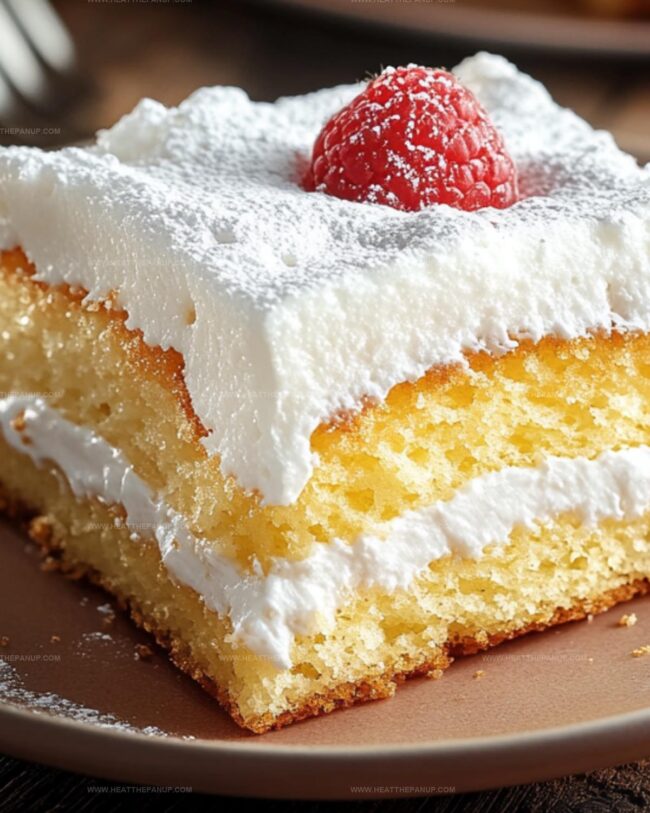
Step 6: Add Fluffy Topping
Retrieve the thawed whipped topping and generously spread it over the strawberry layer.
Use an offset spatula to create a smooth, cloud-like surface that looks absolutely irresistible.
Step 7: Sprinkle Final Touch
Scatter the previously diced strawberries across the whipped topping.
These tiny bursts of red will add a playful and delicious accent to your dessert.
Step 8: Chill and Set
Slide the baking dish into the refrigerator.
Let the Twinkie cake rest and firm up for 1-2 hours.
This cooling time allows all the flavors to mingle and create a spectacular dessert experience.
No-Bake Twinkie Cake Tricks for a Fast Sweet Fix
Chill No-Bake Twinkie Cake
Twinkie Cake (No-Bake!) Complements
Twinkie Cake No-Bake Style Variants
FAQs
No, instant pudding mix sets quickly and provides the right consistency. Homemade pudding might be too runny and won’t firm up properly in this no-bake dessert.
No, keep the Twinkies whole with their original cream filling. The cream adds moisture and helps the cake’s texture.
You can make fresh whipped cream as a substitute. Whip heavy cream with a little sugar until stiff peaks form, which will work perfectly in this recipe.
Yes, you can prepare this Twinkie cake up to 24 hours in advance. Keep it covered in the refrigerator until you’re ready to serve.
Print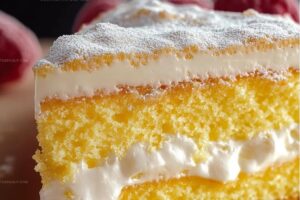
Twinkie Cake (No-Bake!) Recipe
- Total Time: 10 minutes
- Yield: 8 1x
Description
Creamy Twinkie Cake brings nostalgic dessert magic to no-bake bliss. Luscious layers of vanilla cream and golden sponge cake promise sweet comfort without turning on the oven.
Ingredients
Main Ingredients:
- 9 Twinkies, unwrapped
- 16 ounces (454 grams) fresh strawberries, divided
- 8 ounces (227 grams) whipped topping, thawed
Dairy and Pudding:
- 1.5 cups (360 milliliters) whole milk
- 3.4 ounces (96 grams) box of instant vanilla pudding
No additional categories needed
Instructions
- Create a foundational layer by positioning unwrapped Twinkies side by side across the base of an 8×8 baking dish, ensuring complete coverage.
- Combine instant vanilla pudding mix with whole milk in a medium mixing bowl, vigorously whisking for approximately 3 minutes until the mixture achieves a thick, creamy consistency.
- Gently distribute the prepared pudding across the Twinkie base, using a spatula to create an even, smooth layer that completely covers the cake.
- Carefully dice 3-4 strawberries into small, uniform pieces, setting aside the chopped fruit for final garnishing.
- Systematically slice the remaining strawberries into thin, approximately ¼-inch thick rounds, arranging them in a precise, overlapping pattern to completely blanket the pudding surface.
- Apply thawed whipped topping over the strawberry layer, using an offset spatula to create a smooth, uniform coating that extends to the edges of the dish.
- Delicately sprinkle the reserved diced strawberries across the whipped topping, ensuring an even distribution of the fruity garnish.
- Transfer the assembled dessert to the refrigerator, allowing it to chill and set for 1-2 hours, which will help the pudding firm and enhance the overall flavor melding.
Notes
- Choose fresh, soft Twinkies for the best texture and moisture in your cake base.
- Whisk the pudding thoroughly to prevent lumps and achieve a smooth, creamy consistency.
- Use ripe, sweet strawberries at peak season for maximum flavor and natural sweetness.
- Prepare the cake a day in advance to allow flavors to meld and improve overall taste.
- Prep Time: 10 minutes
- Cook Time: 0 minutes
- Category: Desserts, Snacks
- Method: None
- Cuisine: American
Nutrition
- Serving Size: 8
- Calories: 220
- Sugar: 14g
- Sodium: 150mg
- Fat: 9g
- Saturated Fat: 5g
- Unsaturated Fat: 3g
- Trans Fat: 0g
- Carbohydrates: 32g
- Fiber: 1g
- Protein: 3g
- Cholesterol: 30mg
Angelina Wiles
Content Editor & Culinary Enthusiast
Expertise
Food Writing and Editing, Vegetarian and Vegan Cuisine, Baking and Pastry Arts, Sustainable Cooking Practices
Education
Portland Community College
Certificate in Culinary Arts
Focus: Emphasis on sustainable cooking practices, vegetarian cuisine, and food writing.
Oregon Culinary Institute
Diploma in Baking and Pastry Arts
Focus: Specialized training in artisanal baking, pastry techniques, and dessert presentation.
Angelina’s love for cooking started with handwritten family recipes and weekend trips to farmers’ markets around Portland. She followed her passion with a Certificate in Culinary Arts from Portland Community College, then perfected her sweet side with a Diploma in Baking and Pastry Arts at Oregon Culinary Institute.
Angelina believes recipes should feel like a conversation, not a science project. She’s all about helping readers trust themselves in the kitchen with simple steps, fresh ideas, and easy twists on classic meals.
When she’s not editing recipes, she’s baking bread, sipping coffee, or getting inspired by the changing seasons.