
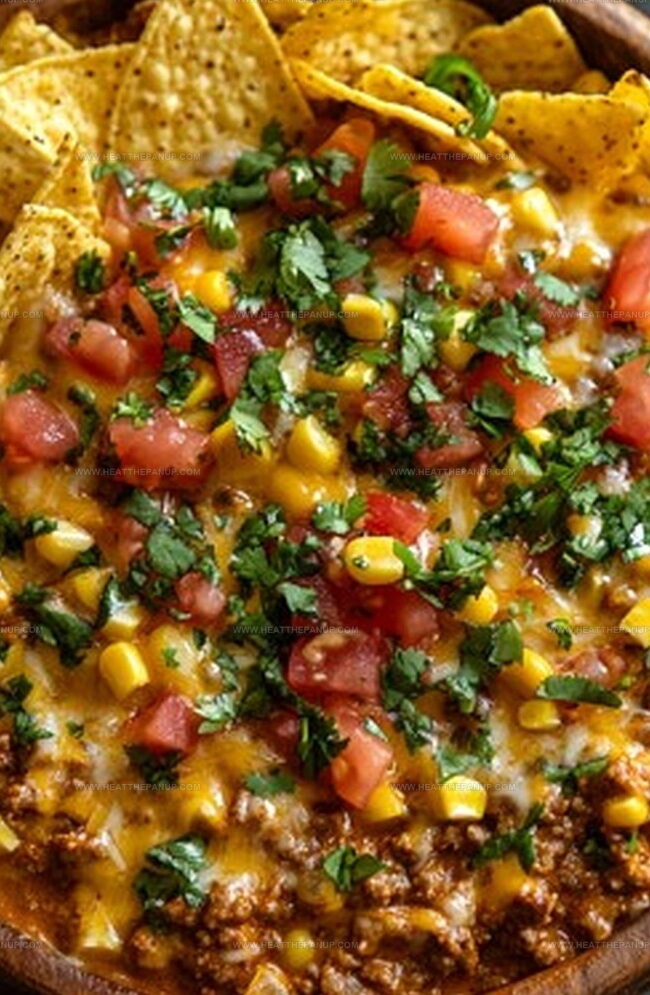
The Ultimate Texas Trash Dip Recipe: Crowd-Pleasing Party Magic
Some culinary magic happens when this texas trash dip comes together in a matter of minutes.
Creamy textures blend seamlessly with zesty flavors that’ll make your taste buds dance.
Each scoop promises a delightful explosion of southwestern-inspired goodness.
Packed with rich ingredients, the dip screams comfort and indulgence.
Colleagues and party guests will absolutely go crazy for this crowd-pleasing appetizer.
Minimal effort yields maximum satisfaction, making it perfect for spontaneous gatherings or lazy weekend snacking.
Scoop up this irresistible treat and watch everyone’s eyes light up with pure excitement.
Why Everyone Loves Texas Trash Dip
Ingredients for Texas Trash Dip
Main Components:Protein Options:Seasoning and Flavor Enhancers:How to Make Texas Trash Dip
Step 1: Fire Up the Oven
Crank the oven to a toasty 350°F and get ready for a flavor explosion.
Step 2: Create the Creamy Base
Grab a mixing bowl and blend together:Whisk these ingredients until they become a silky smooth mixture that’ll make your taste buds dance.
Step 3: Spice Things Up
Stir in the taco seasoning and sprinkle half of the shredded cheese into the mix.
Give it a good stir to distribute all those zesty flavors.
Step 4: Load Up with Extras
Time to amp up the deliciousness!
Fold in your choice of protein or veggie add-ins:Mix everything together until perfectly combined.
Step 5: Prepare for Baking
Transfer the mouthwatering mixture into a baking dish.
Spread it out evenly and crown the top with the remaining shredded cheese.
Step 6: Bake to Perfection
Slide the dish into the preheated oven and let it bake for 25-30 minutes.
Watch for the cheese to transform into a golden, bubbly masterpiece.
Step 7: Serve and Devour
Pull the dish out of the oven and let it cool for a few minutes.
Grab your favorite dippers like tortilla chips, crisp vegetable sticks, or crunchy crackers, and dig in!
Texas Trash Dip Tips for Best Flavor
Storing and Reheating Texas Trash Dip
What to Serve with Texas Trash Dip
Bold Takes on Texas Trash Dip
FAQs
A hearty, creamy dip originating from Texas cuisine that combines refried beans, cream cheese, sour cream, and multiple cheeses, creating a rich and flavorful appetizer perfect for gatherings and parties.
The dip’s spice level depends on the taco seasoning you use. Choose mild, medium, or hot seasoning based on your preference. You can also add jalapeños or hot sauce to increase heat.
Absolutely! Simply omit the ground beef or sausage and replace with additional black beans, corn, or diced bell peppers. The base of beans, cheese, and seasonings remains deliciously satisfying.
Sturdy tortilla chips work best. Look for thick, restaurant-style corn tortilla chips that can handle the dense, creamy dip without breaking. Thick-cut chips or scoops are ideal for maximum dipping enjoyment.
Print
Texas Trash Dip Recipe
- Total Time: 45 minutes
- Yield: 8 1x
Description
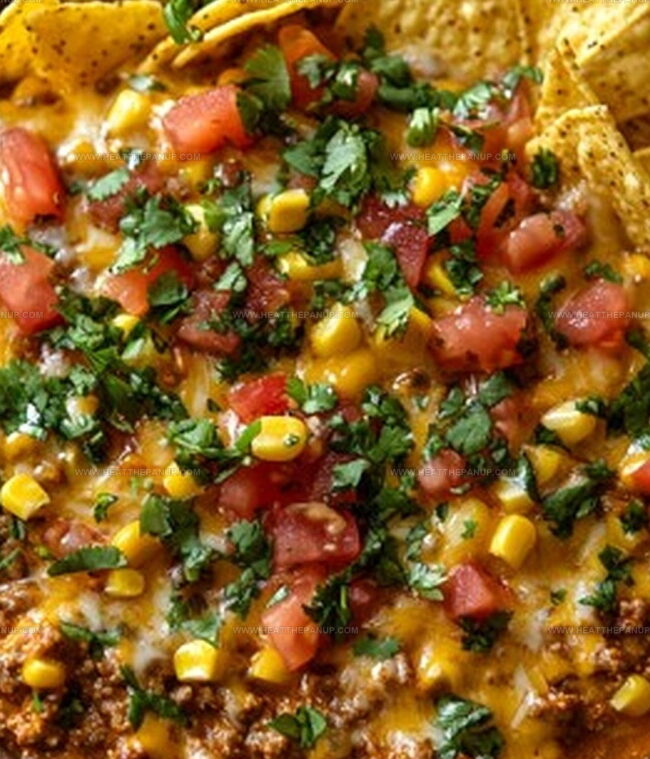
Sizzling Texas Trash Dip brings bold southwestern flavors to your game day spread, packed with creamy cheeses, zesty seasonings, and hearty beans. Crowd-pleasing comfort meets spicy excitement you’ll devour down to the last delicious scoop.
Ingredients
Main Protein and Beans:
- 2 cups shredded Mexican blend cheese (or a combination of Cheddar and Monterey Jack)
- 1 (16 oz) can refried beans
- 1/2 lb ground beef or sausage, cooked and crumbled (optional)
- 1/2 cup black beans (optional)
Dairy and Creamy Components:
- 1 (8 oz) package cream cheese, softened
- 1 cup sour cream
Seasonings and Extras:
- 1 packet taco seasoning
- 1/2 cup diced jalapenos (optional for heat)
- 1/2 cup corn kernels (optional)
Instructions
- Warm the oven to a toasty 350°F (175°C), creating the perfect environment for melding flavors.
- In a spacious mixing vessel, harmonize refried beans, velvety cream cheese, and tangy sour cream until achieving a luxurious, uniform consistency.
- Infuse the base with zesty taco seasoning, then gently fold in half of the shredded cheese, ensuring an even distribution of robust flavors.
- If desired, introduce additional protein or vegetable companions like ground beef, sausage, black beans, or sweet corn, thoroughly incorporating them into the creamy foundation.
- Transfer the luscious mixture to a baking dish, smoothing the surface with a gentle touch, then crown the creation with the remaining cheese, creating a tempting golden blanket.
- Slide the dish into the preheated oven, allowing the ingredients to meld and transform for 25-30 minutes, watching for the cheese to transform into a molten, bubbling masterpiece.
- Once emerged from the oven, permit the dip a brief moment to settle and cool slightly, preserving its tantalizing temperature and texture.
- Serve alongside crisp tortilla chips, fresh vegetable sticks, or artisan crackers, inviting guests to dive into this irresistible Texan-inspired indulgence.
Notes
- Customize the protein by swapping ground beef with plant-based crumbles for a vegetarian version that doesn’t compromise on flavor.
- Control the heat by adjusting taco seasoning or adding diced jalapeños for those who love a spicy kick.
- Choose full-fat or low-fat dairy options depending on your dietary preferences without losing the creamy texture.
- Prep ahead by assembling the dip a day before baking, which allows flavors to meld and makes party planning easier.
- Prep Time: 15 minutes
- Cook Time: 30 minutes
- Category: Appetizer, Snacks
- Method: Baking
- Cuisine: American
Nutrition
- Serving Size: 8
- Calories: 250
- Sugar: 2 g
- Sodium: 600 mg
- Fat: 18 g
- Saturated Fat: 10 g
- Unsaturated Fat: 7 g
- Trans Fat: 0 g
- Carbohydrates: 16 g
- Fiber: 1 g
- Protein: 10 g
- Cholesterol: 50 mg
Angelina Wiles
Content Editor & Culinary Enthusiast
Expertise
Food Writing and Editing, Vegetarian and Vegan Cuisine, Baking and Pastry Arts, Sustainable Cooking Practices
Education
Portland Community College
Certificate in Culinary Arts
Focus: Emphasis on sustainable cooking practices, vegetarian cuisine, and food writing.
Oregon Culinary Institute
Diploma in Baking and Pastry Arts
Focus: Specialized training in artisanal baking, pastry techniques, and dessert presentation.
Angelina’s love for cooking started with handwritten family recipes and weekend trips to farmers’ markets around Portland. She followed her passion with a Certificate in Culinary Arts from Portland Community College, then perfected her sweet side with a Diploma in Baking and Pastry Arts at Oregon Culinary Institute.
Angelina believes recipes should feel like a conversation, not a science project. She’s all about helping readers trust themselves in the kitchen with simple steps, fresh ideas, and easy twists on classic meals.
When she’s not editing recipes, she’s baking bread, sipping coffee, or getting inspired by the changing seasons.