
Buttery Swirled Chocolate Challah Bread Recipe for Sunday Bliss
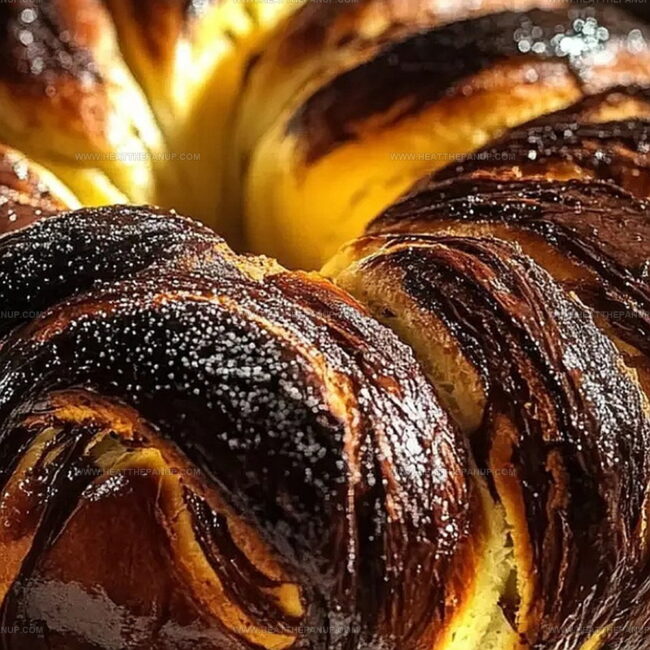
Chocolate challah bread swirled with rich, decadent cocoa offers a delightful twist on traditional Jewish baking.
Sweet aromas will dance through your kitchen as you knead this silky dough.
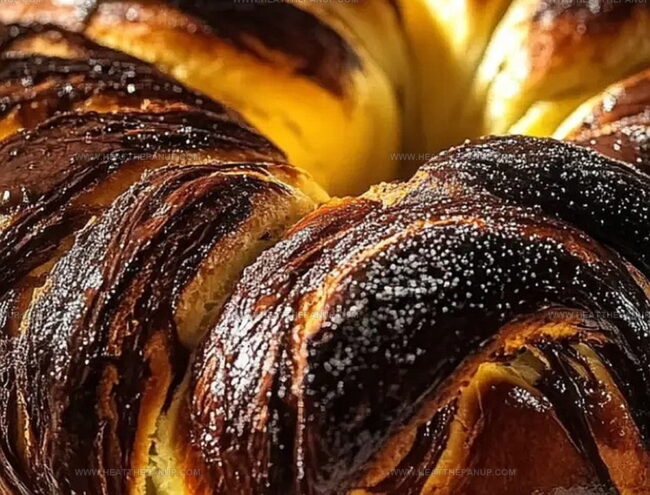
Soft spirals of chocolate peek through each delicate layer, promising pure indulgence.
Weekend bakers can easily master this elegant bread with simple techniques.
Warm, freshly baked slices invite morning celebrations or afternoon tea moments.
Chocolate lovers will find pure comfort in every tender, buttery bite.
Prepare to impress your closest companions with this irresistible homemade treat.
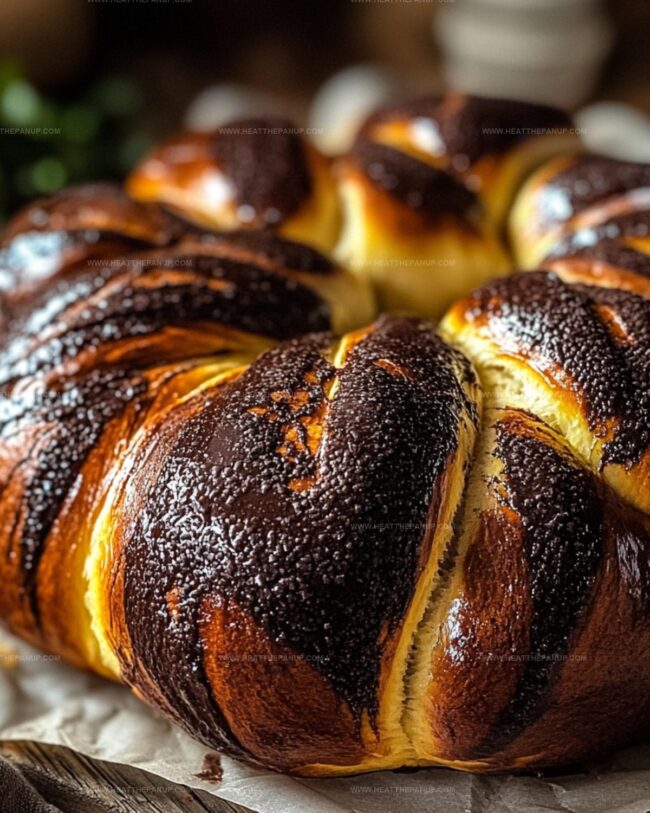
Chocolate Challah Bread With Rich Swirls in Every Slice
Swirled Chocolate Challah Bread What Goes In
Leavening Agents:Bread Base Ingredients:Flavor and Binding Ingredients:Additional Ingredients:Swirled Chocolate Challah Braiding and Baking Instructions
Step 1: Activate Yeast Magic
Wake up the yeast by combining it with sugar and warm water.
Let the mixture bubble and become frothy for about 5 minutes.
This is where the bread’s journey begins!
Step 2: Craft Two Distinctive Doughs
For the plain dough:Mix the activated yeast with these ingredients and knead until a smooth, elastic dough forms.
For the chocolate dough, follow the same process but add:Step 3: Nurture Dough Growth
Lightly oil two separate bowls and place each dough inside.
Cover with plastic wrap and let them rest in a warm spot until they double in size (about 1-2 hours).
This is where patience becomes your secret ingredient!
Step 4: Create Artistic Dough Layers
Dust your work surface with flour.
Roll out both doughs into equal-sized rectangles.
Carefully place the plain dough on a parchment-lined baking sheet.
Step 5: Develop Mesmerizing Swirl Pattern
Gently layer the chocolate dough on top of the plain dough.
Roll the doughs together like a gorgeous cinnamon roll.
Fold the rolled dough in half and twist the sides to create a beautiful marbled effect.
Step 6: Final Rise and Preparation
Transfer the twisted dough into a parchment-lined loaf pan.
Allow it to rise for 45-60 minutes, letting the dough become puffy and full of promise.
Step 7: Bake to Perfection
Preheat the oven to 375°F.
Slide the loaf into the oven and bake for 25-35 minutes.
Look for a golden-brown top and a tantalizing aroma that fills your kitchen.
The bread is ready when it sounds hollow when tapped on the bottom.
Chocolate Bread Braiding Tips with Swirl Perfection
Save Swirled Chocolate Challah Bread
Swirled Chocolate Challah Bread Pairings
Chocolate Challah Bread with Swirl Additions
FAQs
Not at all! While it looks fancy, the recipe is beginner-friendly. The steps are straightforward, and you just need basic baking skills to create this beautiful swirled bread.
Yes, you can easily knead the dough by hand. Just mix ingredients in a large bowl and knead on a floured surface until smooth and elastic. It might take a bit more effort, but totally doable.
Check for bubbles and foam after 5 minutes of mixing yeast with warm water. If it doesn’t bubble, your yeast might be old or the water was too hot or cold. Fresh yeast should become frothy quickly.
Use an instant-read thermometer. The internal temperature should reach 190°F (88°C). Alternatively, tap the bottom of the bread – it should sound hollow when fully baked.
Print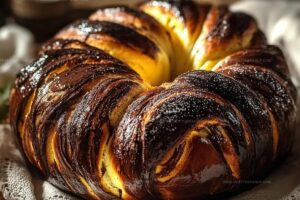
Swirled Chocolate Challah Bread Recipe
- Total Time: 50 minutes
- Yield: 12 1x
Description
Silky, rich chocolate weaves through traditional challah in this irresistible “swirled chocolate challah bread” that marries Jewish baking tradition with deep cocoa indulgence. Sweet braided perfection delivers a luxurious experience you cannot resist.
Ingredients
Main Ingredients:
- 2 cups bread flour or all-purpose flour (plain dough)
- 280 grams bread flour or all-purpose flour (cocoa dough)
- 14 cup Dutch process cocoa powder
- 2 eggs (cocoa dough)
- 1 egg (plain dough)
Liquids and Sweeteners:
- 12 cup warm water (plain dough)
- 100 grams warm water (cocoa dough)
- 14 cup canola oil (plain dough)
- 18 cup canola oil (cocoa dough)
- 18 cup honey (plain dough)
- 18 cup honey (cocoa dough)
Flavor and Leavening Agents:
- 1 heaped teaspoon instant yeast (plain dough)
- 1 14 teaspoon instant yeast (cocoa dough)
- 1 teaspoon sugar (plain dough)
- 1 teaspoon sugar (cocoa dough)
- 1 teaspoon pure vanilla extract (plain dough)
- 1 teaspoon vanilla extract (cocoa dough)
- 1 teaspoon sea salt (plain dough)
- 12 teaspoon sea salt (cocoa dough)
Instructions
- Activate the yeast mixture by combining it with warm water and sugar, allowing it to bloom for 5 minutes until foamy and fragrant.
- Prepare two distinct dough variations: the classic plain dough and the rich chocolate dough by incorporating respective ingredients like honey, oil, vanilla, eggs, and flour.
- Knead each dough thoroughly until smooth and elastic, ensuring no dry patches remain and the texture is consistent.
- Transfer each dough into separately oiled containers, covering with plastic wrap to create a warm, draft-free environment for rising.
- Allow doughs to expand and double in volume, which typically takes approximately 1-2 hours depending on kitchen temperature.
- Gently roll out both doughs on a generously floured surface, maintaining equal dimensions and rectangular shapes.
- Layer the plain dough as the base, then carefully position the chocolate dough on top, creating a complementary color contrast.
- Carefully roll the layered doughs into a compact cylindrical shape, similar to crafting a cinnamon roll technique.
- Fold the rolled dough in half, then intricately twist the sides to generate an appealing marbled swirl pattern.
- Position the twisted dough into a parchment-lined loaf pan, allowing a final proofing period of 45-60 minutes.
- Preheat the oven to 375°F (190°C), ensuring even temperature distribution.
- Bake the challah until achieving a golden-brown exterior and complete internal doneness, approximately 25-35 minutes.
Notes
- Activate yeast carefully by ensuring water temperature is between 100-110°F to prevent killing the microorganisms and guarantee proper rising.
- Knead doughs thoroughly for 8-10 minutes to develop gluten structure, creating a more tender and airy bread texture.
- Proof bread in a warm, draft-free environment around 80-85°F to accelerate rising and enhance flavor development.
- Allow bread to cool completely before slicing to prevent moisture loss and maintain optimal texture and crumb structure.
- Prep Time: 20 minutes
- Cook Time: 30 minutes
- Category: Breakfast, Snacks, Desserts
- Method: Baking
- Cuisine: Jewish
Nutrition
- Serving Size: 12
- Calories: 208
- Sugar: 6 g
- Sodium: 115 mg
- Fat: 8 g
- Saturated Fat: 1 g
- Unsaturated Fat: 7 g
- Trans Fat: 0 g
- Carbohydrates: 30 g
- Fiber: 1 g
- Protein: 5 g
- Cholesterol: 33 mg
Angelina Wiles
Content Editor & Culinary Enthusiast
Expertise
Food Writing and Editing, Vegetarian and Vegan Cuisine, Baking and Pastry Arts, Sustainable Cooking Practices
Education
Portland Community College
Certificate in Culinary Arts
Focus: Emphasis on sustainable cooking practices, vegetarian cuisine, and food writing.
Oregon Culinary Institute
Diploma in Baking and Pastry Arts
Focus: Specialized training in artisanal baking, pastry techniques, and dessert presentation.
Angelina’s love for cooking started with handwritten family recipes and weekend trips to farmers’ markets around Portland. She followed her passion with a Certificate in Culinary Arts from Portland Community College, then perfected her sweet side with a Diploma in Baking and Pastry Arts at Oregon Culinary Institute.
Angelina believes recipes should feel like a conversation, not a science project. She’s all about helping readers trust themselves in the kitchen with simple steps, fresh ideas, and easy twists on classic meals.
When she’s not editing recipes, she’s baking bread, sipping coffee, or getting inspired by the changing seasons.