The Perfect Peanut Butter Blossom Bars Recipe for Sweet Smiles
Crafting delectable peanut butter blossom bars brings pure joy to any kitchen adventure.
Sweet memories of childhood treats inspire this nostalgic dessert.
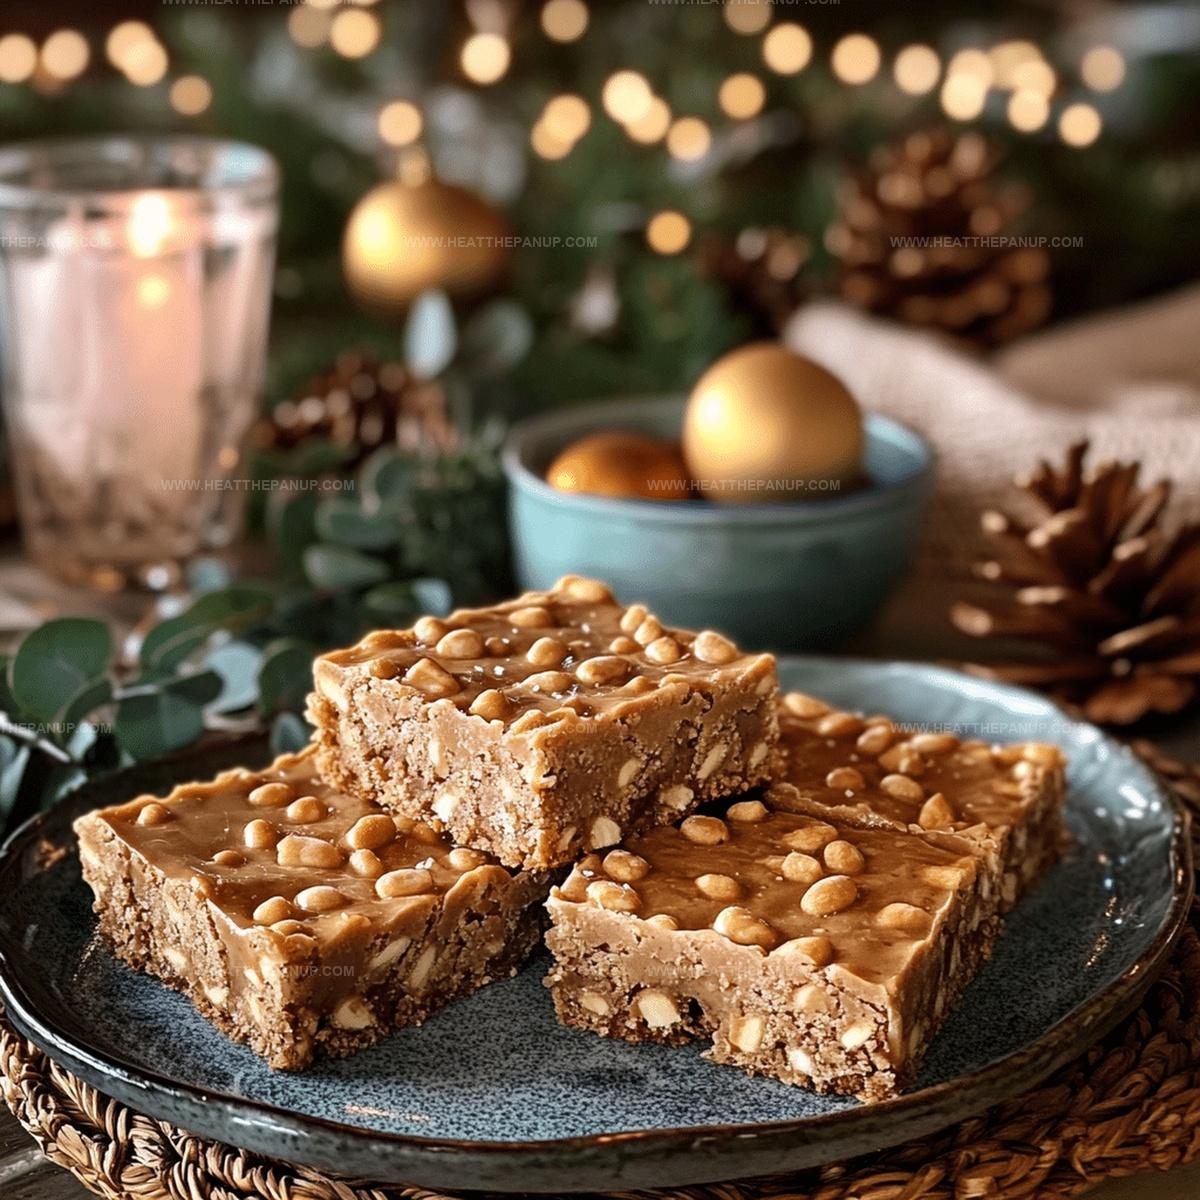
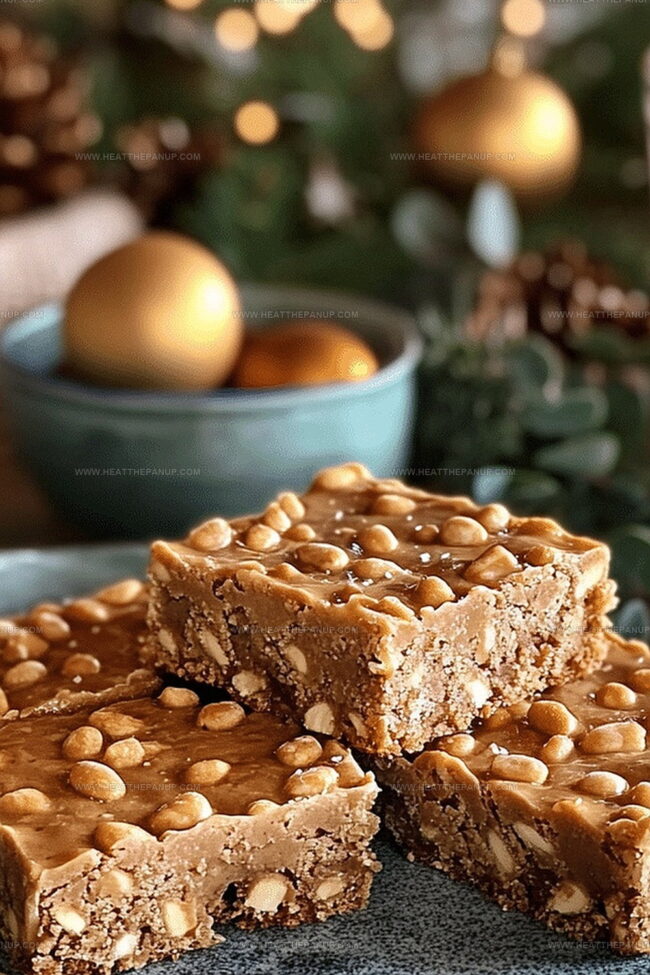
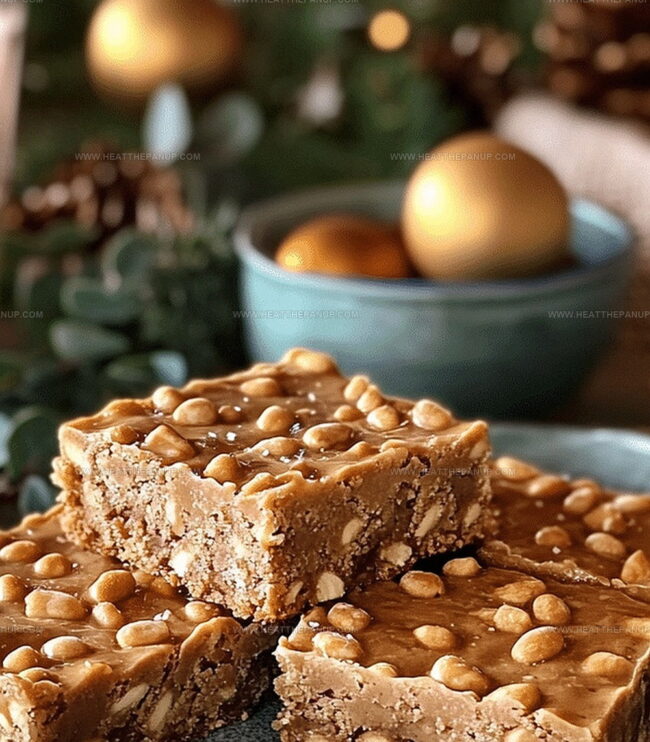
Chocolate kisses nestle perfectly atop rich, crumbly cookie bases that melt in your mouth.
Soft textures and incredible flavors combine in each irresistible square.
Home bakers adore how simple ingredients create such magical results.
Chocolatey centers and buttery backgrounds promise a delightful experience for everyone.
Prepare to fall in love with this classic American dessert that transforms ordinary moments into something extraordinary.
Why Peanut Butter Blossom Bars Are A Hit
Everything In Peanut Butter Blossom Bars
For the Base:For the Toppings:For the Drizzle:Making Peanut Butter Blossom Bars Step By Step
Step 1: Warm Up The Oven
Crank the oven to a cozy 350°F and line a 9×13-inch baking pan with parchment paper, letting the edges hang over for super easy lifting later.
Step 2: Create A Creamy Base
Grab a large mixing bowl and blend together:Whip these ingredients until they transform into a silky smooth mixture.
Step 3: Build The Dough
Gradually mix in flour, working it gently until a soft, crumbly dough emerges that can be pressed into the pan.
Step 4: Spread The Foundation
Use your fingertips to distribute the dough evenly across the pan, creating a uniform base with gentle, consistent pressure.
Step 5: Bake The Bottom Layer
Slide the pan into the oven and bake for 18-20 minutes. Watch for light golden edges and a set surface that isn’t completely firm.
Step 6: Add Chocolate Kisses
Pull the warm pan from the oven and immediately press Hershey’s Kisses across the surface in a beautiful grid pattern.
Step 7: Drizzle Peanut Butter Glaze
Whisk together peanut butter and powdered sugar until silky, then gracefully drizzle thin lines over the warm bars.
Step 8: Sprinkle Final Touches
Scatter chocolate chips and chopped peanuts across the top for extra crunch and visual excitement.
Step 9: Cool And Set
Let the bars cool completely in the pan, allowing chocolate kisses and toppings to settle perfectly.
Step 10: Slice And Serve
Lift the entire dessert out using parchment paper edges, then slice into squares, ensuring each piece showcases a delectable chocolate kiss centerpiece.
Helpful Tips For Peanut Butter Blossom Bars
New Ideas For Peanut Butter Blossom Bars
What Tastes Good With Peanut Butter Blossom Bars
How To Store Peanut Butter Blossom Bars Fresh
Peanut Butter Blossom Bars Questions Made Easy
Gently mix the ingredients until a soft, crumbly dough forms that can be easily pressed into the pan. If too dry, add a tiny bit of butter; if too wet, sprinkle a little more flour.
Yes, you can substitute with chocolate chunks, chocolate chips, or other chocolate varieties. Just ensure they’re similar in size for even distribution.
Immediately after removing from the oven, gently press Kisses into the warm surface with light, even pressure. This helps them stick and slightly melt into the base.
Print
Sweet Peanut Butter Blossom Bars Recipe
- Total Time: 35 minutes
- Yield: 24 1x
Description
Nostalgic peanut butter blossom bars elevate classic cookie memories with a delightful twist. Chocolate-kissed squares deliver comfort and sweetness in each delectable bite you’ll crave again and again.
Ingredients
Base Layer:
- 2 cups all-purpose flour
- 1 cup unsalted butter
- 1/2 cup granulated sugar
- 1/2 cup brown sugar
- 1/2 cup creamy peanut butter
Topping Layer:
- 24 Hershey’s Kisses
- 1/4 cup creamy peanut butter
- 2 tablespoons powdered sugar
Garnish:
- 1/4 cup chocolate chips
- 2 tablespoons chopped peanuts
Instructions
- Preheat the oven to 350°F and line a 9×13-inch baking pan with parchment paper, allowing excess to hang over the sides for easy removal.
- In a large mixing bowl, cream together butter, granulated sugar, brown sugar, and peanut butter until smooth and well-combined.
- Gradually fold in the flour, mixing until a soft, crumbly dough forms that can be pressed into the prepared pan.
- Evenly distribute the dough across the pan, using your fingertips to create a uniform base layer with gentle, even pressure.
- Bake the base for 18-20 minutes, or until the edges turn light golden and the surface appears set but not completely firm.
- Remove from the oven and immediately press Hershey’s Kisses evenly across the warm surface, creating a grid pattern of chocolate centers.
- Whisk together additional peanut butter and powdered sugar until smooth, then drizzle the mixture over the warm bars in thin, elegant lines.
- Sprinkle chocolate chips and chopped peanuts across the top for added texture and visual appeal.
- Allow the bars to cool completely in the pan, which will help the chocolate kisses and toppings set properly.
- Using the parchment paper overhang, lift the entire dessert out of the pan and slice into squares, ensuring each piece has a perfect chocolate kiss centerpiece.
Notes
- Customize the base by substituting gluten-free flour for a celiac-friendly version that maintains the classic peanut butter cookie texture.
- Experiment with alternative chocolate toppings like dairy-free chocolate kisses or dark chocolate chunks for vegan or lactose-intolerant dietary needs.
- Control baking time meticulously, watching for light golden edges to prevent over-browning and maintain a soft, chewy bar consistency.
- Create symmetrical kiss placement using a ruler or grid pattern for professional-looking presentation and even chocolate distribution.
- Prep Time: 15 minutes
- Cook Time: 20 minutes
- Category: Desserts, Snacks
- Method: Baking
- Cuisine: American
Nutrition
- Serving Size: 24
- Calories: 200
- Sugar: 10 g
- Sodium: 120 mg
- Fat: 12 g
- Saturated Fat: 6 g
- Unsaturated Fat: 4 g
- Trans Fat: 0 g
- Carbohydrates: 24 g
- Fiber: 1 g
- Protein: 3 g
- Cholesterol: 30 mg
James Hambly
Founder & Recipe Creator
Expertise
Recipe Development, Culinary Education, Farm-to-Table Cooking, Southern Cuisine
Education
Asheville-Buncombe Technical Community College
Certificate in Culinary Arts
Focus: Hands-on training in professional cooking techniques, emphasizing farm-to-table practices and Southern cuisine.
The Chef’s Academy
Associate Degree in Culinary Arts
Focus: Comprehensive culinary education covering global cuisines, kitchen management, and food safety.
James grew up surrounded by the smells of cast-iron skillets and slow-cooked Southern meals in Asheville, North Carolina.
He sharpened his skills with a Certificate in Culinary Arts from Asheville-Buncombe Technical Community College, and later leveled up with an Associate Degree from The Chef’s Academy.
James’s philosophy is simple: the best meals don’t need fancy tricks, just fresh ingredients, a hot pan, and a little bit of heart. His favorite days are spent testing one-pan wonders, chasing bold flavors, and creating recipes that feel easy, even on a busy night.