Dreamy Sugar Cookie Icing Recipe for Sweet Decorating Fun
Sweet moments often begin with a delightful sugar cookie icing that transforms ordinary treats into edible art.
Mixing colors and flavors becomes a playful adventure in your kitchen.
Smooth, glossy surfaces promise delectable delight for every baker seeking perfection.
Decorating cookies turns into a creative experience that sparks joy and imagination.
Simple ingredients blend together to create magical designs that wow everyone.
Professional-looking results are just a few steps away from your current baking skills.
Unleash your inner artist and make each cookie a canvas of delicious happiness.
Simple Reasons to Use This Sugar Cookie Icing
Sugar Cookie Icing Ingredient List
Main Ingredients:Flavor Enhancers:Optional Ingredients:Sugar Cookie Icing Mixing Instructions
Step 1: Sift the Powdered Sugar
Grab a medium-sized bowl and gently sift the powdered sugar through a fine-mesh strainer. This helps break up any lumps and creates a silky smooth base for your icing.
Step 2: Blend Liquid Ingredients
Pour in warm water, corn syrup, and your favorite extract. Whisk everything together with enthusiasm until the mixture becomes smooth and develops a beautiful glossy sheen. The liquid ingredients will transform the powdered sugar into a magical decorating potion.
Step 3: Perfect the Consistency
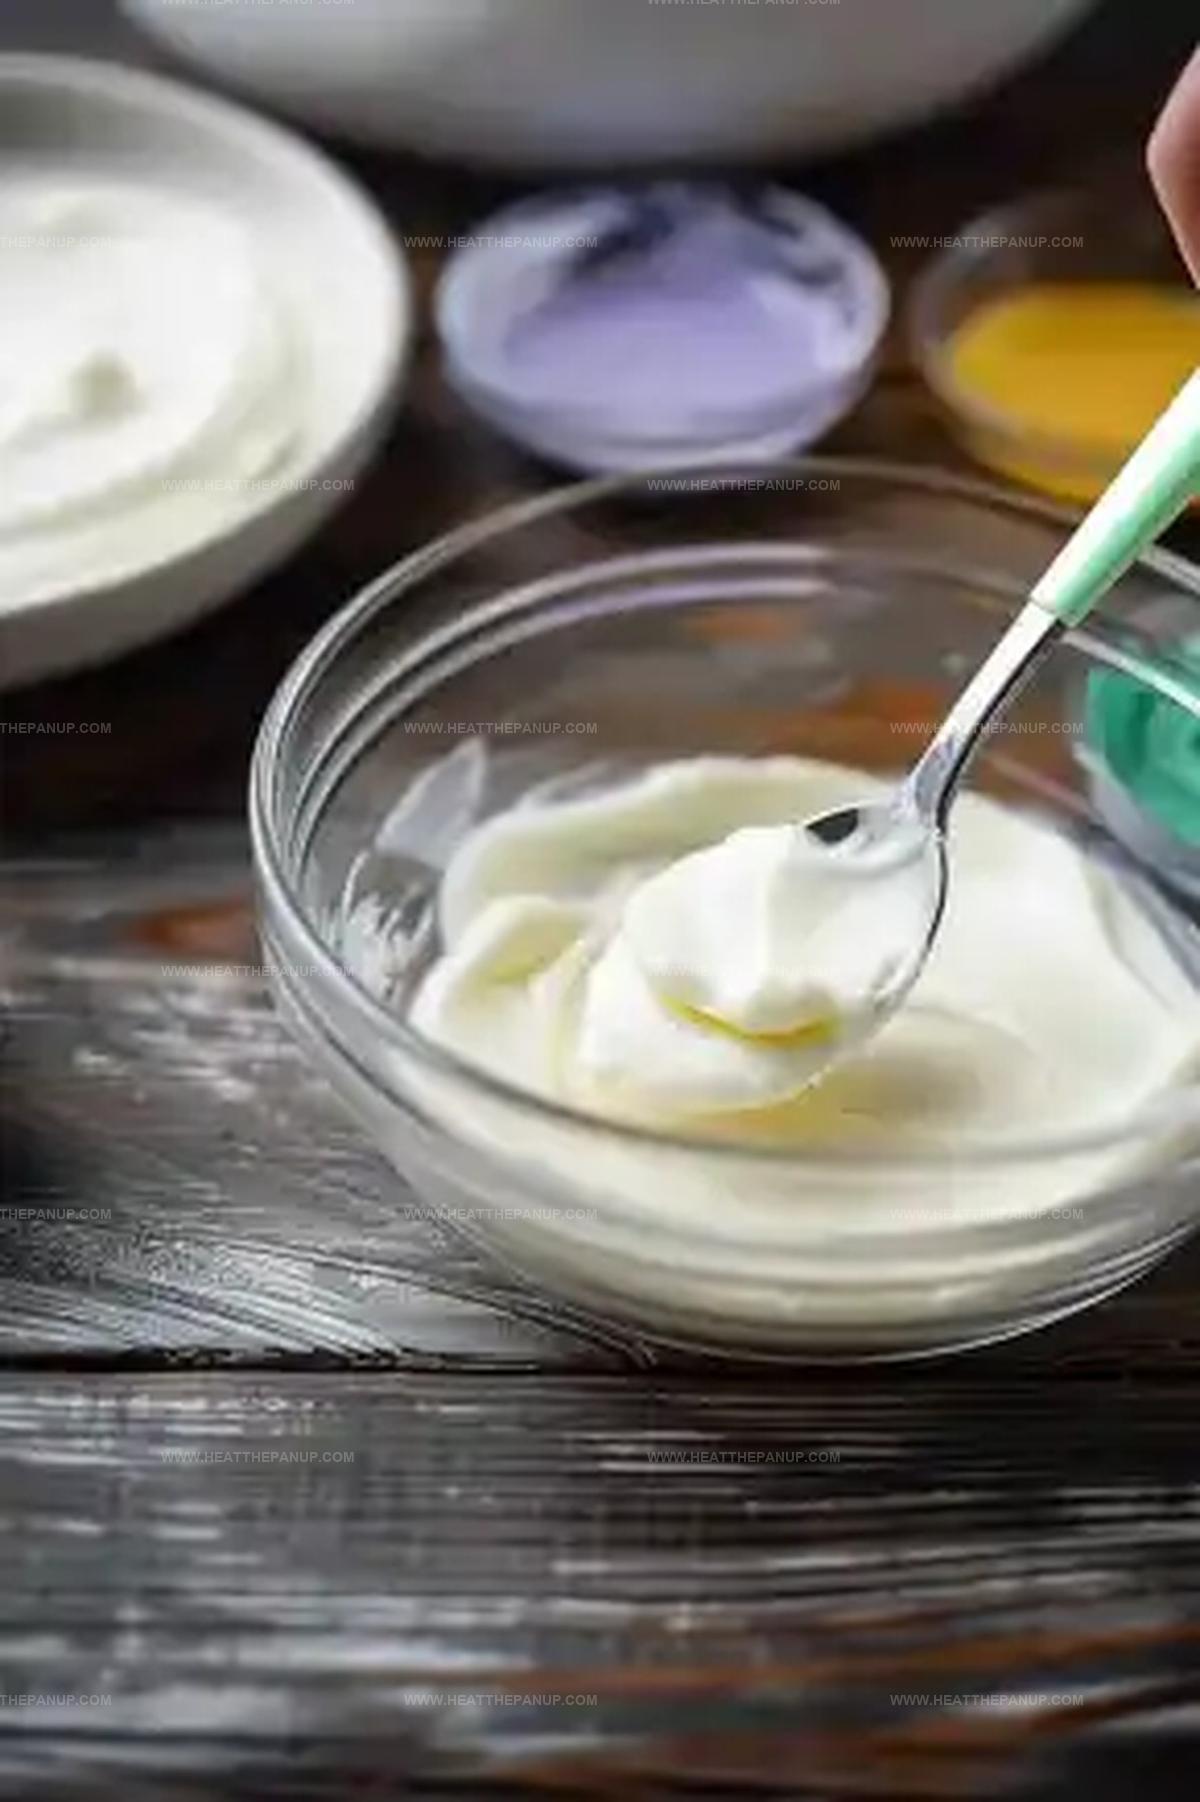
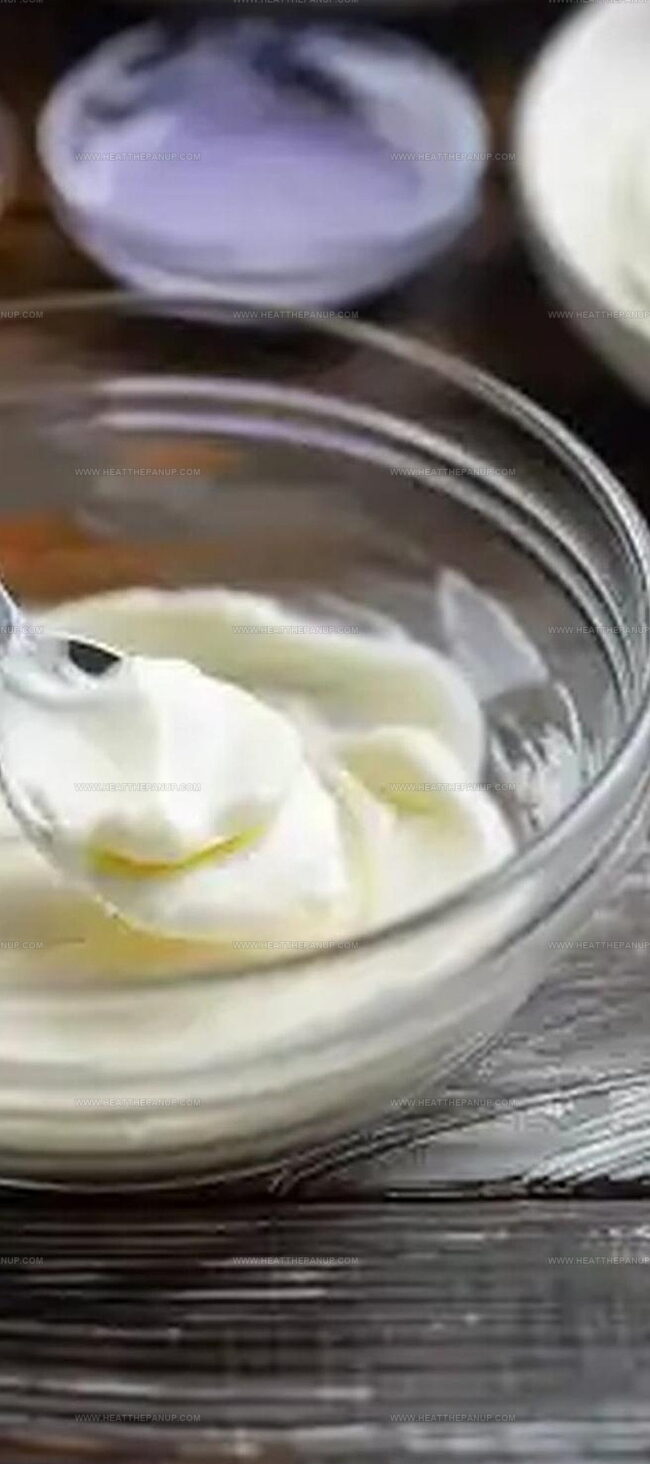
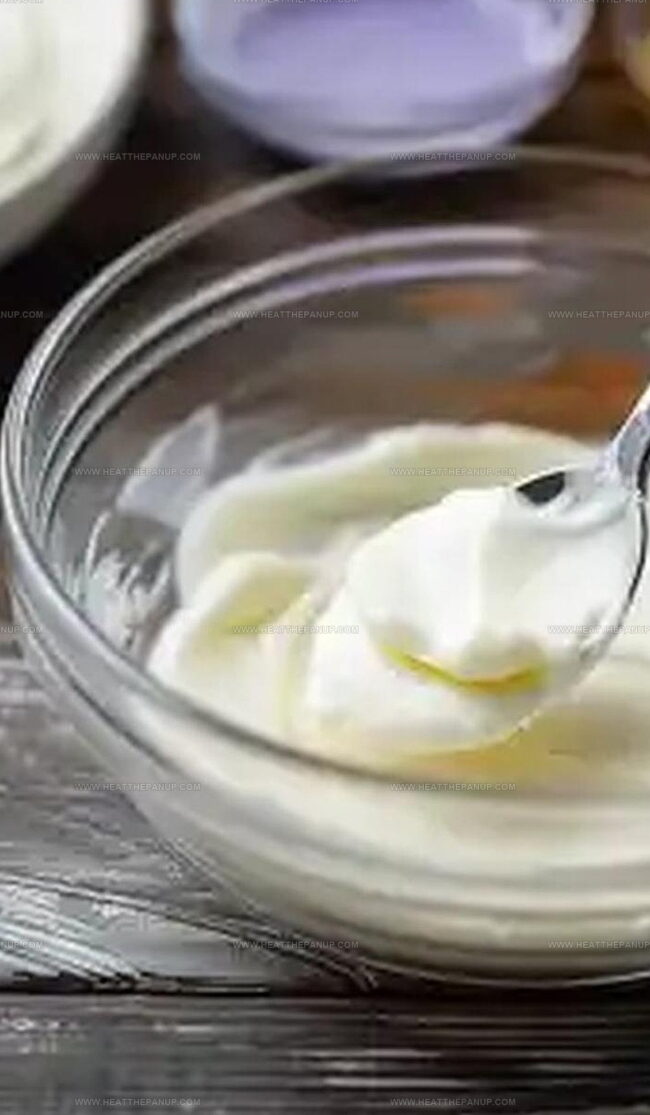
Take a moment to assess your icing’s texture. If it feels too thick, splash in a bit more water. If it seems too runny, sprinkle in some additional powdered sugar. You’re aiming for a consistency that flows smoothly but isn’t too thin.
Step 4: Add Vibrant Colors
Time to get creative! Introduce food coloring drops to create stunning shades. Mix until the color is evenly distributed, creating a vibrant palette for your cookie decoration adventure.
Step 5: Prepare for Decorating
Transfer your colorful icing into piping bags, ready to transform ordinary cookies into edible works of art. Carefully pipe intricate designs or go wild with playful patterns.
Step 6: Let the Icing Set
Allow your beautifully decorated cookies to rest at room temperature. Give the icing time to harden completely, which typically takes about 1-2 hours. Resist the temptation to touch or move the cookies during this time.
Top Tips for Cookie Icing Success
Best Way To Store Sugar Cookie Icing Leftovers
Icing Pairings for Sugar Cookies
Sugar Cookie Icing Color Options
FAQs
Pure powdered sugar, warm water, corn syrup, and extract create a smooth, glossy finish that hardens perfectly for decorating sugar cookies.
Add more powdered sugar to thicken or small amounts of warm water to thin. Aim for a consistency that flows easily but doesn’t run off the cookie.
Vanilla extract is classic, but almond, lemon, or peppermint extracts can add delightful subtle flavors to your sugar cookie icing.
Use gel food coloring instead of liquid, as it provides more intense color without changing the icing’s consistency. Add drops gradually until you reach your desired shade.
Print
Sugar Cookie Icing Recipe
- Total Time: 2 hours 15 minutes
- Yield: 12 1x
Description
Sweet sugar cookie icing brings delightful artistry to festive treats, turning simple cookies into colorful masterpieces. Delicate glazes and elegant designs will inspire bakers to create memorable desserts that charm family and friends.
Ingredients
Main Ingredients:
- 1.5 cups (180g) powdered sugar
- 2 tablespoons (30mL) warm water
Binding/Sweetening Agents:
- 0.5 tablespoon (10g) light corn syrup
Flavoring:
- 1/8 teaspoon vanilla or almond extract
Instructions
- Gently sift the powdered sugar into a pristine mixing vessel, ensuring a silky-smooth texture without any lumps.
- Pour warm water, corn syrup, and your preferred flavor extract into the powdered sugar, whisking with fluid motions until the mixture transforms into a lustrous, uniform glaze.
- Fine-tune the icing’s viscosity by incrementally introducing additional water or powdered sugar, creating a consistency that flows effortlessly yet maintains structural integrity.
- Infuse vibrant personality into the icing by incorporating food coloring, blending droplets until you achieve the precise chromatic palette desired for your confectionery canvas.
- Carefully transfer the prepared icing into piping bags, selecting precision tips that will allow artistic expression across your cookie surface.
- Delicately adorn cookies with intricate designs, allowing your creativity to guide each delicate stroke and swirl.
- Position decorated cookies in a stable environment at ambient temperature, permitting the icing to gradually solidify and develop a glossy, firm shell over approximately 1-2 hours.
Notes
- Sifting powdered sugar ensures a silky-smooth texture without any lumps, creating a flawless icing base.
- Use warm water to help dissolve sugar quickly and create a glossy, uniform consistency that spreads beautifully on cookies.
- Experiment with different extracts like vanilla, almond, or peppermint to customize the flavor profile and make your icing unique.
- Add food coloring gradually to achieve vibrant or pastel shades, mixing thoroughly to distribute color evenly without streaking.
- Prep Time: 15 minutes
- Cook Time: 2 hours
- Category: Desserts
- Method: Blending
- Cuisine: American
Nutrition
- Serving Size: 12
- Calories: 45
- Sugar: 9g
- Sodium: 0mg
- Fat: 0g
- Saturated Fat: 0g
- Unsaturated Fat: 0g
- Trans Fat: 0g
- Carbohydrates: 11g
- Fiber: 0g
- Protein: 0g
- Cholesterol: 0mg
James Hambly
Founder & Recipe Creator
Expertise
Recipe Development, Culinary Education, Farm-to-Table Cooking, Southern Cuisine
Education
Asheville-Buncombe Technical Community College
Certificate in Culinary Arts
Focus: Hands-on training in professional cooking techniques, emphasizing farm-to-table practices and Southern cuisine.
The Chef’s Academy
Associate Degree in Culinary Arts
Focus: Comprehensive culinary education covering global cuisines, kitchen management, and food safety.
James grew up surrounded by the smells of cast-iron skillets and slow-cooked Southern meals in Asheville, North Carolina.
He sharpened his skills with a Certificate in Culinary Arts from Asheville-Buncombe Technical Community College, and later leveled up with an Associate Degree from The Chef’s Academy.
James’s philosophy is simple: the best meals don’t need fancy tricks, just fresh ingredients, a hot pan, and a little bit of heart. His favorite days are spent testing one-pan wonders, chasing bold flavors, and creating recipes that feel easy, even on a busy night.