The Sweet Summer Dream: Homemade Strawberry Pie Recipe
Sweet summer memories bloom whenever I craft this delectable strawberry pie recipe that dances between nostalgia and fresh excitement.
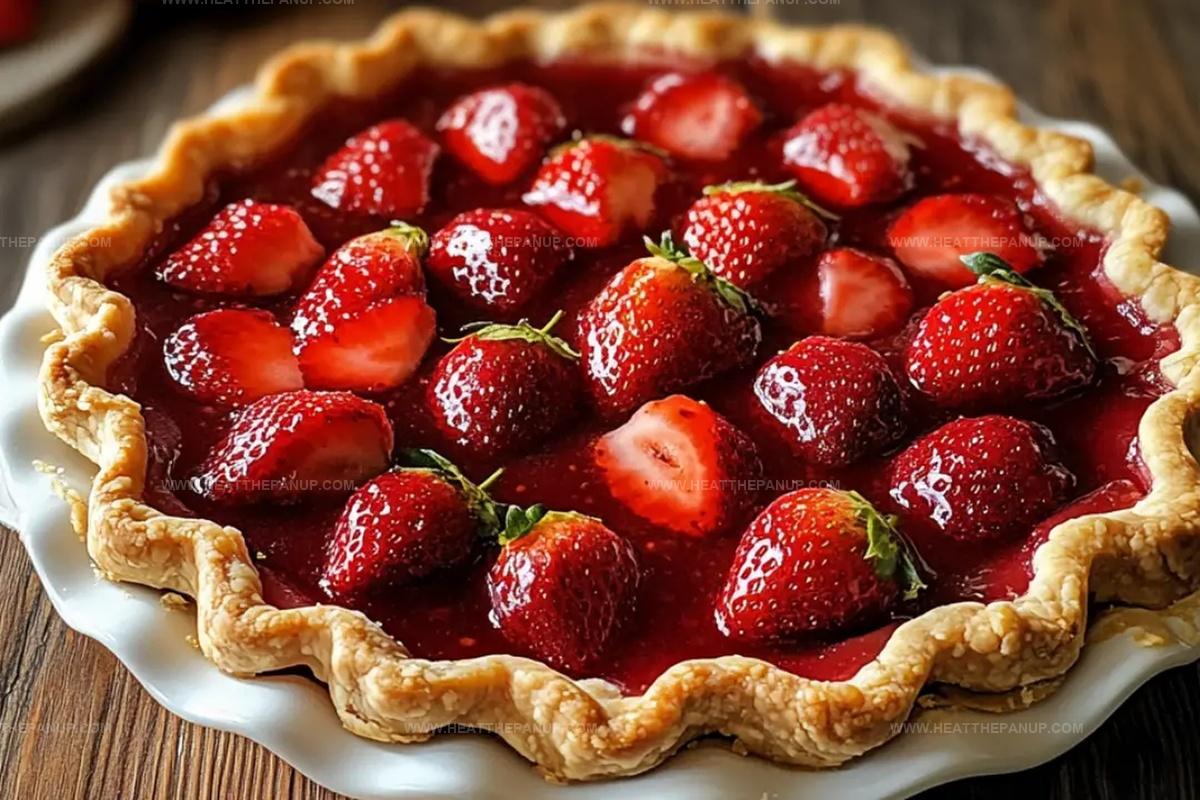
Juicy red fruits nestled in a buttery crust whisper promises of delightful moments.
My grandmother’s kitchen always hummed with magic when berries were involved.
Delicate layers of creamy filling and vibrant fruit create a dessert that feels like a warm embrace.
Each slice tells a story of sunshine and joy, inviting you to savor every delectable bite.
Simple ingredients come together with surprising elegance, turning an ordinary afternoon into something extraordinary.
You’ll discover pure bliss waiting in every forkful of this irresistible treat.
Strawberry Pie That’s Classic, Sweet, and Crowd-Pleasing

Strawberry Pie Ingredient Collection
Main Ingredients:Thickening Agents:Serving Option:Classic Strawberry Pie Instructions
Step 1: Create Vibrant Strawberry Sauce
In a saucepan, blend together sugar, cornstarch, and water until completely smooth.
Cook over medium heat, continuously stirring to prevent burning.
Watch as the mixture transforms, thickening and bubbling with intensity.
The sauce will become glossy and rich, signaling it’s ready for the next magical touch.
Step 2: Infuse With Strawberry Gelatin
Remove the saucepan from heat and sprinkle in strawberry gelatin.
Stir vigorously until the gelatin dissolves completely, creating a brilliant red mixture that sparkles with flavor.
Let the sauce cool down for about 10 minutes, allowing the flavors to meld and intensify.
Step 3: Incorporate Fresh Strawberries
Gently fold fresh strawberries into the cooled gelatin sauce.
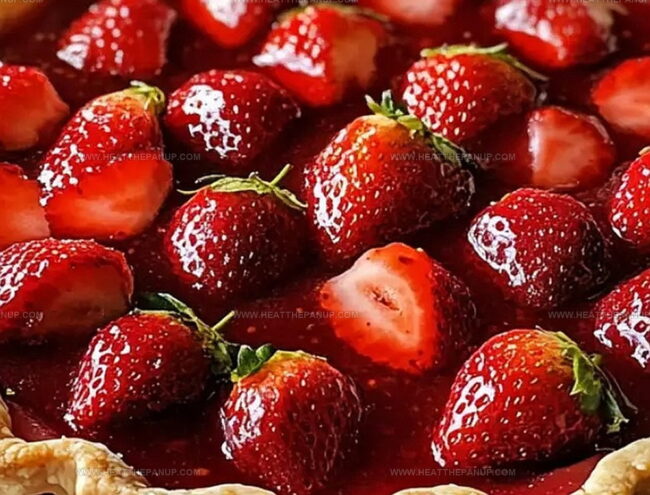
Make sure each berry gets a luxurious coating of the glossy mixture.
The berries should look glistening and vibrant, promising a burst of fresh flavor in every bite.
Step 4: Fill and Set the Pie
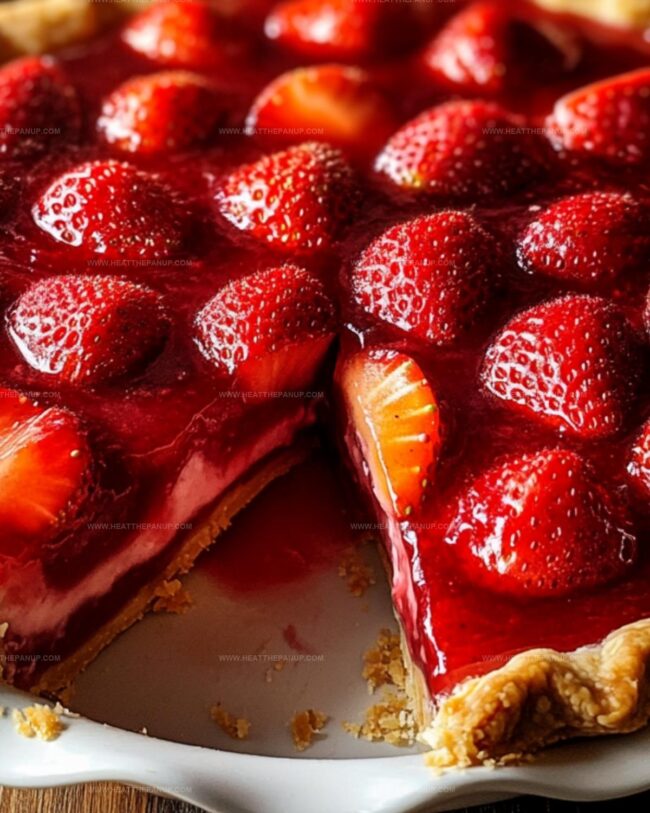
Pour the strawberry mixture into a pre-baked pie crust, spreading it evenly to create a smooth, tempting surface.
Carefully transfer the pie to the refrigerator and let it set for at least 4 hours.
The waiting is worth it as the filling transforms into a firm, delectable treat.
Step 5: Finish With Whipped Cream
When ready to serve, top the pie with a cloud of whipped cream.
This final touch adds a creamy contrast to the bright, fruity filling.
Slice and serve chilled, watching as your guests delight in this stunning dessert.
Pie Tips That Bring Out Classic Strawberry Freshness
Chill Strawberry Pie Smoothly
Strawberry Pie Complements
Classic Strawberry Pie with Fresh Fruit Takes
FAQs
Frozen strawberries can work, but thaw and drain them completely first to prevent excess moisture that might make the pie filling runny.
The mixture should coat the back of a spoon and leave a clear path when you run your finger through it. It will also look glossy and start to bubble slightly.
A pre-baked graham cracker or traditional butter pie crust both work wonderfully. Just ensure the crust is completely cooled before adding the filling.
Yes! You can prepare the pie up to 2 days in advance. Keep it refrigerated and add any whipped cream topping just before serving to maintain the best texture.
Print
Strawberry Pie Recipe
- Total Time: 25 minutes
- Yield: 8 1x
Description
Sweet summer memories bloom in this classic Strawberry Pie, where ruby-red berries nestle in a buttery, flaky crust. Fresh strawberries and silky cream create a dessert that transports you to sun-drenched gardens and delightful afternoon treats.
Ingredients
Main Ingredients:
- 4 cups fresh strawberries, hulled and halved
- 1 (3 ounces) package strawberry gelatin
- 1 pre-baked 9-inch pie crust
Thickening Agents:
- 1 cup granulated sugar
- 3 tablespoons cornstarch
Liquid Ingredient:
- 1 cup water
Instructions
- Craft a velvety foundation by whisking sugar, cornstarch, and water in a medium saucepan until completely smooth and free of lumps.
- Activate the mixture over medium heat, stirring continuously to prevent scorching, until it transforms into a thick, glossy consistency with gentle bubbling.
- Instantly remove the pan from heat and incorporate strawberry gelatin, stirring vigorously to ensure complete dissolution and a uniform crimson hue.
- Allow the gelatin mixture to cool and slightly thicken for approximately 10 minutes, developing a more substantial texture.
- Delicately integrate fresh strawberries into the cooled gelatin, gently folding to guarantee each berry is elegantly enrobed with the vibrant coating.
- Transfer the strawberry-studded filling into a pre-baked pie crust, carefully distributing the mixture to create an even, luscious layer.
- Carefully place the pie in the refrigerator, permitting it to set and solidify for a minimum of 4 hours, ensuring a perfectly stable filling.
- When ready to serve, retrieve the chilled pie and optionally crown it with billowing clouds of whipped cream for an extra luxurious presentation.
Notes
- Cornstarch acts as a thickening agent, ensuring the pie filling reaches a perfect, glossy consistency without becoming runny.
- Fresh strawberries work best when they’re ripe, sweet, and at room temperature for optimal flavor and texture integration.
- For a gluten-free version, use a gluten-free pie crust or create a nut-based crust using crushed almonds or graham crackers.
- Reduce sugar content by using a sugar-free gelatin and replacing some sugar with natural sweeteners like stevia or monk fruit for a lighter dessert option.
- Prep Time: 15 minutes
- Cook Time: 10 minutes
- Category: Desserts
- Method: Simmering
- Cuisine: American
Nutrition
- Serving Size: 8
- Calories: 205
- Sugar: 22 g
- Sodium: 10 mg
- Fat: 6 g
- Saturated Fat: 1 g
- Unsaturated Fat: 5 g
- Trans Fat: 0 g
- Carbohydrates: 42 g
- Fiber: 2 g
- Protein: 2 g
- Cholesterol: 0 mg
Angelina Wiles
Content Editor & Culinary Enthusiast
Expertise
Food Writing and Editing, Vegetarian and Vegan Cuisine, Baking and Pastry Arts, Sustainable Cooking Practices
Education
Portland Community College
Certificate in Culinary Arts
Focus: Emphasis on sustainable cooking practices, vegetarian cuisine, and food writing.
Oregon Culinary Institute
Diploma in Baking and Pastry Arts
Focus: Specialized training in artisanal baking, pastry techniques, and dessert presentation.
Angelina’s love for cooking started with handwritten family recipes and weekend trips to farmers’ markets around Portland. She followed her passion with a Certificate in Culinary Arts from Portland Community College, then perfected her sweet side with a Diploma in Baking and Pastry Arts at Oregon Culinary Institute.
Angelina believes recipes should feel like a conversation, not a science project. She’s all about helping readers trust themselves in the kitchen with simple steps, fresh ideas, and easy twists on classic meals.
When she’s not editing recipes, she’s baking bread, sipping coffee, or getting inspired by the changing seasons.