
The Ultimate Strawberry Crunch Cheesecake Recipe for Sweet Lovers
Sweet strawberry crunch cheesecake brings pure magic to every dessert lover’s dreams.
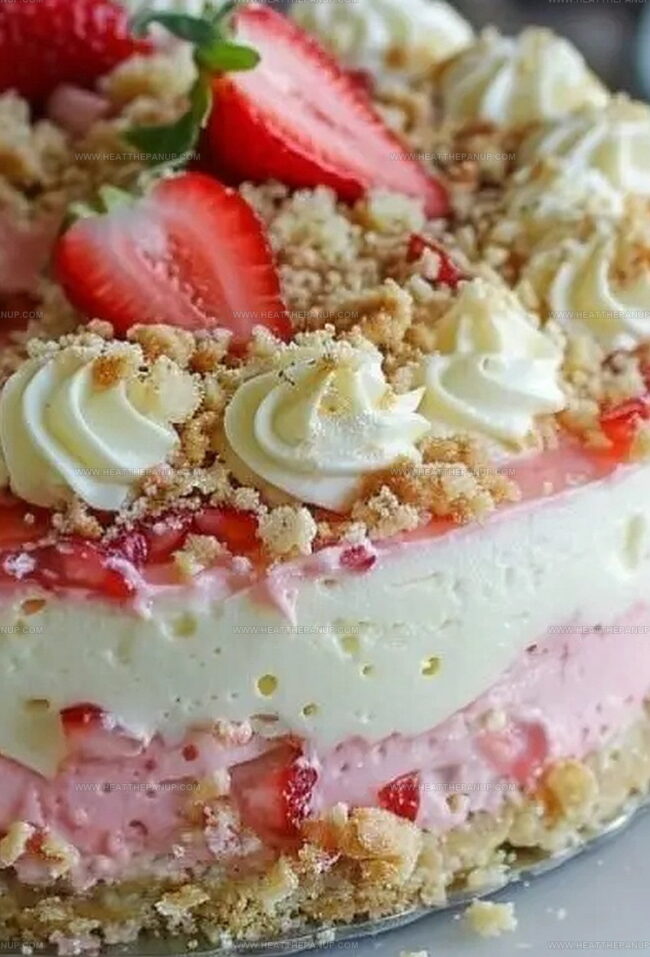
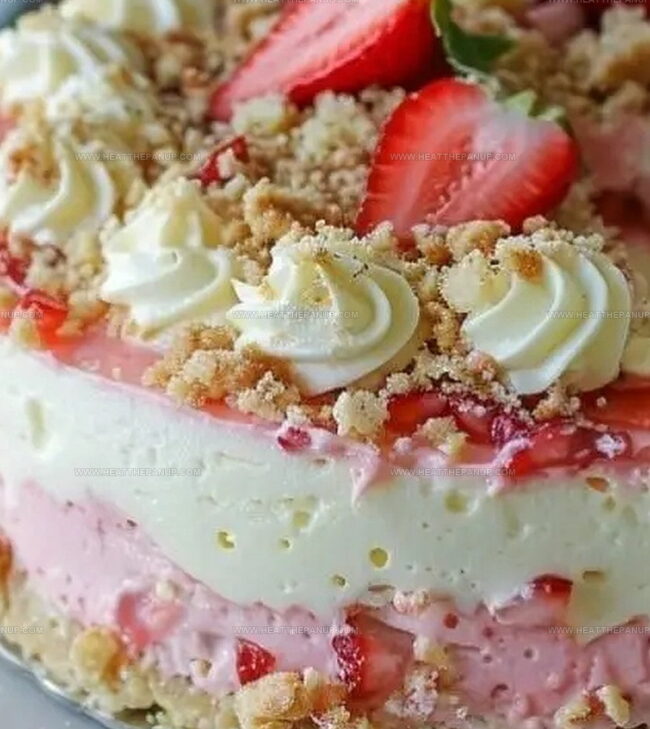
Creamy layers mingle with vibrant fruit and crispy textures.
Summer memories dance across each delectable slice.
Berries sparkle like jewels nestled between smooth cream cheese and crunchy graham base.
Decadent doesn’t begin to describe this incredible treat.
Unexpected bursts of flavor will make you smile with each magical bite.
Prepare to fall head over heels for this irresistible dessert that promises pure indulgence.
Why Strawberry Crunch Cheesecake Is A Must-Try
Ingredients For Strawberry Crunch Cheesecake
Crust Ingredients:Filling Ingredients:Topping and Garnish Ingredients:Steps To Make Strawberry Crunch Cheesecake
Step 1: Prepare Cookie Crust
Grab vanilla cream cookies and crush them into fine, sandy crumbs.
Melt butter and mix thoroughly with the cookie crumbs until well combined.
Press this delightful mixture firmly into the bottom of a greased 10-inch springform pan.
Pop the pan into the freezer for a quick 15-minute chill to set the crust perfectly.
Step 2: Create Strawberry Jello Base
Dissolve strawberry jello in boiling water and allow it to cool completely at room temperature.
Do not refrigerate, as this could impact the texture of your filling.
Step 3: Whip Cream Cheese Mixture
In a large mixing bowl, beat cream cheese and granulated sugar until the mixture becomes silky smooth and free of lumps.
In a separate bowl, whip heavy cream with powdered sugar until stiff, glossy peaks form.
Step 4: Combine Filling Layers
Gently fold the whipped cream into the cream cheese mixture.
Gradually incorporate the cooled strawberry jello, blending in two separate stages to ensure a perfect, marbled appearance.
Step 5: Layer and Freeze
Pour half of the whipped cream mixture over the chilled crust.
Add half of the strawberry jello mixture on top.
Freeze for 15 minutes to help set the layers.
Follow by adding the remaining cream cheese mixture and topping with the final strawberry layer.
Step 6: Create Crunchy Topping
Crush the remaining vanilla cream cookies and strawberry wafers into a delightful, textured mixture.
For an extra pop of color, add a touch of pink food coloring if desired.
Step 7: Finish and Chill
Sprinkle the crunchy cookie mixture generously over the top of the cheesecake.
Refrigerate for 4 hours to allow the dessert to set completely and develop its rich flavors.
Step 8: Serve and Garnish
Before serving, add elegant swirls of whipped topping to create a beautiful and appetizing presentation.
Slice and enjoy this spectacular strawberry crunch cheesecake!
Tips For Strawberry Crunch Cheesecake Success
Store And Reheat Strawberry Crunch Cheesecake
What To Serve With Strawberry Crunch Cheesecake
Tasty Spins On Strawberry Crunch Cheesecake
FAQs
Yes, graham crackers or shortbread cookies work well as alternatives to vanilla cream cookies. Just ensure they’re finely ground and mix well with melted butter for a solid base.
A springform pan is recommended for easy removal, but you can use a regular cake pan lined with parchment paper. Just be extra careful when removing the cheesecake to avoid breaking it.
Avoid overmixing the cream cheese and don’t overbake. Adding the jello helps create a smooth, crack-resistant surface. Let the cheesecake cool gradually to minimize surface imperfections.
Absolutely! This cheesecake can be prepared up to 2-3 days in advance and stored in the refrigerator. The flavors will actually develop and become more intense as it sits.
Print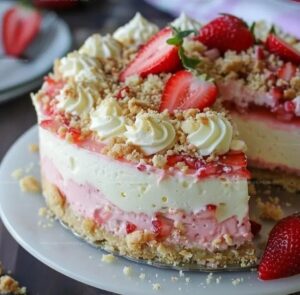
Strawberry Crunch Cheesecake Recipe
- Total Time: 45 minutes
- Yield: 8 1x
Description
Creamy strawberry crunch cheesecake promises a delightful dessert experience that blends smooth, rich textures with sweet berry notes. Crisp graham cracker base and crunchy strawberry topping create a perfect balance of flavor and texture you cannot resist.
Ingredients
Main Ingredients:
- 1 pound vanilla cream cookies
- 16 ounces (454 grams) cream cheese
- 1 cup boiling water
- 2 cups heavy whipping cream
Additional Filling Ingredients:
- 6 tablespoons butter
- 3.3 ounces (93 grams) strawberry jello
- 3/4 cup granulated sugar
- 1/2 cup powdered sugar
Topping and Garnish:
- 10 strawberry wafer cookies
- 1/2 small tub whipped topping
Instructions
- Create a buttery, crumbly foundation by pulverizing vanilla cream cookies and blending thoroughly with melted butter.
- Firmly compact the cookie mixture into a greased 10″ springform pan, ensuring an even, compact base.
- Chill the crust in the freezer for approximately 15 minutes to solidify its structure.
- Prepare the strawberry jello by dissolving it in boiling water, then allow to cool completely at room temperature without refrigeration.
- In a separate mixing bowl, whip cream cheese and granulated sugar until achieving a silky, uniform consistency.
- Whip heavy cream with powdered sugar until it forms sturdy peaks, creating a light, airy texture.
- Gently incorporate the whipped cream into the cream cheese mixture in two separate folding motions to maintain volume.
- Blend the cooled strawberry jello into the cream mixture, creating a vibrant, marbled effect.
- Pour half of the whipped cream mixture over the chilled crust, creating the first delicate layer.
- Add half of the strawberry jello mixture, creating a beautiful color gradient.
- Freeze the partially assembled cheesecake for 15 minutes to help layers set and maintain definition.
- Complete the layering by adding the remaining cream cheese mixture and topping with the final strawberry mixture.
- Crush remaining vanilla cream cookies and strawberry wafers into a textured, crumbly topping.
- Optional: Enhance the topping’s color by adding a touch of pink food coloring for visual appeal.
- Generously sprinkle the crunchy cookie mixture over the cheesecake’s surface.
- Refrigerate the dessert for 4 hours, allowing flavors to meld and texture to set perfectly.
- Before serving, embellish with elegant swirls of whipped topping for a professional finishing touch.
Notes
- Ensure cream cheese is at room temperature for smooth, lump-free mixing.
- Gently fold whipped cream into cream cheese to maintain its airy texture, preventing deflation.
- Freeze layers briefly between additions to create distinct, clean-cut layers without bleeding.
- Crush cookies just before topping to maintain maximum crunchiness and prevent sogginess.
- Prep Time: 45 minutes
- Cook Time: 0 minutes
- Category: Desserts
- Method: Chilling
- Cuisine: American
Nutrition
- Serving Size: 8
- Calories: 500
- Sugar: 30g
- Sodium: 300mg
- Fat: 35g
- Saturated Fat: 20g
- Unsaturated Fat: 10g
- Trans Fat: 0g
- Carbohydrates: 45g
- Fiber: 1g
- Protein: 6g
- Cholesterol: 100mg
Angelina Wiles
Content Editor & Culinary Enthusiast
Expertise
Food Writing and Editing, Vegetarian and Vegan Cuisine, Baking and Pastry Arts, Sustainable Cooking Practices
Education
Portland Community College
Certificate in Culinary Arts
Focus: Emphasis on sustainable cooking practices, vegetarian cuisine, and food writing.
Oregon Culinary Institute
Diploma in Baking and Pastry Arts
Focus: Specialized training in artisanal baking, pastry techniques, and dessert presentation.
Angelina’s love for cooking started with handwritten family recipes and weekend trips to farmers’ markets around Portland. She followed her passion with a Certificate in Culinary Arts from Portland Community College, then perfected her sweet side with a Diploma in Baking and Pastry Arts at Oregon Culinary Institute.
Angelina believes recipes should feel like a conversation, not a science project. She’s all about helping readers trust themselves in the kitchen with simple steps, fresh ideas, and easy twists on classic meals.
When she’s not editing recipes, she’s baking bread, sipping coffee, or getting inspired by the changing seasons.