
Dreamy Reeses Chocolate Peanut Butter Bars Recipe for Sweet Bliss
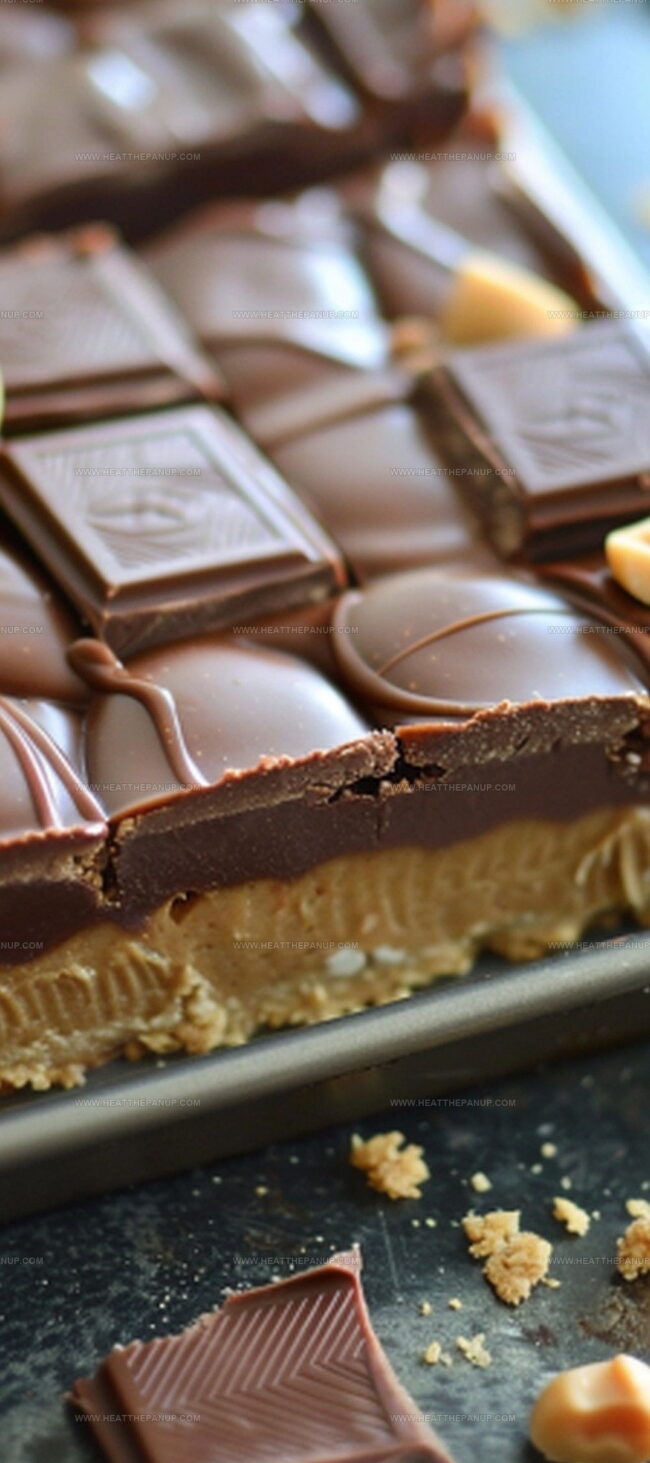
Crafting delectable reeses chocolate peanut butter bars will transport you to a world of sweet, nostalgic bliss.
Every bite promises a perfect balance of creamy and crunchy textures.
Chocolate and peanut butter dance together in a symphony of indulgence.
Homemade treats beat store-bought options any day of the week.
Rich layers melt smoothly, creating a decadent experience that feels like a warm hug.
Minimal ingredients and simple steps make this recipe accessible to even novice bakers.
We promise these bars will become your new favorite dessert obsession.
Reasons to Crave Reeses Chocolate Peanut Butter Bars
Reese’s Chocolate Bars Ingredient List
Base Ingredients:Chocolate Topping:Optional Garnish:Reese’s Chocolate Bars Recipe Steps
Step 1: Melt and Mix Peanut Butter Base
Grab a spacious mixing bowl and combine melted butter, graham cracker crumbs, powdered sugar, and creamy peanut butter. Stir everything together until the mixture transforms into a thick, crumbly texture that holds together nicely.
Step 2: Smooth and Settle the Layer
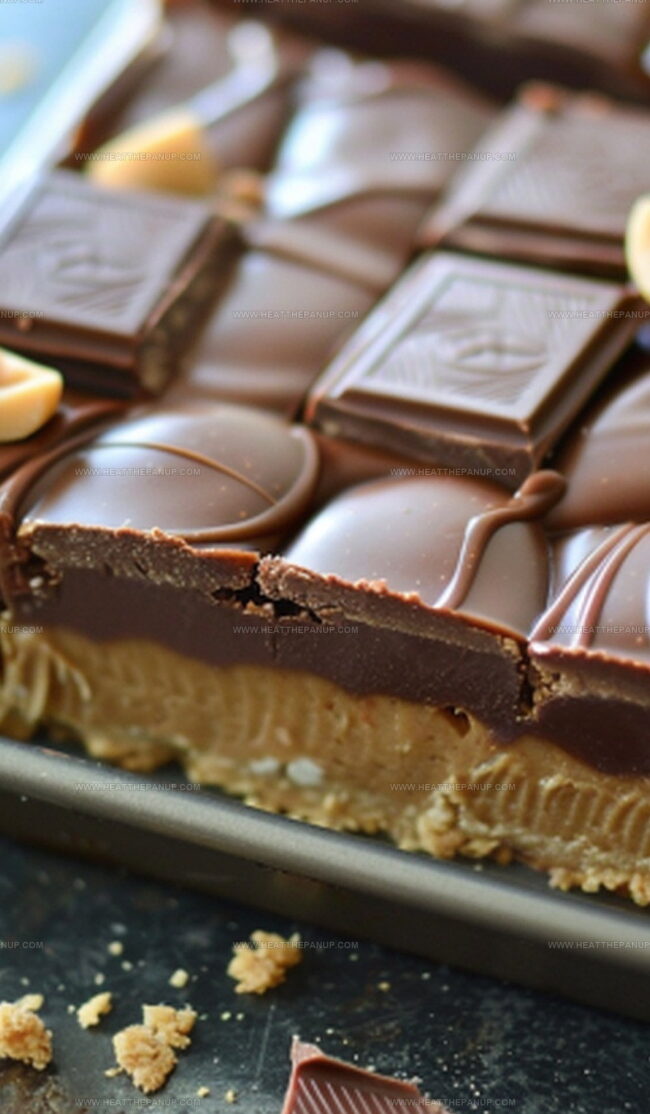
Transfer the peanut butter mixture into a 9×13 inch baking dish. Use the back of a spoon or a flexible spatula to press and spread the mixture evenly across the entire surface. Make sure to create a smooth, compact layer that will serve as the delicious foundation for your chocolate bars.
Step 3: Melt Chocolate Topping
Set up a double boiler or microwave-safe bowl to gently melt chocolate chips. If using a microwave, heat in short 15-second intervals, stirring between each burst to prevent burning. Continue until the chocolate becomes completely smooth and glossy.
Step 4: Create Chocolate Layer
Pour the melted chocolate over the peanut butter base, using a spatula to spread it into an even, consistent layer that completely covers the bottom layer. Ensure the chocolate reaches all edges of the baking dish.
Step 5: Chill and Set
Place the baking dish in the refrigerator and let the bars cool for approximately 30-45 minutes. The chocolate should become firm and set, creating a perfect two-layer treat that’s ready to be cut and served.
Step 6: Slice and Serve
Remove the dish from the refrigerator and use a sharp knife to slice the bars into square or rectangular pieces. For clean cuts, wipe the knife between each slice to maintain neat edges.
Advice for Reeses PB Chocolate Bars
Storing Reeses Chocolate Peanut Butter Bars The Right Way
Peanut Butter Bars Match-Up Suggestions
Reeses Chocolate Peanut Butter Bars: Fun Flavor Options
FAQs
Absolutely! Crunchy peanut butter will add extra texture to your bars, giving them a nice nutty crunch while maintaining the same delicious flavor.
Yes, chilling the peanut butter layer for about 15-20 minutes helps it set and prevents the chocolate from mixing with the base when you spread it on top.
Use a sharp knife and wipe it clean with a warm, damp cloth between each cut. This helps create smooth, neat edges and prevents the chocolate from cracking.
Add a little more melted butter, one tablespoon at a time, until the mixture holds together when pressed. The goal is a consistency that’s moist enough to hold its shape but not too wet.
Print
Reeses Chocolate Peanut Butter Bars Recipe
- Total Time: 20 minutes
- Yield: 12 1x
Description
Indulgent Reeses chocolate peanut butter bars combine classic flavors in a simple no-bake dessert that melts hearts. Chocolate and peanut butter layers create a dreamy treat perfect for satisfying sweet cravings with minimal effort.
Ingredients
Main Ingredients (Structural Components):
- 2 cups graham cracker crumbs
- 1 cup creamy peanut butter
Fat/Binding Ingredients:
- 1 cup unsalted butter, melted
Sweetening Ingredients:
- 2 cups powdered sugar
Instructions
- Thoroughly blend melted butter, graham cracker crumbs, powdered sugar, and creamy peanut butter in a spacious mixing bowl until the ingredients form a cohesive, dense texture.
- Transfer the mixture into a 9×13 inch baking dish, pressing firmly and evenly across the surface using a spatula or spoon to create a uniform base layer.
- Melt chocolate chips in a microwave-safe bowl, stirring at 30-second intervals to prevent scorching and ensure smooth consistency.
- Pour the molten chocolate evenly over the peanut butter base, using gentle sweeping motions to cover the entire surface completely.
- Refrigerate the dessert for approximately 30-45 minutes, allowing the chocolate layer to set and solidify while maintaining a slight sheen.
- Once chilled and firm, remove from refrigerator and slice into precise rectangular bars using a sharp knife, wiping the blade clean between cuts for crisp edges.
- Store the chocolate peanut butter bars in an airtight container within the refrigerator to preserve their texture and prevent chocolate from melting.
Notes
- Achieve the perfect texture by ensuring the graham cracker crumbs are finely ground for a smooth, consistent base.
- Opt for room temperature butter to help ingredients blend more easily and create a more uniform mixture.
- Consider using natural peanut butter for a less sweet, more intense nutty flavor that complements the chocolate topping.
- Chill the bars completely before cutting to get clean, sharp edges and prevent crumbling when slicing.
- Prep Time: 20 minutes
- Cook Time: 0 minutes
- Category: Desserts, Snacks
- Method: None
- Cuisine: American
Nutrition
- Serving Size: 12
- Calories: 265
- Sugar: 22 g
- Sodium: 60 mg
- Fat: 18 g
- Saturated Fat: 8 g
- Unsaturated Fat: 10 g
- Trans Fat: 0 g
- Carbohydrates: 30 g
- Fiber: 1 g
- Protein: 4 g
- Cholesterol: 30 mg
James Hambly
Founder & Recipe Creator
Expertise
Recipe Development, Culinary Education, Farm-to-Table Cooking, Southern Cuisine
Education
Asheville-Buncombe Technical Community College
Certificate in Culinary Arts
Focus: Hands-on training in professional cooking techniques, emphasizing farm-to-table practices and Southern cuisine.
The Chef’s Academy
Associate Degree in Culinary Arts
Focus: Comprehensive culinary education covering global cuisines, kitchen management, and food safety.
James grew up surrounded by the smells of cast-iron skillets and slow-cooked Southern meals in Asheville, North Carolina.
He sharpened his skills with a Certificate in Culinary Arts from Asheville-Buncombe Technical Community College, and later leveled up with an Associate Degree from The Chef’s Academy.
James’s philosophy is simple: the best meals don’t need fancy tricks, just fresh ingredients, a hot pan, and a little bit of heart. His favorite days are spent testing one-pan wonders, chasing bold flavors, and creating recipes that feel easy, even on a busy night.