
The Best Red Velvet Crinkle Cookies Recipe for Sweet Smiles
Baking these delightful red velvet crinkle cookies can transport you to a world of sweet, powdery magic.
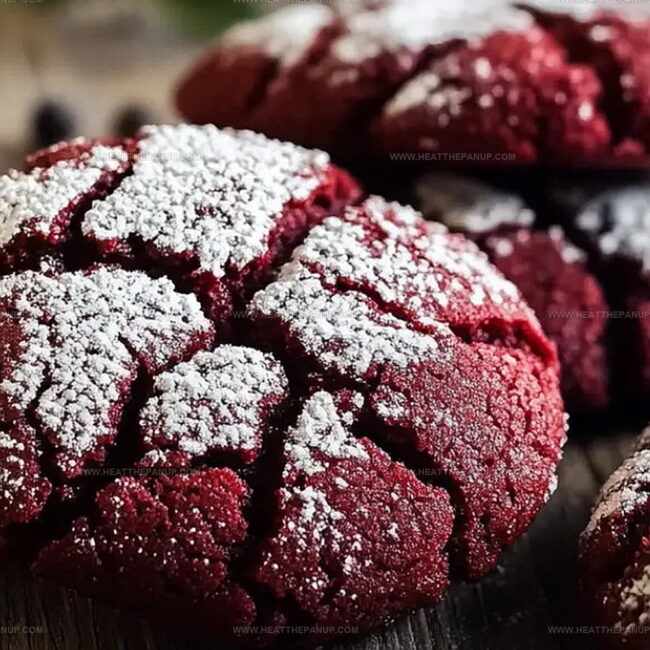
Soft cocoa-infused dough creates a stunning visual feast with its dramatic crimson hue.
Dusted generously with confectioners’ sugar, each cookie becomes a delectable work of art.
Chocolate lovers will swoon over the rich, deep flavor profile that dances across your palate.
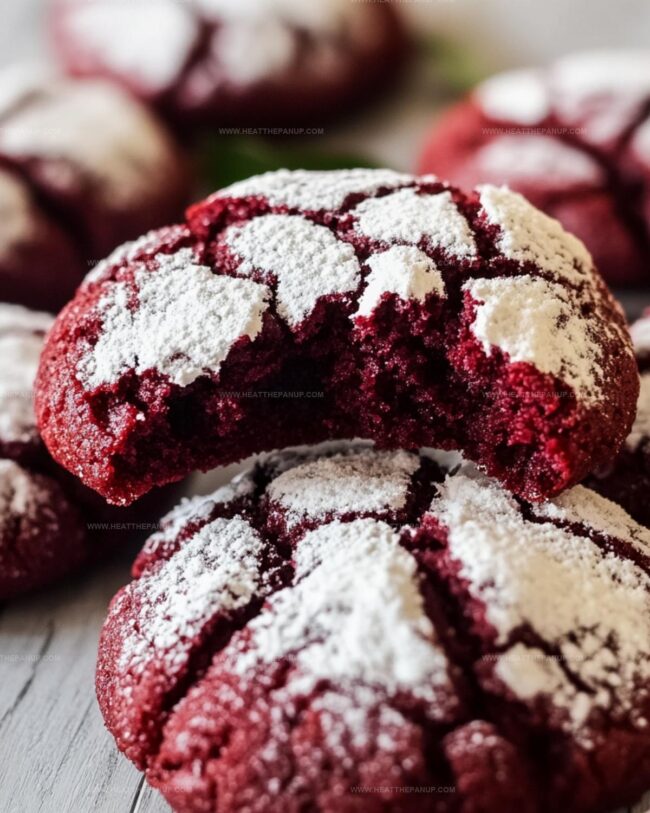
Crisp edges give way to a tender, moist center that melts effortlessly.
Minimal ingredients and simple preparation make this recipe accessible for bakers of all skill levels.
Whip up a batch and watch faces light up with pure joy.
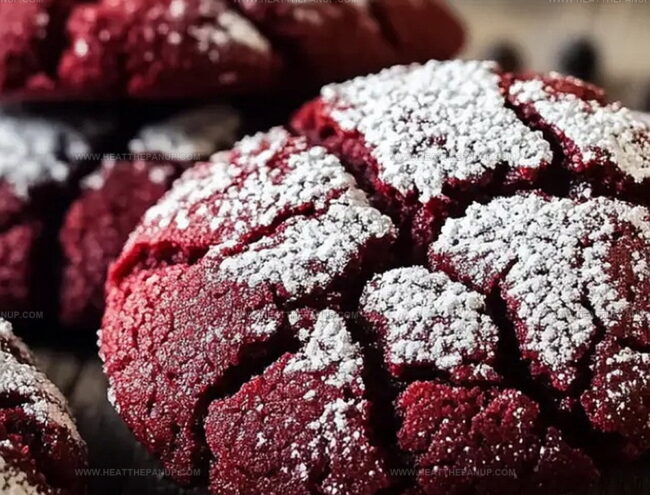
Red Velvet Crinkle Cookies With That Perfect Crackle Top
What Goes In Red Velvet Crinkle Cookies
Main Ingredients:Coating Ingredients:Flavor Enhancers:Red Velvet Crinkle Cookies Step-by-Step
Step 1: Whip Up the Cookie Dough
Grab a spacious mixing bowl and toss in the red velvet cake mix.
Crack in the eggs, drizzle vegetable oil, and splash vanilla extract.
Stir everything together until a soft, luscious dough emerges.
Pop the bowl in the refrigerator and let the dough chill for half an hour, making it super easy to handle.
Step 2: Fire Up the Oven
Crank the oven to a toasty 350°F (175°C).
Dress your baking sheets in parchment paper or silicone mats for a perfect non-stick surface.
Step 3: Create the Magical Coating
Grab a shallow bowl and blend powdered sugar with cornstarch.
This magical mixture will give your cookies their signature snowy look.
Step 4: Shape and Dress the Cookies
Scoop out tablespoon-sized chunks of the chilled dough.
Roll them into adorable little balls.
Then, give each ball a luxurious tumble in the powdered sugar mixture, ensuring they’re completely blanketed in white.
Step 5: Bake to Perfection
Arrange the sugar-coated dough balls on the prepared baking sheets, leaving some breathing room between each cookie.
Slide them into the oven and bake for 10-12 minutes.
Watch for that gorgeous crackle top to develop.
Once done, let the cookies rest on the baking sheet for two minutes, then transfer to a wire rack to cool completely.
Step 6: Indulge and Celebrate
Serve these stunning cookies solo or paired with a cold glass of milk.
Enjoy the velvety, crackly goodness!
Crinkle Cookie Tips for Red Velvet Lovers
Store Red Velvet Crinkle Cookie Leftovers
Red Velvet Crinkle Cookies Pairings
Red Velvet Crinkle Cookies with Sweet Dustings
FAQs
Chilling the dough helps prevent the cookies from spreading too much during baking and makes the dough easier to handle, ensuring a perfect round shape and crinkle texture.
While red velvet is classic, you can experiment with other cake mix flavors like chocolate or vanilla to create different variations of crinkle cookies.
Look for set edges and a beautiful crackle appearance on top. The cookies should look slightly underbaked in the center, as they will continue to set while cooling on the baking sheet.
Cornstarch helps create a more even and less clumpy powdered sugar coating, but you can skip it if you don’t have it on hand. The cookies will still taste delicious and look great.
Print
Red Velvet Crinkle Cookies Recipe
- Total Time: 20 minutes
- Yield: 24 1x
Description
Indulgent Red Velvet Crinkle Cookies bring classic Southern charm to holiday dessert tables with their eye-catching powdered sugar coating. Crisp edges, fudgy centers, and rich cocoa notes make these treats irresistible for chocolate lovers seeking a festive sweet sensation.
Ingredients
Main Ingredients:
- 1 box red velvet cake mix (15.25 ounces / 432 grams)
- 2 large eggs, room temperature
- 1/3 cup (79 milliliters) vegetable oil
Coating Ingredients:
- 1/2 cup (60 grams) powdered sugar
Flavor and Binding Ingredients:
- 1 teaspoon vanilla extract
- 1 teaspoon cornstarch (optional, for extra coating)
Instructions
- Whip together red velvet cake mix, eggs, vegetable oil, and vanilla extract in a spacious mixing vessel until a supple, cohesive dough emerges.
- Encase the dough in plastic film and nestle in the refrigerator for half an hour to firm up and become more manageable.
- Heat the oven to a precise 350°F, draping baking trays with parchment paper or silicone mats to prevent sticking.
- Create a delicate dusting station by combining powdered sugar and cornstarch in a shallow receptacle, ensuring an even, feathery coating.
- Extract chilled dough using a tablespoon, gently rolling into uniform spheres with nimble fingertips.
- Lavishly coat each dough ball by tumbling it through the sugar mixture, ensuring complete and luxurious coverage.
- Arrange sugar-encrusted orbs on prepared baking sheets, positioning them with ample breathing room between each cookie.
- Slide trays into the heated oven, allowing cookies to transform for 10-12 minutes until edges set and surfaces develop an elegant, fractured landscape.
- Permit cookies to rest briefly on baking sheets, then transfer to a cooling rack, letting them achieve room temperature perfection.
- Serve these decadent morsels alongside a creamy milk companion, ready to delight discerning palates.
Notes
- Chill the dough thoroughly to prevent sticky handling and ensure easier rolling.
- Use gluten-free cake mix for a celiac-friendly version of these delightful cookies.
- Avoid overbaking to maintain a soft, fudgy center that melts in your mouth.
- Dust extra powdered sugar just before serving for a stunning snow-like appearance.
- Prep Time: 10 minutes (excluding 30 minutes chilling)
- Cook Time: 10 minutes (per batch)
- Category: Desserts, Snacks
- Method: Baking
- Cuisine: American
Nutrition
- Serving Size: 24
- Calories: 150
- Sugar: 10 g
- Sodium: 200 mg
- Fat: 6 g
- Saturated Fat: 1 g
- Unsaturated Fat: 5 g
- Trans Fat: 0 g
- Carbohydrates: 22 g
- Fiber: 0 g
- Protein: 2 g
- Cholesterol: 20 mg
Angelina Wiles
Content Editor & Culinary Enthusiast
Expertise
Food Writing and Editing, Vegetarian and Vegan Cuisine, Baking and Pastry Arts, Sustainable Cooking Practices
Education
Portland Community College
Certificate in Culinary Arts
Focus: Emphasis on sustainable cooking practices, vegetarian cuisine, and food writing.
Oregon Culinary Institute
Diploma in Baking and Pastry Arts
Focus: Specialized training in artisanal baking, pastry techniques, and dessert presentation.
Angelina’s love for cooking started with handwritten family recipes and weekend trips to farmers’ markets around Portland. She followed her passion with a Certificate in Culinary Arts from Portland Community College, then perfected her sweet side with a Diploma in Baking and Pastry Arts at Oregon Culinary Institute.
Angelina believes recipes should feel like a conversation, not a science project. She’s all about helping readers trust themselves in the kitchen with simple steps, fresh ideas, and easy twists on classic meals.
When she’s not editing recipes, she’s baking bread, sipping coffee, or getting inspired by the changing seasons.