
The Ultimate Red Velvet Cheesecake Recipe: Sweet & Dreamy Delight
Whipping up a decadent red velvet cheesecake brings pure magic to your dessert table.
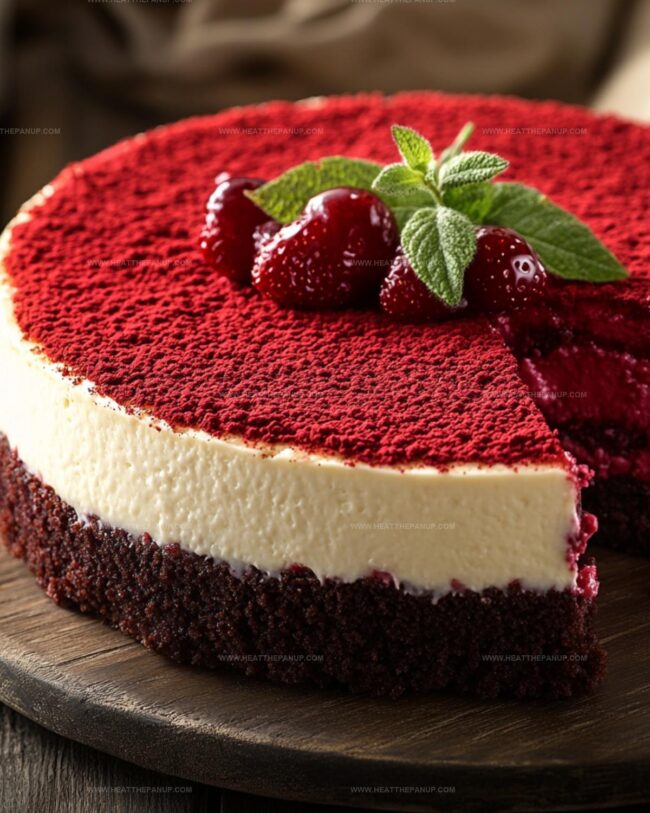
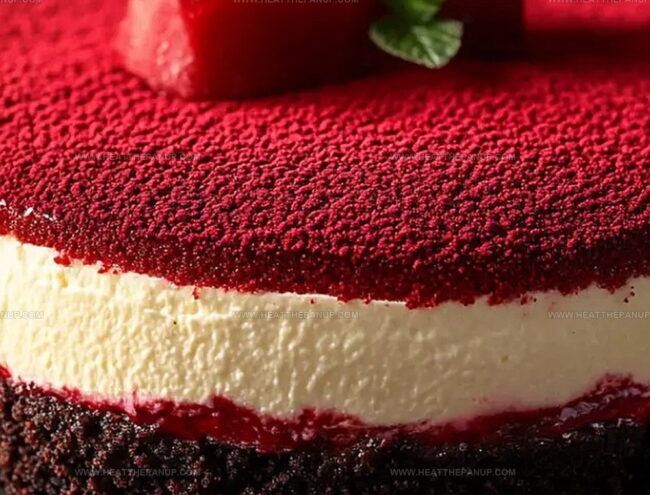
Luxurious layers of crimson-hued cake merge seamlessly with creamy cheese filling.
Soft, velvety textures promise an unforgettable experience for sweet enthusiasts.
Rich cocoa notes dance alongside tangy cream cheese, creating an irresistible combination.
Smooth and indulgent, this dessert transforms ordinary moments into spectacular celebrations.
Each slice tells a story of culinary passion and delightful creativity.
Red Velvet Cheesecake That’s Creamy, Rich, and Bold

Indulge in Effortless Elegance: Discover the Charm of Red Velvet Cheesecake
What You’ll Use in Red Velvet Cheesecake
Crust Base:Cheesecake Filling:Frosting Topping:Baking a Rich Red Velvet Cheesecake
Step 1: Crush and Prepare Cookie Base
Grab a bunch of chocolate cookies and smash them into fine crumbs using a food processor or rolling pin.
Melt some butter and mix it with the cookie crumbs and sugar until everything sticks together perfectly.
Press this delicious mixture firmly into a greased springform pan, creating an even layer.
Pop it in the oven at 325°F and bake for 10 minutes, then let it cool down completely.
Step 2: Whip Up Creamy Cheesecake Filling
In a large mixing bowl, beat cream cheese and sugar until super smooth and dreamy.
Toss in:Mix everything until well combined.
Gently fold in lightly beaten eggs, being careful not to overmix.
Add a splash of red food coloring and swirl until the mixture looks beautifully red and velvety.
Step 3: Bake the Decadent Cheesecake
Pour the vibrant red filling over the cooled cookie crust, spreading it evenly.
Place the pan on a baking sheet and slide it into the oven.
Bake for about an hour, watching until the edges are set but the center still has a slight wiggle.
Turn off the oven and let the cheesecake rest inside with the door slightly open for one hour.
Step 4: Chill and Set the Cheesecake
Transfer the cheesecake to the refrigerator and let it cool completely.
Give it at least 4 hours, but overnight is even better for that perfect, silky texture.
Step 5: Create Luxurious Cream Cheese Frosting
In a bowl, whip cream cheese and butter until they become incredibly smooth.
Gradually add powdered sugar and vanilla extract, mixing until the frosting becomes light and fluffy.
Step 6: Dress Up and Serve
Carefully remove the cheesecake from the springform pan.
Spread the luscious cream cheese frosting over the top in a beautiful, even layer.
For an extra touch of elegance, sprinkle chocolate shavings, crumble some cookies on top, or drizzle with chocolate syrup.
Slice, serve, and watch everyone swoon!
Red Velvet Cheesecake Layering Tips That Wow
How to Store Red Velvet Cheesecake
Red Velvet Cheesecake Pairings
Red Velvet Cheesecake with Decadent Layers
FAQs
A springform pan allows easy removal of the cheesecake without damaging its delicate structure. The removable sides help you lift the entire cheesecake out smoothly and present it beautifully without breaking the delicate texture.
Yes, you can create a buttermilk substitute by mixing regular milk with a tablespoon of white vinegar or lemon juice. Let it sit for 5 minutes before using. This simple trick ensures you can still achieve the tangy flavor and tender texture of the original recipe.
Avoid overmixing the eggs and bake the cheesecake in a water bath or with the recommended cooling method. Gradually cooling the cheesecake in the oven with the door slightly open helps prevent sudden temperature changes that can cause unsightly cracks.
The red food coloring creates the vibrant red hue. A small amount of cocoa powder also contributes to the classic red velvet flavor, giving the cheesecake its signature deep red color and subtle chocolate undertone.
Print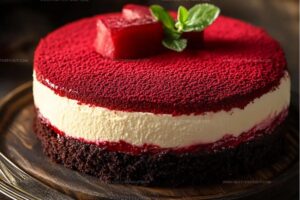
Red Velvet Cheesecake Recipe
- Total Time: 1 hour 15 minutes
- Yield: 12 1x
Description
Indulgent red velvet cheesecake delivers a luxurious fusion of rich cream cheese and classic Southern dessert charm. Silky layers and velvety texture promise a heavenly experience that will delight your senses with each exquisite bite.
Ingredients
Primary Ingredients:
- 3 packages (8 ounces/226 grams) cream cheese, softened
- 1 1/4 cups sugar
- 3 large eggs, room temperature, lightly beaten
Crust Ingredients:
- 2 cups cream-filled chocolate cookies, crushed (about 24 cookies)
- 1/4 cup unsalted butter, melted
- 1/4 cup sugar
Supporting Ingredients:
- 1/2 cup sour cream
- 1/4 cup buttermilk
- 2 tablespoons baking cocoa
- 2 teaspoons vanilla extract
- 1 tablespoon red food coloring
Frosting Ingredients:
- 4 ounces (113 grams) cream cheese, softened
- 1/4 cup unsalted butter, softened
- 2 cups confectioners sugar
- 1 teaspoon vanilla extract
Instructions
- Craft the foundation by pulverizing chocolate cookies into fine crumbs, then blend seamlessly with melted butter and sugar to create a cohesive base.
- Press the crumbly mixture firmly into a greased springform pan, forming an even layer that will support the decadent cheesecake filling.
- Toast the crust in a preheated oven until slightly golden, allowing the butter to set and create a crisp foundation.
- Whip cream cheese and sugar into a velvety smooth consistency, ensuring no lumps remain in the mixture.
- Incorporate tangy sour cream, rich buttermilk, deep cocoa powder, and fragrant vanilla extract, blending until the mixture achieves a uniform texture.
- Gently fold in lightly beaten eggs, maintaining a delicate touch to prevent potential cracking during baking.
- Introduce vibrant red food coloring, stirring carefully to distribute an even, luxurious crimson hue throughout the filling.
- Pour the crimson batter over the prepared crust, spreading with precision to create a flawless surface.
- Bake the cheesecake in a moderate oven, watching for the subtle jiggle that indicates perfect custard-like consistency.
- Allow the cheesecake to rest inside the cooling oven, creating a gradual temperature transition that minimizes potential surface cracks.
- Refrigerate the cooled cheesecake for several hours, enabling the filling to set into a luscious, creamy texture.
- Whip cream cheese and butter into a silky frosting, gradually incorporating powdered sugar and vanilla for a light, spreadable topping.
- Carefully unmold the chilled cheesecake and lavish the top with the creamy frosting, creating a smooth, elegant finish.
- Optional: Embellish with delicate chocolate shavings or a drizzle of rich chocolate syrup for an extra touch of decadence.
Notes
- Wrap the outside of the springform pan with aluminum foil and place it in a larger baking dish filled with hot water to create even, gentle heat distribution during baking.
- Let cream cheese sit at room temperature for about 30-45 minutes before mixing to ensure smooth, lump-free consistency and easier blending.
- Adjust the amount of red food coloring to achieve your desired deep or light red velvet shade, keeping in mind that natural food colorings might produce a softer tone.
- Substitute chocolate cookies with gluten-free graham crackers or almond flour-based cookie crumbs to accommodate dietary restrictions without compromising texture.
- Prep Time: 20 minutes
- Cook Time: 55 minutes
- Category: Desserts
- Method: Baking
- Cuisine: American
Nutrition
- Serving Size: 12
- Calories: 400
- Sugar: 30 g
- Sodium: 300 mg
- Fat: 24 g
- Saturated Fat: 14 g
- Unsaturated Fat: 8 g
- Trans Fat: 0 g
- Carbohydrates: 44 g
- Fiber: 1 g
- Protein: 6 g
- Cholesterol: 90 mg
Angelina Wiles
Content Editor & Culinary Enthusiast
Expertise
Food Writing and Editing, Vegetarian and Vegan Cuisine, Baking and Pastry Arts, Sustainable Cooking Practices
Education
Portland Community College
Certificate in Culinary Arts
Focus: Emphasis on sustainable cooking practices, vegetarian cuisine, and food writing.
Oregon Culinary Institute
Diploma in Baking and Pastry Arts
Focus: Specialized training in artisanal baking, pastry techniques, and dessert presentation.
Angelina’s love for cooking started with handwritten family recipes and weekend trips to farmers’ markets around Portland. She followed her passion with a Certificate in Culinary Arts from Portland Community College, then perfected her sweet side with a Diploma in Baking and Pastry Arts at Oregon Culinary Institute.
Angelina believes recipes should feel like a conversation, not a science project. She’s all about helping readers trust themselves in the kitchen with simple steps, fresh ideas, and easy twists on classic meals.
When she’s not editing recipes, she’s baking bread, sipping coffee, or getting inspired by the changing seasons.