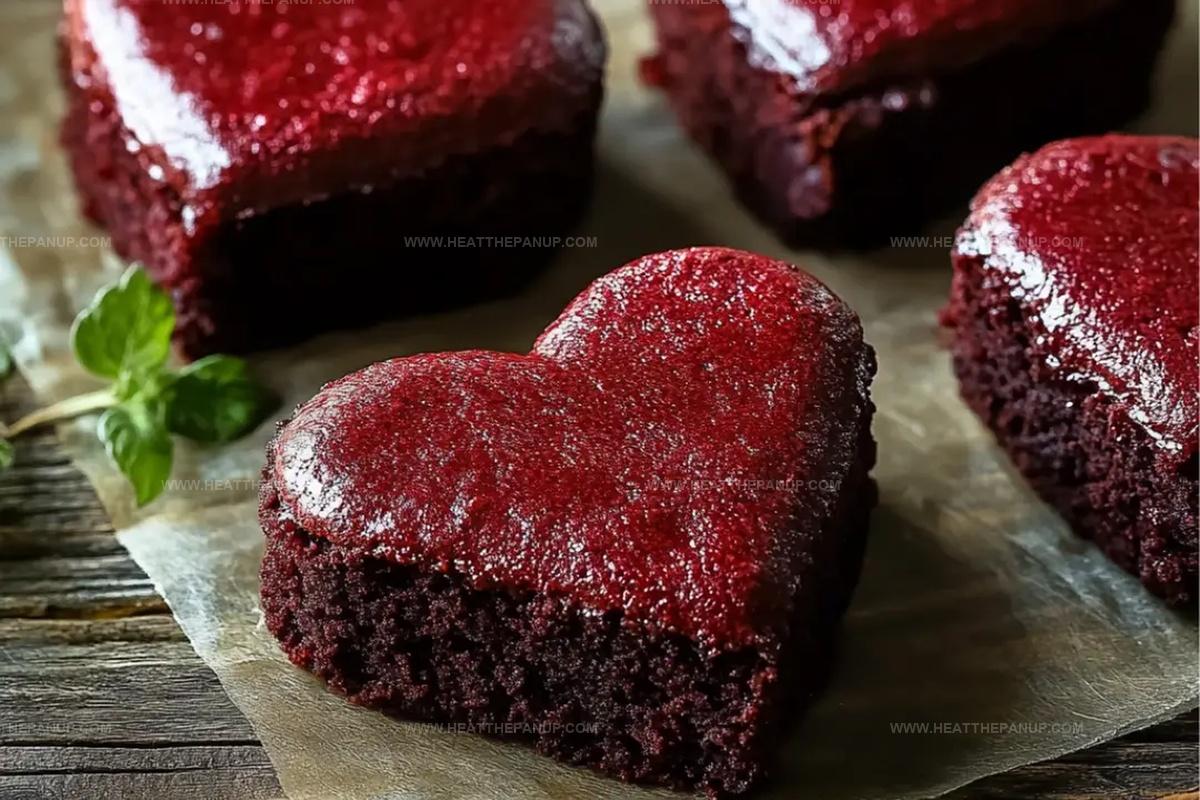
Red Velvet Brownie Hearts Recipe: A Sweet Valentine’s Treat
These decadent red velvet brownie hearts melt hearts faster than chocolate melts in warm hands.
Sweet romance dances through every rich, velvety bite of this charming dessert.
Crimson-colored squares promise pure indulgence with their luxurious cocoa undertones.
Romantic bakers understand how simple ingredients can create extraordinary magic in the kitchen.
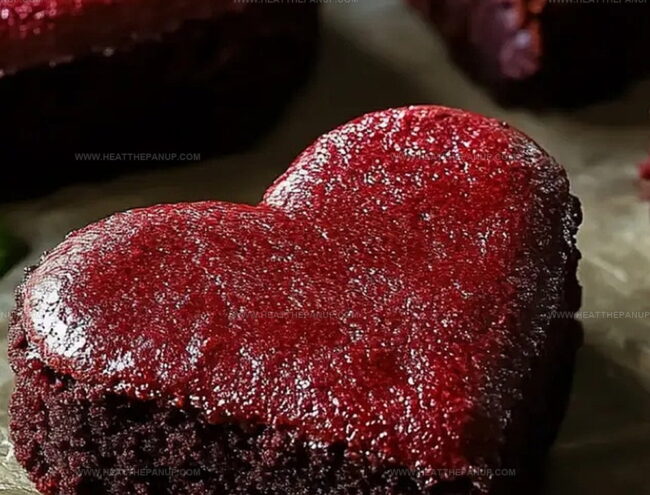
Deep crimson hues signal passionate flavor waiting to surprise you.
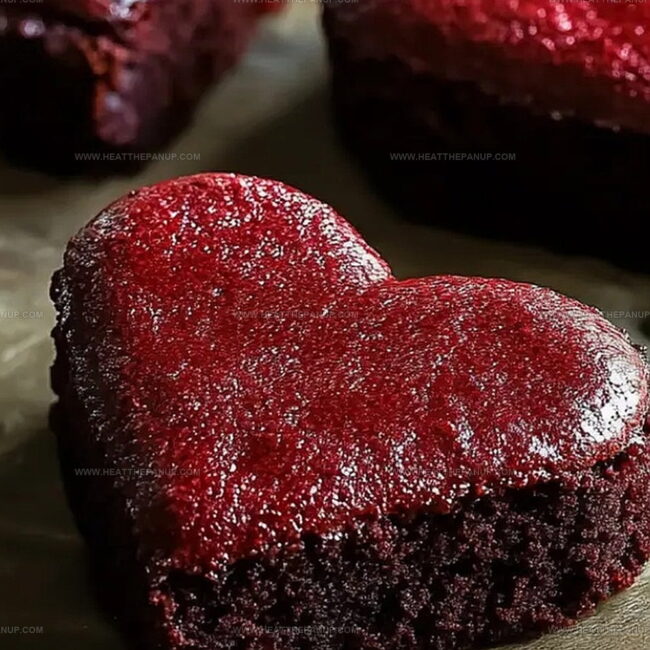
Each heart-shaped treat whispers delightful promises of chocolate and love.
Bake these stunning brownies to impress someone special and watch their smile bloom like a perfect valentine.
Red Velvet Brownie Hearts That Make Valentine’s Sweet and Fudgy
Red Velvet Brownie Hearts: What You’ll Need
Main Baking Components:Baking Preparation Ingredients:Decoration and Filling:Red Velvet Brownie Heart Instructions for Valentine’s
Step 1: Mix Vibrant Batter
Warm up your oven to 350°F.
Grab a baking pan and line it with parchment paper for super easy brownie removal.
In a large mixing bowl, blend together:Stir everything until the batter looks smooth and rich with that gorgeous red color.
Step 2: Spread and Bake
Pour the batter into the prepared pan.
Use a spatula to spread it evenly across the surface.
Slide the pan into the preheated oven and bake for 18-22 minutes.
Check doneness by inserting a toothpick – it should come out clean or with just a few crumbs.
Let the brownies cool completely in the pan.
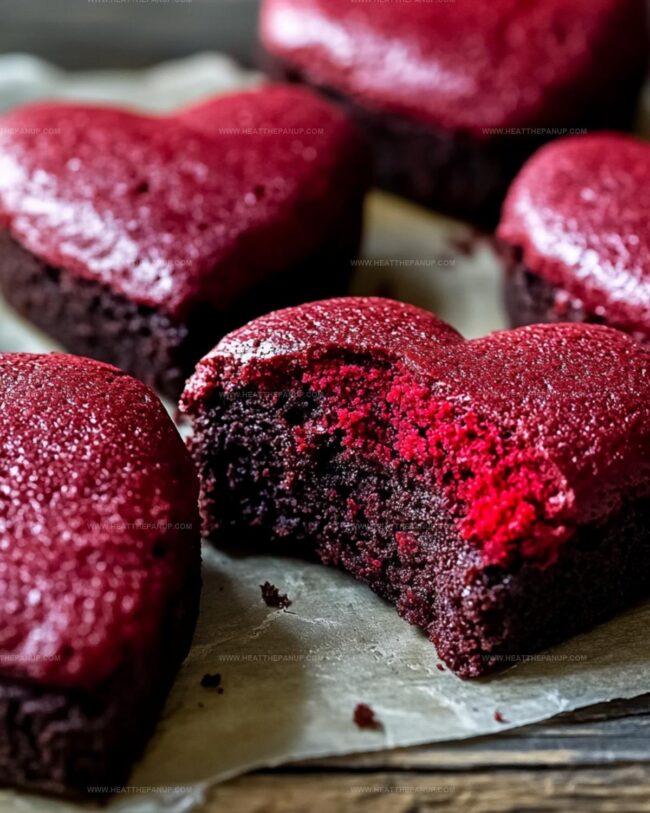
Step 3: Create Heart Shapes
Once cooled, lift the brownies out using the parchment paper.
Grab a heart-shaped cookie cutter and start cutting adorable heart shapes.
Save the delicious leftover scraps for snacking.
Step 4: Build Dreamy Sandwiches
Flip half of the heart-shaped brownies upside down.
Pipe a generous layer of fluffy white frosting on the flat side of each overturned heart.
Gently place another heart-shaped brownie on top to create a delightful sandwich.
Make sure the pretty side faces outward.
Step 5: Serve with Love
Arrange these sweet brownie hearts on a beautiful serving platter.
Get ready to impress your friends and family with this romantic and delicious treat!
Brownie Heart Baking Tips for Red Velvet Lovers
Keep Red Velvet Brownie Hearts Fresh
Red Velvet Brownie Hearts Serving Ideas
Red Velvet Brownie Hearts with Sweet Adjustments
FAQs
You’ll need a red velvet cake mix, egg, vegetable oil, water, and white frosting. The recipe is simple and requires minimal ingredients for delicious results.
You can use a knife to carefully cut heart shapes or simply cut traditional square brownies. The heart shape adds a cute touch but isn’t mandatory for enjoying the dessert.
Follow the baking time precisely and check with a toothpick. Remove the brownies from the oven when the toothpick has a few moist crumbs, which helps maintain their soft texture.
Absolutely! These brownie hearts are perfect for romantic events, parties, or any celebration where you want a cute, sweet treat that looks impressive and tastes delicious.
Print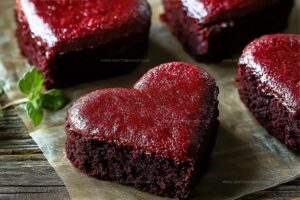
Red Velvet Brownie Hearts Recipe
- Total Time: 35 minutes
- Yield: 12 1x
Description
Sinful red velvet brownie hearts melt hearts with rich crimson color and velvety chocolate intensity. Romantic dessert perfection promises pure indulgence for passionate bakers seeking delectable Valentine’s celebration.
Ingredients
Main Ingredients:
- 1 box moist red velvet cake mix
- 1/3 cup (79 ml) vegetable oil
- 1/3 cup (79 ml) water
- 1 large egg
Frosting:
- Whipped fluffy white frosting
Instructions
- Initiate oven warming to 350°F (175°C). Coat a 9×13-inch baking vessel with grease and parchment paper for effortless extraction. Merge red velvet cake mix, egg, vegetable oil, and water in a spacious mixing bowl, whisking until achieving a uniformly smooth consistency.
- Transfer the crimson-hued batter into the prepared pan, utilizing a spatula to distribute evenly across the surface, creating a level landscape.
- Position the pan in the preheated oven, allowing the brownies to transform for 18-22 minutes. Validate doneness by inserting a toothpick – it should emerge with minimal crumbs. Permit complete cooling within the pan before extraction.
- After temperature reduction, delicately elevate the brownie block using parchment paper edges. Strategically employ a heart-shaped cookie cutter to carve romantic silhouettes from the decadent canvas. Reserve remaining fragments for casual nibbling.
- Designate half of the heart-shaped specimens with their flat surfaces facing upward. Adorn each base with pillowy white frosting, deploying a piping technique for elegant coverage. Gently crown each frosted foundation with a complementary heart, positioning the decorative surface outwardly.
- Artfully arrange the brownie heart sandwiches on an elegant serving platform, presenting a visually tantalizing and delectable confection ready for indulgence.
Notes
- Experiment with different cake mix flavors like chocolate or strawberry to create unique variations of these brownie hearts.
- Ensure brownies are completely cooled before cutting to maintain clean heart-shaped edges and prevent crumbling.
- Create gluten-free version by using a gluten-free red velvet cake mix and checking ingredient compatibility.
- Reduce sugar content by selecting a low-sugar cake mix or substituting part of the oil with unsweetened applesauce for a healthier twist.
- Prep Time: 15 minutes
- Cook Time: 20 minutes
- Category: Desserts, Snacks
- Method: Baking
- Cuisine: American
Nutrition
- Serving Size: 12
- Calories: 150
- Sugar: 12 g
- Sodium: 180 mg
- Fat: 7 g
- Saturated Fat: 1 g
- Unsaturated Fat: 6 g
- Trans Fat: 0 g
- Carbohydrates: 20 g
- Fiber: 0 g
- Protein: 2 g
- Cholesterol: 15 mg
Angelina Wiles
Content Editor & Culinary Enthusiast
Expertise
Food Writing and Editing, Vegetarian and Vegan Cuisine, Baking and Pastry Arts, Sustainable Cooking Practices
Education
Portland Community College
Certificate in Culinary Arts
Focus: Emphasis on sustainable cooking practices, vegetarian cuisine, and food writing.
Oregon Culinary Institute
Diploma in Baking and Pastry Arts
Focus: Specialized training in artisanal baking, pastry techniques, and dessert presentation.
Angelina’s love for cooking started with handwritten family recipes and weekend trips to farmers’ markets around Portland. She followed her passion with a Certificate in Culinary Arts from Portland Community College, then perfected her sweet side with a Diploma in Baking and Pastry Arts at Oregon Culinary Institute.
Angelina believes recipes should feel like a conversation, not a science project. She’s all about helping readers trust themselves in the kitchen with simple steps, fresh ideas, and easy twists on classic meals.
When she’s not editing recipes, she’s baking bread, sipping coffee, or getting inspired by the changing seasons.