
Warm Pillsbury Biscuit Garlic Butter Cheese Bombs Recipe
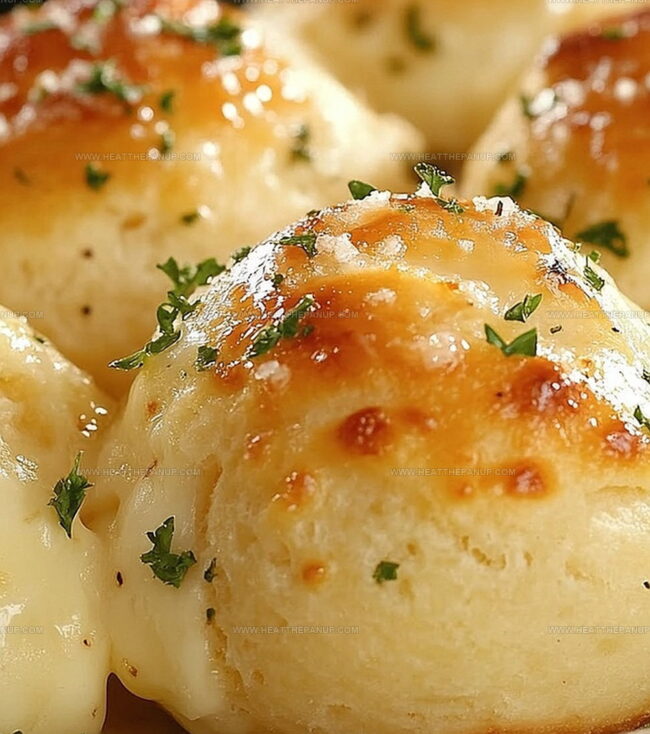
Warm, cheesy, and irresistibly golden, these pillsbury biscuit garlic butter cheese bombs burst with flavor in every single bite.
Comfort food reaches new heights when simple ingredients combine with magical precision.
Soft biscuit dough encases melted cheese that oozes with each delectable cut.
Sharp cheddar and garlic butter create a mouthwatering combination that elevates this quick side dish.
Crispy exterior gives way to a tender, cheesy center that melts in your mouth.
These bombs serve as the perfect accompaniment to soups, salads, or enjoy them as a standalone snack.
You’ll find yourself making these again and again for every gathering or quiet evening at home.
Why Garlic Cheese Bombs Are Always a Hit
What You Need for These Biscuit Cheese Bombs
Main Ingredients:Finishing Touches:How to Bake Garlic Butter Cheese Bombs
Step 1: Warm Up the Oven
Turn your oven to 375°F.
Cover a baking sheet with parchment paper to prevent sticking and make cleanup super easy.
Step 2: Prepare Delicious Dough Pockets
Gently press each biscuit into a small, flat circle.
Place a cheese cube right in the center of each circle.
Step 3: Create Cheese-Filled Bundles
Carefully fold the biscuit edges over the cheese, pinching the sides tightly to seal in all the cheesy goodness.
Roll each bundle into a smooth ball, ensuring no cheese can escape.
Step 4: Whip Up Flavor-Packed Butter
Mix these ingredients in a small bowl, creating a fragrant and rich coating for your cheese bombs.
Step 5: Dress Up the Bombs
Dunk each dough ball completely in the garlic butter mixture.
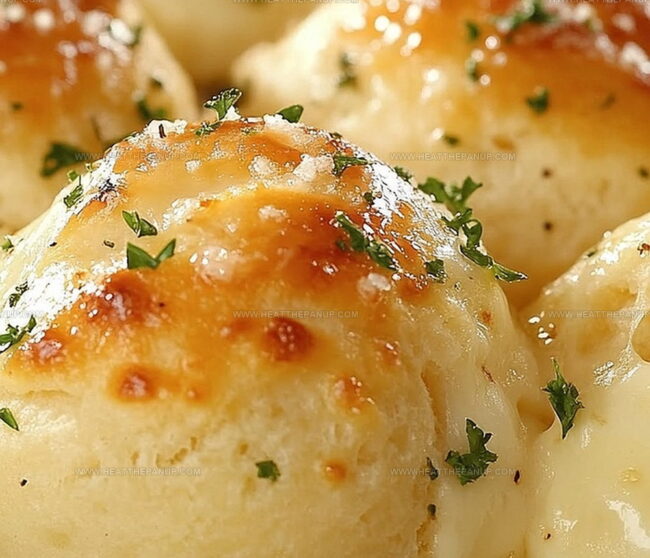
Roll the buttered balls generously in grated Parmesan cheese, making sure every inch is covered with cheesy deliciousness.
Step 6: Bake to Golden Perfection
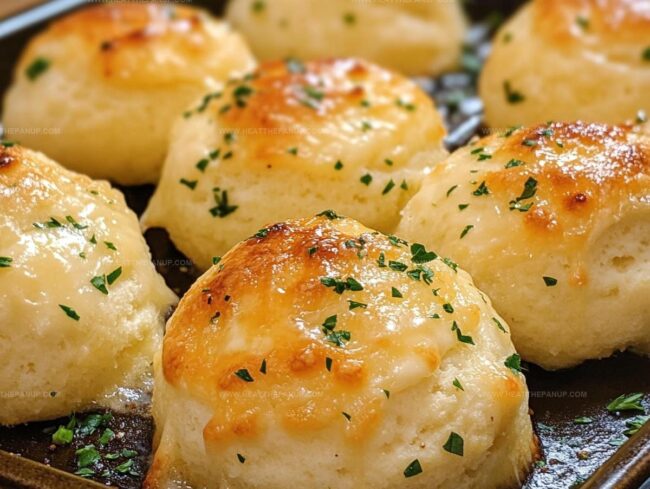
Place the cheese bombs seam-side down on the prepared baking sheet.
Slide into the oven and bake for 15-20 minutes until they turn a beautiful golden brown and puff up magnificently.
Step 7: Serve and Devour
Pull these incredible cheese bombs straight from the oven and serve immediately.
Watch as the cheese oozes out with each bite, creating a irresistible treat that everyone will love.
Smart Tips for Gooey Biscuit Bombs
How to Keep Cheese Bombs Fresh and Soft
What Goes Well With Biscuit Cheese Bombs
Fun Flavor Ideas for Cheese Bombs
FAQs
These cheese bombs are super easy to prepare! Even beginner cooks can make them quickly with just a few simple steps like flattening biscuits, stuffing with cheese, and coating with garlic butter.
Absolutely! While mozzarella works great for that classic melty center, you can experiment with cheddar, provolone, or even pepper jack for different flavor profiles.
No special equipment is required. You’ll just need a baking sheet, parchment paper, a small bowl for mixing garlic butter, and basic kitchen tools like a knife and spoon.
Make sure to pinch the biscuit dough edges tightly when sealing the cheese inside. Roll them into smooth balls and place seam-side down on the baking sheet to help keep the cheese contained.
Print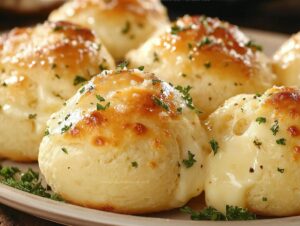
Pillsbury Biscuit Garlic Butter Cheese Bombs Recipe
- Total Time: 40 minutes
- Yield: 8 1x
Description
Pillsbury biscuit garlic butter cheese bombs deliver an irresistible explosion of cheesy, garlicky goodness. Melted cheese oozes from buttery biscuits, creating a mouthwatering appetizer that will leave guests craving more.
Ingredients
Main Ingredients:
- 1 can Pillsbury Biscuits (8-count)
- 8 mozzarella cheese cubes
- 1/4 cup grated Parmesan cheese
Flavor Enhancers:
- 4 tablespoons (59 milliliters) butter, melted
- 2 cloves garlic, minced
Garnish:
- 1 tablespoon (15 milliliters) fresh parsley, finely chopped
Instructions
- Warm the oven to 375°F and prepare a parchment-lined baking sheet for optimal baking performance.
- Gently stretch each biscuit dough into a delicate circular shape, creating a soft canvas for the filling.
- Position a single cube of mozzarella precisely in the center of each stretched dough circle.
- Carefully envelop the cheese by folding the dough edges inward, meticulously sealing the seams to prevent leakage during baking.
- Transform each sealed packet into a perfect round sphere, ensuring a smooth exterior with no exposed cheese.
- Craft a fragrant garlic butter mixture by combining melted butter with finely minced garlic and freshly chopped parsley.
- Generously immerse each dough ball into the aromatic garlic butter, ensuring complete and even coverage.
- Roll the butter-coated spheres through grated Parmesan, creating a crisp and flavorful exterior coating.
- Strategically place the prepared bombs on the baking sheet with the sealed side facing downward to maintain structural integrity.
- Bake in the preheated oven for 15-20 minutes until the bombs transform into golden, puffy delights with a crisp exterior.
- Serve immediately while the cheese remains molten and the exterior crackling, offering a perfect blend of textures and flavors.
Notes
- Seal the cheese completely inside the dough to prevent leakage during baking, creating perfect molten cheese centers.
- Use cold mozzarella cubes for best results, ensuring the cheese stays intact and melts slowly while the biscuit exterior turns golden brown.
- Experiment with different cheese variations like cheddar or pepper jack for unique flavor profiles that complement the garlic butter coating.
- For gluten-free options, substitute Pillsbury biscuits with gluten-free biscuit dough or use almond flour-based biscuit alternatives to maintain the recipe’s delicious essence.
- Prep Time: 20 minutes
- Cook Time: 20 minutes
- Category: Appetizer, Snacks
- Method: Baking
- Cuisine: American
Nutrition
- Serving Size: 8
- Calories: 200
- Sugar: 1g
- Sodium: 450mg
- Fat: 14g
- Saturated Fat: 8g
- Unsaturated Fat: 6g
- Trans Fat: 0g
- Carbohydrates: 16g
- Fiber: 0g
- Protein: 5g
- Cholesterol: 30mg
James Hambly
Founder & Recipe Creator
Expertise
Recipe Development, Culinary Education, Farm-to-Table Cooking, Southern Cuisine
Education
Asheville-Buncombe Technical Community College
Certificate in Culinary Arts
Focus: Hands-on training in professional cooking techniques, emphasizing farm-to-table practices and Southern cuisine.
The Chef’s Academy
Associate Degree in Culinary Arts
Focus: Comprehensive culinary education covering global cuisines, kitchen management, and food safety.
James grew up surrounded by the smells of cast-iron skillets and slow-cooked Southern meals in Asheville, North Carolina.
He sharpened his skills with a Certificate in Culinary Arts from Asheville-Buncombe Technical Community College, and later leveled up with an Associate Degree from The Chef’s Academy.
James’s philosophy is simple: the best meals don’t need fancy tricks, just fresh ingredients, a hot pan, and a little bit of heart. His favorite days are spent testing one-pan wonders, chasing bold flavors, and creating recipes that feel easy, even on a busy night.