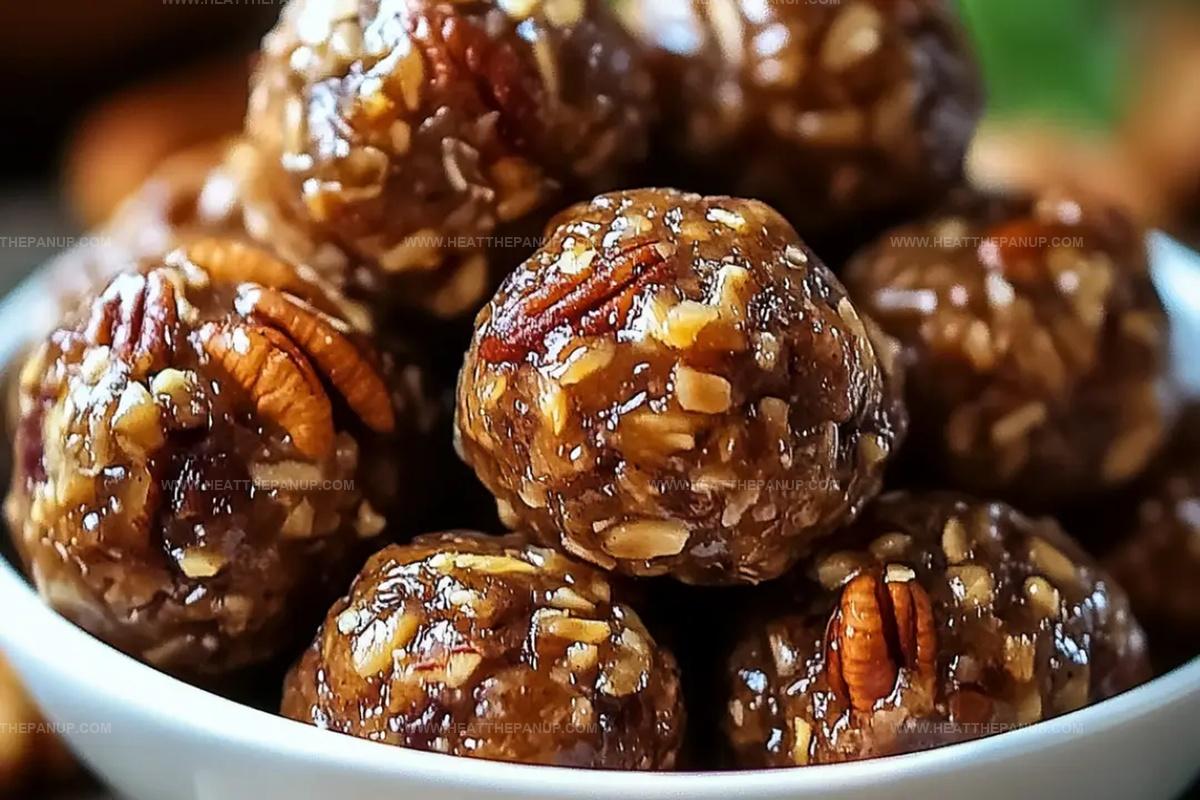
Irresistible No-Bake Pecan Pie Balls Recipe: Sweet Bite-Sized Joy
Sweet memories of grandma’s kitchen sparked my love for these delightful pecan pie balls that require zero baking.
Childhood dessert traditions blend perfectly with modern convenience in this simple treat.
Crunchy pecans and smooth chocolate create an irresistible combination that melts in your mouth.
Rich flavors emerge from minimal ingredients, making this recipe a true crowd-pleaser.
Minimal effort yields maximum deliciousness with these bite-sized delights.
Moments of pure joy are just minutes away when you whip up these delectable spheres of happiness.
Dive into this easy recipe and watch everyone’s faces light up with pure delight.
No-Bake Pecan Pie Balls That Are Sweet, Nutty, and Easy
Pecan Pie Balls No-Bake Version Ingredient Breakdown
Nuts:Sweeteners and Flavor Enhancers:Spices and Seasoning:No-Bake Pecan Pie Balls Rolling Instructions

Step 1: Crush Nutty Goodness
Grab your food processor and pulse those pecans until they’re finely chopped but not completely pulverized.
You want some texture to shine through.
Step 2: Mix Magic Ingredients
Toss these ingredients into a mixing bowl:Stir everything together until the mixture looks super consistent and delightful.
Step 3: Shape Delectable Bites
Roll the mixture into cute little balls, roughly the size of a small truffle.
Make them about an inch wide for the perfect pop-in-your-mouth treat.
Step 4: Add Extra Crunch
Want more excitement?
Roll these tasty balls in:This step is totally optional but adds a killer texture and flavor boost.
Step 5: Chill and Set
Line a baking sheet with parchment paper and place your pecan balls on it.
Slide them into the refrigerator and let them hang out for half an hour.
This helps them firm up and become even more delicious.
Step 6: Devour and Enjoy
Pull out your chilled pecan pie balls and get ready for a no-bake dessert that’ll make your taste buds dance.
These little guys are perfect for snacking, sharing, or enjoying all by yourself.
Sweet Tips for No-Bake Pecan Pie Ball Success
Chill No-Bake Pecan Pie Balls
Pecan Pie Balls (No-Bake) Serving Suggestions
No-Bake Pecan Pie Balls with Sweet Twists
FAQs
While not a diet food, they offer nutritious ingredients like pecans and almond flour, which provide protein, healthy fats, and some minerals. They’re a healthier alternative to traditional pecan pie.
Yes, simply substitute maple syrup with agave nectar and use a plant-based nut butter like almond or cashew butter to create a fully vegan version of the recipe.
When stored in an airtight container in the refrigerator, these balls will remain fresh for up to one week. You can also freeze them for extended preservation, lasting up to one month.
A food processor helps chop pecans quickly, but you can also use a knife or manual chopper. A mixing bowl and your hands are the primary tools needed for creating these no-bake treats.
Print
Pecan Pie Balls (No-Bake) Recipe
- Total Time: 15 minutes
- Yield: 24 1x
Description
Indulgent pecan pie balls bring Southern charm to no-bake desserts, delivering rich nutty sweetness without turning on the oven. Minimal ingredients and simple steps make these bite-sized treats perfect for holiday gatherings or quick sweet cravings you’ll savor.
Ingredients
Main Ingredients:
- 2 cups pecans, toasted and finely chopped
- 1 cup graham cracker crumbs
- 1 cup brown sugar, packed
Flavoring Ingredients:
- 2 tablespoons maple syrup
- 1/4 cup bourbon or apple juice
- 1 teaspoon vanilla extract
Finishing Ingredients:
- 1/2 teaspoon salt
- 1/2 cup chocolate chips, melted (for dipping)
Instructions
- Pulverize toasted pecans, graham cracker crumbs, brown sugar, and salt together in a spacious mixing vessel until thoroughly integrated.
- Introduce maple syrup, bourbon (or apple juice), and vanilla extract, stirring meticulously until the mixture achieves a cohesive, moldable consistency.
- Craft compact spherical structures approximately one inch in diameter, gently pressing and rotating to ensure structural integrity.
- Transfer the fabricated orbs onto a parchment-lined tray, positioning them with strategic spacing.
- Dispatch the tray into the freezer, allowing the spheres to solidify and maintain their shape for roughly half an hour.
- Melt chocolate using a double boiler or microwave, creating a smooth, glossy liquid surface.
- Carefully immerse each chilled sphere into the molten chocolate, utilizing a fork or dipping tool to ensure even coverage.
- Delicately position the chocolate-enrobed spheres back onto the parchment paper, permitting excess chocolate to cascade and form elegant drips.
- Allow the chocolate coating to crystallize and harden at room temperature or expedite the process by briefly returning to the refrigerator.
- Preserve the completed delicacies within an airtight receptacle in the refrigerator, maintaining optimal texture and flavor.
Notes
- Toast pecans beforehand to enhance their rich, nutty flavor and create a deeper, more complex taste profile.
- Use a small cookie scoop for uniform ball size, ensuring consistent texture and professional presentation.
- Swap bourbon with apple juice or almond extract for family-friendly or non-alcoholic version, maintaining the same delicious essence.
- Experiment with dark, milk, or white chocolate coating to personalize the treats and add visual variety.
- Prep Time: 15 minutes
- Cook Time: 0 minutes
- Category: Desserts, Snacks
- Method: Rolling
- Cuisine: American
Nutrition
- Serving Size: 24
- Calories: 153
- Sugar: 10g
- Sodium: 30mg
- Fat: 9g
- Saturated Fat: 2g
- Unsaturated Fat: 7g
- Trans Fat: 0g
- Carbohydrates: 18g
- Fiber: 1g
- Protein: 2g
- Cholesterol: 0mg
Angelina Wiles
Content Editor & Culinary Enthusiast
Expertise
Food Writing and Editing, Vegetarian and Vegan Cuisine, Baking and Pastry Arts, Sustainable Cooking Practices
Education
Portland Community College
Certificate in Culinary Arts
Focus: Emphasis on sustainable cooking practices, vegetarian cuisine, and food writing.
Oregon Culinary Institute
Diploma in Baking and Pastry Arts
Focus: Specialized training in artisanal baking, pastry techniques, and dessert presentation.
Angelina’s love for cooking started with handwritten family recipes and weekend trips to farmers’ markets around Portland. She followed her passion with a Certificate in Culinary Arts from Portland Community College, then perfected her sweet side with a Diploma in Baking and Pastry Arts at Oregon Culinary Institute.
Angelina believes recipes should feel like a conversation, not a science project. She’s all about helping readers trust themselves in the kitchen with simple steps, fresh ideas, and easy twists on classic meals.
When she’s not editing recipes, she’s baking bread, sipping coffee, or getting inspired by the changing seasons.