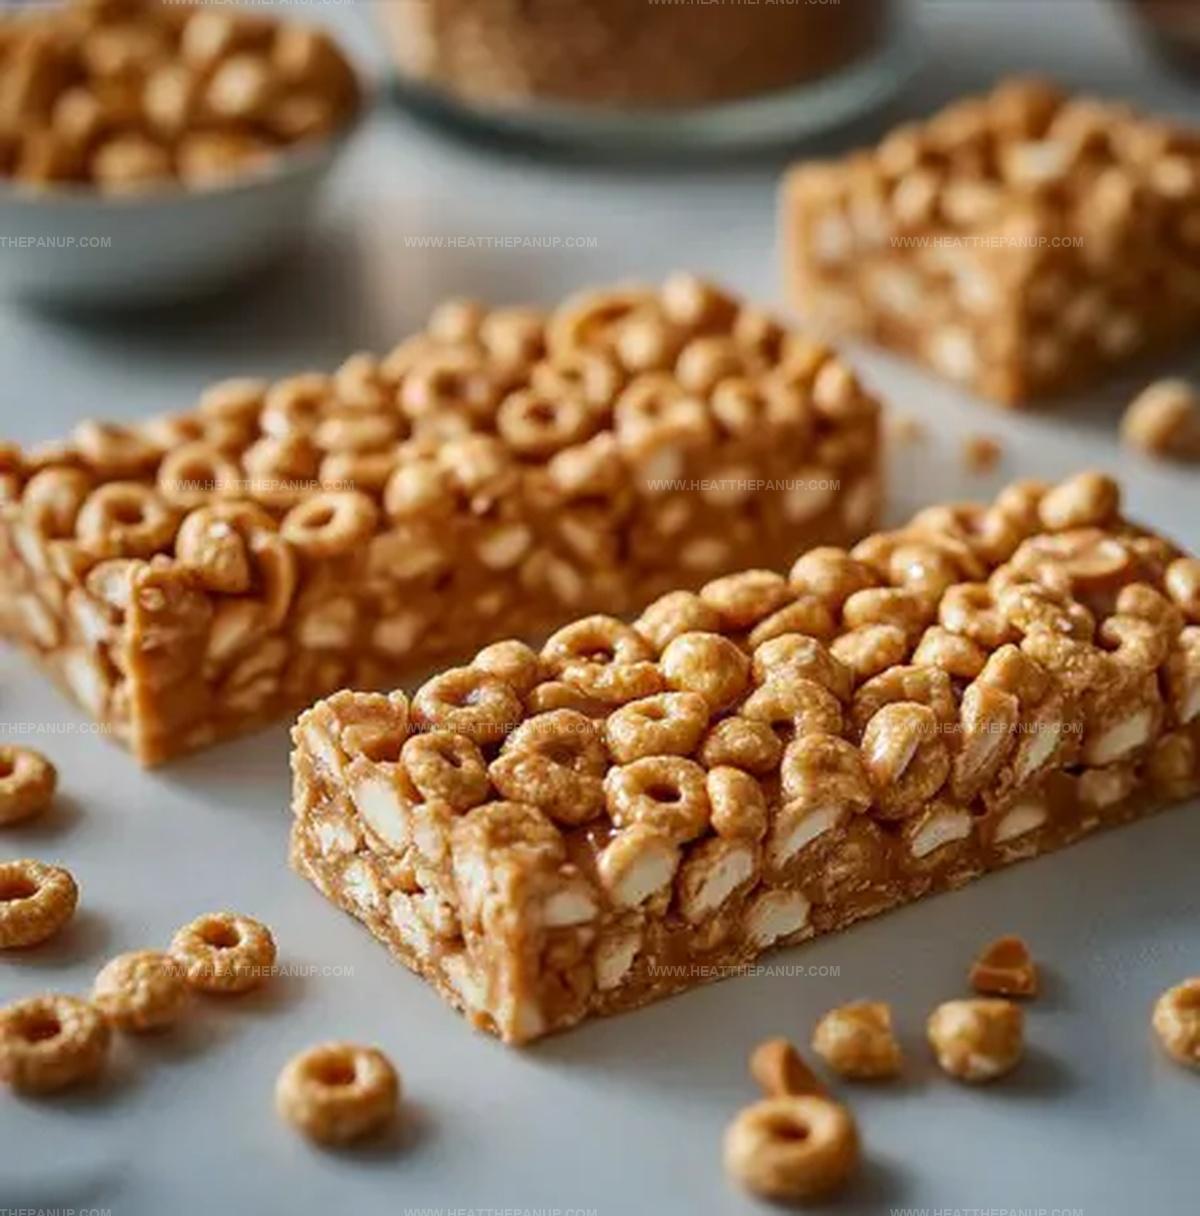
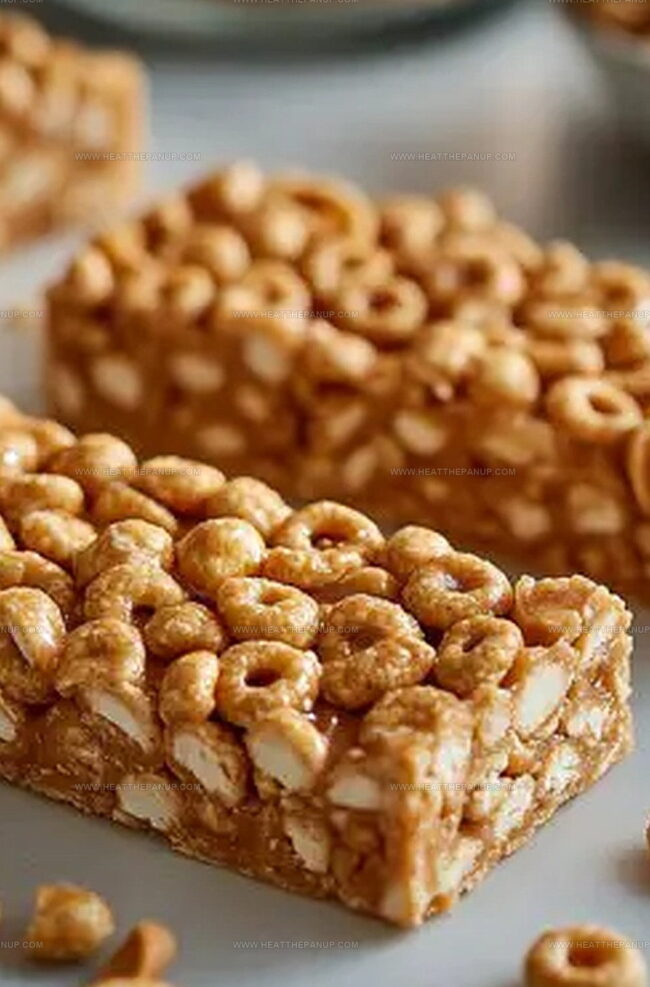
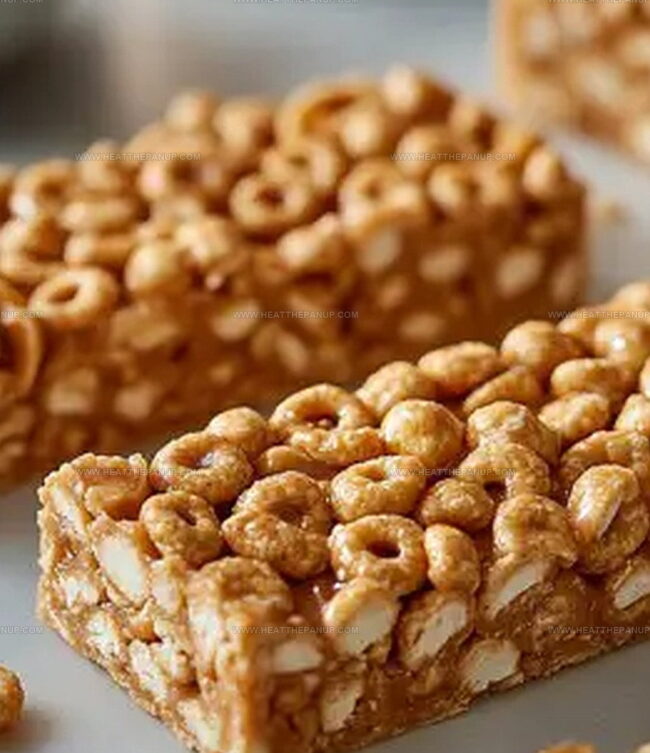
The Ultimate No-Bake Peanut Butter Cheerio Bars Recipe
Crafting delightful peanut butter cheerio bars brings pure childhood nostalgia right into your kitchen.
Sweet memories dance through crispy cereal layers packed with creamy goodness.
Afternoons suddenly feel magical when these simple treats come together.
Minimal ingredients mean maximum flavor without complicated preparation steps.
Perfectly balanced snacks emerge from just a few pantry staples.
Kids adore the chewy texture mixed with crunchy cheerio bits.
Hungry hands will reach for seconds before you can even set the plate down.
Why Peanut Butter Cheerio Bars Are a Must-Try
What Goes into Peanut Butter Cheerio Bars
Base Ingredients:Optional Add-Ins:Kitchen Tools:How to Make Peanut Butter Cheerio Bars
Step 1: Prepare Baking Dish
Line an 8×8 or 9×9 square baking dish with parchment paper, ensuring the paper covers the bottom and sides completely for easy removal later.
Step 2: Create Smooth Liquid Base
Combine honey and peanut butter in a microwave-safe bowl.
Heat in the microwave for approximately 30 seconds, stirring halfway through to ensure even melting.
Alternatively, you can use a stovetop method by gently warming the mixture in a saucepan over low heat.
Step 3: Blend Cheerios into Mixture
Pour the melted honey and peanut butter into a large mixing bowl.
Add Cheerios:Gently fold and stir until every Cheerio is thoroughly coated with the sweet, sticky mixture.
Step 4: Shape and Set Bars
Transfer the Cheerio mixture into the prepared parchment-lined dish.
Use a spatula or the back of a spoon to spread and press the mixture evenly, creating a smooth, compact layer.
Step 5: Chill and Solidify
Place the dish in the refrigerator for approximately 30-45 minutes, or until the bars have completely hardened and become firm to the touch.
Step 6: Cut and Store
Remove the chilled mixture from the refrigerator.
Using the parchment paper, lift the entire block out of the dish.
Slice into uniform bars using a sharp knife.
Store the bars in an airtight container in the refrigerator to maintain their texture and freshness.
Peanut Butter Cheerio Bar Tips
Storage Help for Peanut Butter Cheerio Bars
Perfect Matches for Peanut Butter Cheerio Bars
Variants for Peanut Butter Cheerio Bars
FAQs
Yes, these Peanut Butter Cheerio Bars are perfect for kids’ lunchboxes. They’re easy to pack, nutritious, and made with simple ingredients that children love.
Absolutely! You can substitute Cheerios with Rice Krispies, corn flakes, or any similar crunchy cereal. Just ensure the cereal can hold the peanut butter and honey mixture.
Not automatically. While Cheerios offers gluten-free varieties, you’ll need to check the specific box and ensure all ingredients are certified gluten-free if you have gluten sensitivities.
These bars will remain fresh for about 5-7 days when stored in an airtight container in the refrigerator. They maintain their texture and taste well during this period.
Print
Peanut Butter Cheerio Bars Recipe
- Total Time: 10 minutes
- Yield: 12 1x
Description
Irresistible peanut butter cheerio bars blend childhood nostalgia with sweet, crunchy indulgence, creating a quick no-bake treat perfect for snacking. Creamy peanut butter and marshmallows bind crispy cheerios into delightful squares you’ll savor with pure delight.
Ingredients
Main Ingredients:
- 4 cups plain cheerios
- 1/2 cup peanut butter
- 1/2 cup honey
Additional Ingredients:
- None
Notes:
- Recommended to use unsalted peanut butter with only peanuts as an ingredient
- Do not use honey for children under 1 year old
Instructions
- Warm honey and peanut butter in a microwave-safe container, heating in short 15-20 second intervals and stirring between each interval until completely smooth and liquid.
- Remove from microwave and quickly fold in Cheerios, ensuring each piece gets thoroughly coated with the sticky mixture.
- Transfer the coated Cheerios into a parchment-lined square baking dish, pressing down gently with a spatula to create an even, compact layer.
- Smooth the top surface to create uniform thickness, ensuring no gaps or loose Cheerios remain exposed.
- Chill in the refrigerator for approximately 30-45 minutes, or until the mixture sets and becomes firm to the touch.
- Once hardened, lift the parchment paper to remove the entire block from the dish and place on a cutting board.
- Slice into rectangular bars using a sharp knife, creating consistent portion sizes.
- Store the completed bars in an airtight container within the refrigerator, where they will maintain their crisp texture and prevent potential melting.
Notes
- Customize sweetness by adjusting honey quantity for personal taste preferences.
- Experiment with different nut butters like almond or cashew for unique flavor variations.
- Create gluten-free version by using certified gluten-free Cheerios or replacing with rice puffs.
- Enhance nutritional value by sprinkling chia seeds or chopped nuts into the mixture before setting.
- Prep Time: 10 minutes
- Cook Time: 0 minutes
- Category: Snacks, Breakfast, Desserts
- Method: None
- Cuisine: American
Nutrition
- Serving Size: 12
- Calories: 150
- Sugar: 10g
- Sodium: 0mg
- Fat: 7g
- Saturated Fat: 1g
- Unsaturated Fat: 6g
- Trans Fat: 0g
- Carbohydrates: 21g
- Fiber: 1g
- Protein: 3g
- Cholesterol: 0mg
Angelina Wiles
Content Editor & Culinary Enthusiast
Expertise
Food Writing and Editing, Vegetarian and Vegan Cuisine, Baking and Pastry Arts, Sustainable Cooking Practices
Education
Portland Community College
Certificate in Culinary Arts
Focus: Emphasis on sustainable cooking practices, vegetarian cuisine, and food writing.
Oregon Culinary Institute
Diploma in Baking and Pastry Arts
Focus: Specialized training in artisanal baking, pastry techniques, and dessert presentation.
Angelina’s love for cooking started with handwritten family recipes and weekend trips to farmers’ markets around Portland. She followed her passion with a Certificate in Culinary Arts from Portland Community College, then perfected her sweet side with a Diploma in Baking and Pastry Arts at Oregon Culinary Institute.
Angelina believes recipes should feel like a conversation, not a science project. She’s all about helping readers trust themselves in the kitchen with simple steps, fresh ideas, and easy twists on classic meals.
When she’s not editing recipes, she’s baking bread, sipping coffee, or getting inspired by the changing seasons.