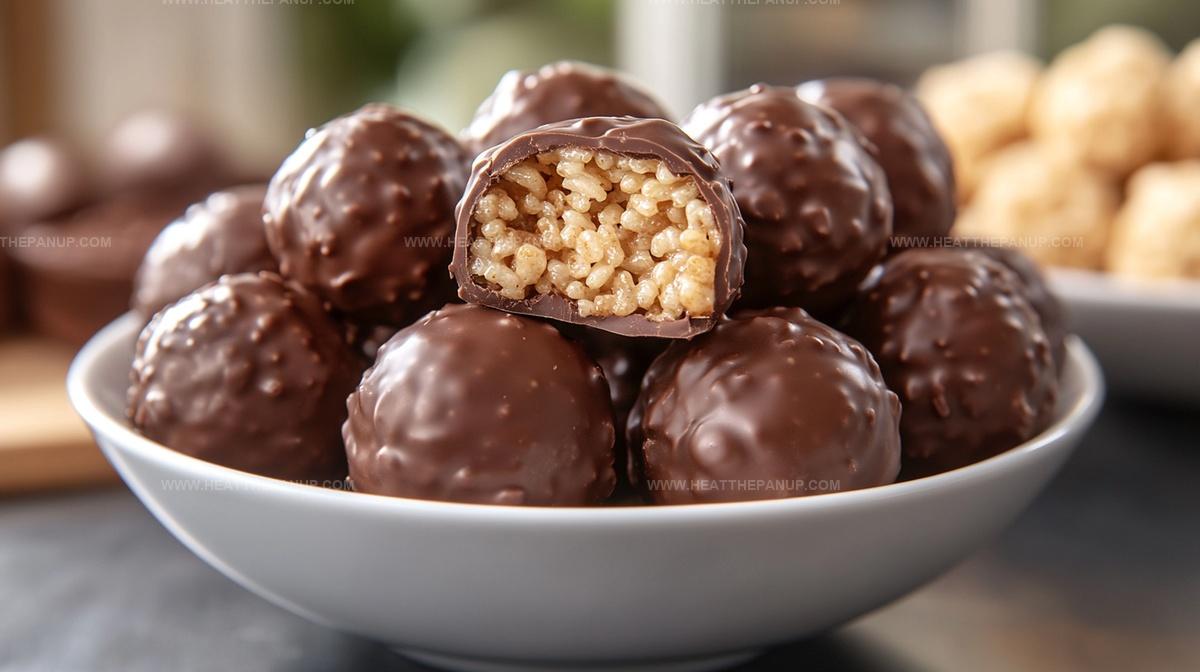
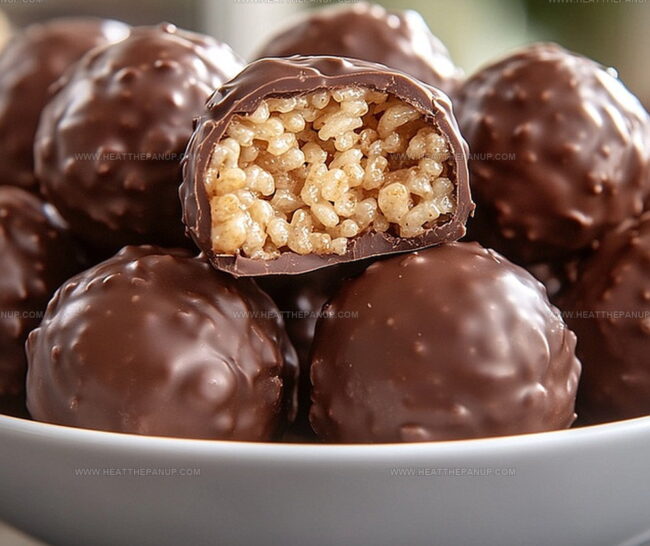
Crunchy Peanut Butter Balls With Rice Krispies Recipe for Kids
Crafting delightful peanut butter balls with rice krispies can turn an ordinary afternoon into a sweet adventure.
Crunchy cereal meets creamy peanut spread in this irresistible treat.
Kids and adults alike will fall in love with these no-bake delights.
Simple ingredients dance together to create a mouthwatering snack that feels like pure comfort.
Mixing becomes a playful experience when you roll these delectable spheres of happiness.
Smooth and crispy textures combine for a magical bite that promises pure enjoyment.
Why Peanut Butter Rice Krispie Balls Are a Favorite
What’s in Peanut Butter Rice Krispie Balls
Peanut Butter Mixture:Crunch Component:Chocolate Coating:Optional Extras:Making Peanut Butter Rice Krispie Balls

Step 1: Combine Peanut Butter and Butter
Start by blending smooth peanut butter with softened butter in a spacious mixing bowl.
Stir the mixture until it transforms into a silky, creamy consistency.
Ensure the butter is warm but not scorching hot to prevent fat separation.
Step 2: Introduce Crispy Crunch
Gently fold Rice Krispies cereal into the peanut butter mixture.
Carefully mix to distribute the cereal evenly, preserving its delightful crispiness without crushing the delicate pieces.
Step 3: Sweeten the Mixture
Gradually incorporate powdered sugar into the blend.
Add the sugar in small increments, allowing it to bind the ingredients together and create a more manageable texture that holds its shape perfectly.
Step 4: Shape Tasty Spheres
Prepare a baking sheet with parchment paper.
Scoop out portions of the mixture and roll them into bite-sized balls, approximately one inch in diameter.
Arrange the balls on the prepared sheet and chill in the refrigerator for half an hour to firm up.
Step 5: Prepare Chocolate Coating
Melt chocolate chips or chocolate melting wafers in a microwave-safe bowl.
Use 30-second intervals, stirring between each session, until the chocolate becomes completely smooth and glossy.
A double boiler works wonderfully as an alternative melting method.
Step 6: Dip and Coat
Remove the chilled peanut butter balls from the refrigerator.
Using a fork or toothpick, submerge each ball completely in the melted chocolate.
Allow excess chocolate to drip off before placing the coated balls back on the parchment-lined sheet.
Step 7: Finalize and Chill
Return the chocolate-covered balls to the refrigerator.
Let them set for 15-20 minutes until the chocolate becomes firm and glossy.
Once set, these irresistible treats are ready to devour and share with friends and family!
Tips for Peanut Butter Krispie Balls
Keep PB Rice Krispie Balls Fresh
Serving Ideas for PB Rice Krispie Balls
Variations on PB Rice Krispie Balls
FAQs
Yes, you can substitute Rice Krispies with similar crispy cereals like cornflakes or graham cracker crumbs. Just ensure the substitute provides a comparable crunch to the original recipe.
Keep your hands slightly damp or lightly coat them with cooking spray when rolling the balls. This prevents the mixture from sticking to your hands and helps create smoother, more uniform balls.
Absolutely! You can roll the chilled peanut butter balls in crushed nuts, powdered sugar, or cocoa powder as an alternative coating. This gives a different texture and flavor profile while still maintaining the delicious core of the recipe.
Yes, these balls can be prepared in advance. They can be stored in an airtight container in the refrigerator for up to a week, making them perfect for make-ahead desserts or party preparations.
Print
Peanut Butter Balls With Rice Krispies Recipe
- Total Time: 20 minutes
- Yield: 24 1x
Description
Irresistible peanut butter balls with rice krispies deliver a perfect blend of creamy and crunchy textures that dance on your palate. Sweet, nutty, and packed with nostalgic charm, these no-bake treats promise to delight you with their simple yet addictive appeal.
Ingredients
Main Ingredients:
- 1 cup creamy peanut butter (no-stir)
- 2 1/2 cups Rice Krispies cereal
- 1 cup powdered sugar
Binding and Coating Ingredients:
- 3 tablespoons salted butter (melted)
- 12 ounces (340 grams) semi-sweet chocolate chips or chocolate melting wafers
Instructions
- Combine softened peanut butter with melted butter in a mixing bowl, creating a smooth, homogeneous blend that ensures even distribution of fats and flavors.
- Carefully introduce Rice Krispies cereal into the mixture, gently folding to preserve the delicate crunch while maintaining an even texture throughout.
- Incrementally incorporate powdered sugar, mixing thoroughly to create a malleable consistency that holds together without becoming too dense.
- Use clean hands or a small cookie scoop to form uniform spherical shapes, rolling the mixture into consistent bite-sized portions approximately one inch in diameter.
- Transfer the shaped balls onto a parchment-lined baking sheet, then chill in the refrigerator for 30 minutes to solidify their structure and enhance handling.
- Prepare the chocolate coating by melting semi-sweet chocolate chips using either microwave intervals or a double boiler method, stirring until achieving a silky, glossy finish.
- Extract the chilled peanut butter spheres and methodically dip each one into the molten chocolate, ensuring complete coverage while allowing excess to gracefully drip away.
- Carefully place the chocolate-enrobed balls back onto the parchment sheet, maintaining their individual spacing.
- Return the coated treats to the refrigerator, allowing the chocolate shell to set completely for approximately 15-20 minutes until firm and glossy.
Notes
- Stabilize the mixture by ensuring butter is at the right temperature, preventing separation and maintaining a smooth, creamy consistency.
- Crush Rice Krispies gently to preserve their iconic crunch, creating textural contrast in every bite.
- Control sweetness by adjusting powdered sugar gradually, allowing you to customize the flavor profile to your preference.
- Enhance chocolate coating by using high-quality chocolate and allowing proper cooling time for a glossy, professional finish.
- Prep Time: 20 minutes
- Cook Time: 0 minutes
- Category: Snacks, Desserts
- Method: Blending
- Cuisine: American
Nutrition
- Serving Size: 24
- Calories: 143
- Sugar: 10 g
- Sodium: 95 mg
- Fat: 7 g
- Saturated Fat: 3 g
- Unsaturated Fat: 4 g
- Trans Fat: 0 g
- Carbohydrates: 17 g
- Fiber: 0.5 g
- Protein: 2 g
- Cholesterol: 5 mg
Angelina Wiles
Content Editor & Culinary Enthusiast
Expertise
Food Writing and Editing, Vegetarian and Vegan Cuisine, Baking and Pastry Arts, Sustainable Cooking Practices
Education
Portland Community College
Certificate in Culinary Arts
Focus: Emphasis on sustainable cooking practices, vegetarian cuisine, and food writing.
Oregon Culinary Institute
Diploma in Baking and Pastry Arts
Focus: Specialized training in artisanal baking, pastry techniques, and dessert presentation.
Angelina’s love for cooking started with handwritten family recipes and weekend trips to farmers’ markets around Portland. She followed her passion with a Certificate in Culinary Arts from Portland Community College, then perfected her sweet side with a Diploma in Baking and Pastry Arts at Oregon Culinary Institute.
Angelina believes recipes should feel like a conversation, not a science project. She’s all about helping readers trust themselves in the kitchen with simple steps, fresh ideas, and easy twists on classic meals.
When she’s not editing recipes, she’s baking bread, sipping coffee, or getting inspired by the changing seasons.