
Homemade Peanut Butter Balls Recipe: Sweet No-Bake Joy
Crafting delectable peanut butter balls brings pure joy to any kitchen adventure.
Sweet memories flood back from childhood treats that sparked culinary creativity.
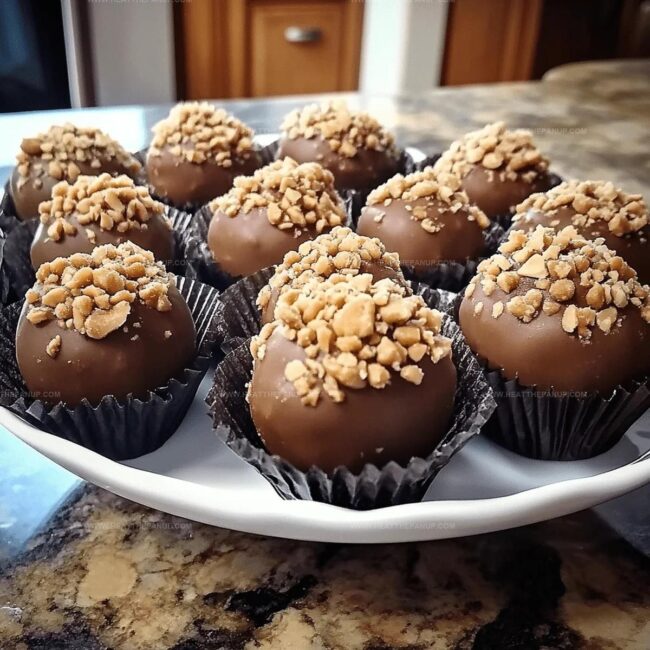
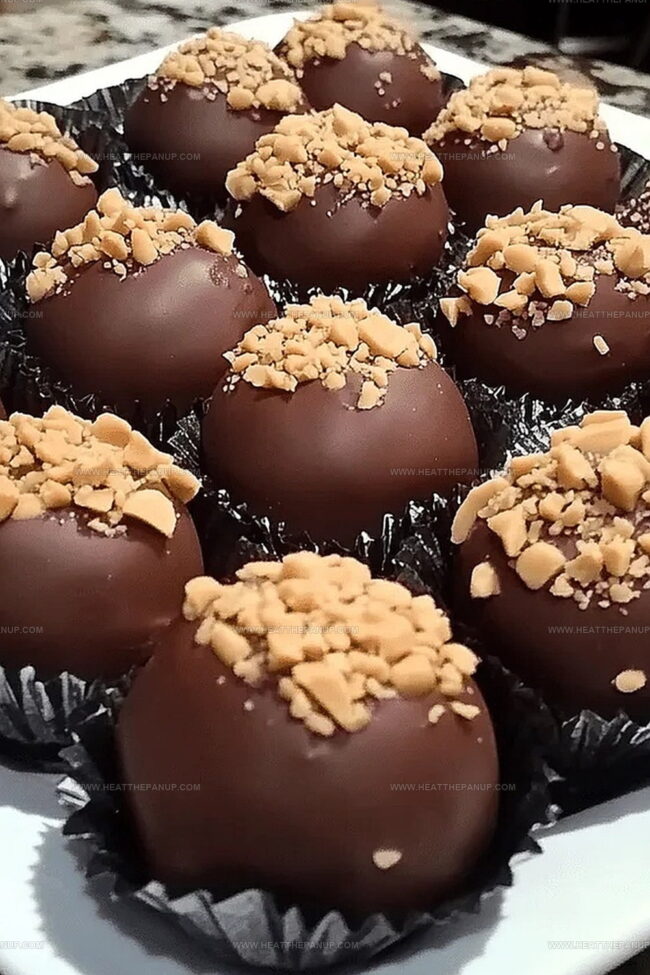
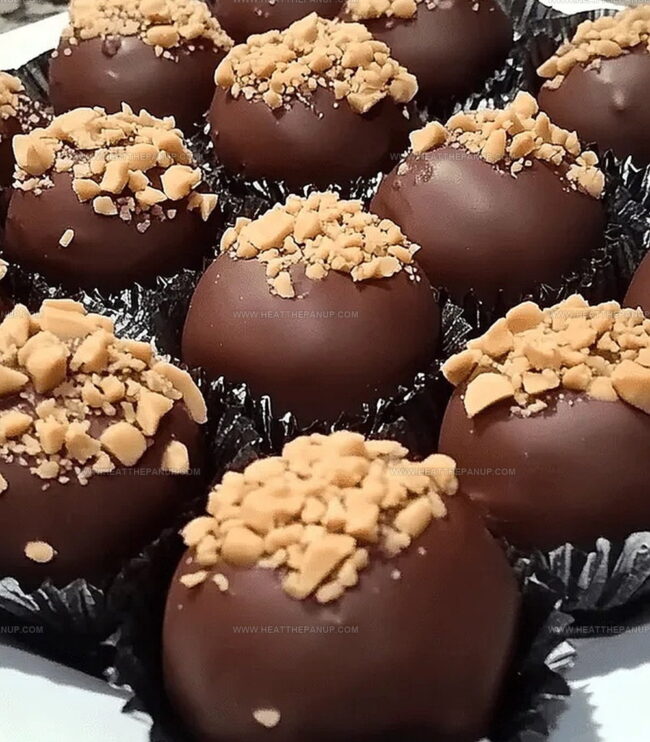
Chocolate-coated spheres of creamy goodness promise indulgent moments of pure bliss.
Mixing simple ingredients transforms ordinary snacking into an extraordinary experience.
Homemade delights always taste better when you pour love into every bite.
These irresistible morsels deliver happiness in compact, bite-sized perfection.
One taste will transport you to a world of delightful sweetness.
What Makes Peanut Butter Balls So Addictive

What You’ll Need for Peanut Butter Balls
Main Ingredients:Coating and Flavor Enhancers:Preparation Support:How to Make Peanut Butter Balls Step by Step
Step 1: Whip Up Creamy Base
In a spacious mixing bowl, gently melt the butter and pour in the vanilla extract.
Add the creamy peanut butter and whisk everything together until the mixture becomes smooth and uniform.
Step 2: Create Dough Magic
Sprinkle in the powdered sugar gradually while stirring continuously.
Keep mixing until the ingredients transform into a thick, moldable dough that holds its shape perfectly.
Step 3: Shape Delightful Spheres
Use your hands to roll the dough into bite-sized spherical treats.
Gently place each ball onto a parchment-lined baking sheet, ensuring they’re evenly spaced.
Step 4: Chill and Firm
Transfer the baking sheet to the freezer.
Let the peanut butter balls rest and solidify for half an hour, which helps them maintain their shape during the chocolate coating process.
Step 5: Chocolate Dipping Delight
Select your preferred chocolate for coating.
Carefully melt the chocolate using a double boiler or microwave.
Using a fork or dipping tool, submerge each frozen peanut butter ball into the molten chocolate, ensuring complete coverage.
Step 6: Final Set and Serve
Return the chocolate-coated balls to the baking sheet.
Allow them to sit at room temperature or in the refrigerator until the chocolate shell hardens completely.
Once set, these decadent treats are ready to enjoy!
Handy Tips for Peanut Butter Balls Success
How to Store and Serve Peanut Butter Balls Later
Best Pairings with Peanut Butter Balls
Creative Twists on Peanut Butter Balls
FAQs
Natural peanut butter might be too runny and oily. Stick with traditional creamy peanut butter like Jif or Skippy for the best texture and consistency.
Make sure the balls are well-chilled and firm before dipping. If they start to soften, return them to the freezer for a few minutes to maintain their shape during chocolate coating.
Semi-sweet or milk chocolate works great. Melting wafers or chocolate chips are ideal because they melt smoothly and set quickly. Dark chocolate is also a delicious alternative.
Absolutely! Kids can help roll the balls and mix ingredients. Adult supervision is needed for melting chocolate and handling hot surfaces.
Print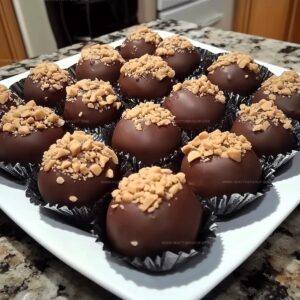
Peanut Butter Balls Recipe
- Total Time: 45 minutes
- Yield: 20 1x
Description
Sweet peanut butter balls dance with rich chocolate, creating an irresistible no-bake treat perfect for holiday gatherings or unexpected cravings. Creamy centers coated in smooth chocolate promise pure indulgence for dessert enthusiasts seeking simple yet delectable comfort.
Ingredients
Main Ingredients:
- 1 cup peanut butter
- 2 cups powdered sugar
- 6 tablespoons (3 fluid ounces / 90 milliliters) butter, melted
Flavoring:
- 1 teaspoon vanilla extract
Coating:
- Dipping chocolate of choice
Instructions
- Prepare a clean, spacious work surface and gather all necessary ingredients and tools for creating these delectable confections.
- Melt butter gently, then incorporate vanilla extract, blending thoroughly with creamy peanut butter until the mixture achieves a uniform consistency.
- Slowly introduce powdered sugar into the peanut butter base, stirring methodically to create a cohesive, moldable dough that holds its shape without crumbling.
- Using clean hands or a small scoop, craft uniform spherical treats, carefully rolling the mixture into compact, bite-sized orbs.
- Transfer the shaped treats to a parchment-lined tray, then place in the freezer to solidify and enhance structural integrity for approximately half an hour.
- While the peanut butter spheres chill, prepare the chocolate coating by melting it using a double boiler or microwave, ensuring a smooth, glossy finish.
- Retrieve the chilled balls and methodically dip each one into the molten chocolate, allowing excess to drip off before returning to the lined tray.
- Allow the chocolate-enrobed treats to set completely at room temperature or expedite the process by returning them to the refrigerator until the coating hardens to a delightful crisp shell.
Notes
- Maintain consistent ball size by using a small cookie scoop or tablespoon for even shaping and uniform coating.
- Chill the mixture briefly before rolling to prevent sticky hands and ensure smoother ball formation.
- For gluten-free option, verify powdered sugar is certified gluten-free and use dairy-free chocolate for vegan adaptation.
- Store in airtight container in refrigerator for up to one week, separating layers with parchment paper to prevent sticking.
- Prep Time: 45 minutes
- Cook Time: 0 minutes
- Category: Snacks, Desserts
- Method: None
- Cuisine: American
Nutrition
- Serving Size: 20
- Calories: 152
- Sugar: 11 g
- Sodium: 45 mg
- Fat: 7 g
- Saturated Fat: 3 g
- Unsaturated Fat: 4 g
- Trans Fat: 0 g
- Carbohydrates: 19 g
- Fiber: 0 g
- Protein: 3 g
- Cholesterol: 5 mg
James Hambly
Founder & Recipe Creator
Expertise
Recipe Development, Culinary Education, Farm-to-Table Cooking, Southern Cuisine
Education
Asheville-Buncombe Technical Community College
Certificate in Culinary Arts
Focus: Hands-on training in professional cooking techniques, emphasizing farm-to-table practices and Southern cuisine.
The Chef’s Academy
Associate Degree in Culinary Arts
Focus: Comprehensive culinary education covering global cuisines, kitchen management, and food safety.
James grew up surrounded by the smells of cast-iron skillets and slow-cooked Southern meals in Asheville, North Carolina.
He sharpened his skills with a Certificate in Culinary Arts from Asheville-Buncombe Technical Community College, and later leveled up with an Associate Degree from The Chef’s Academy.
James’s philosophy is simple: the best meals don’t need fancy tricks, just fresh ingredients, a hot pan, and a little bit of heart. His favorite days are spent testing one-pan wonders, chasing bold flavors, and creating recipes that feel easy, even on a busy night.