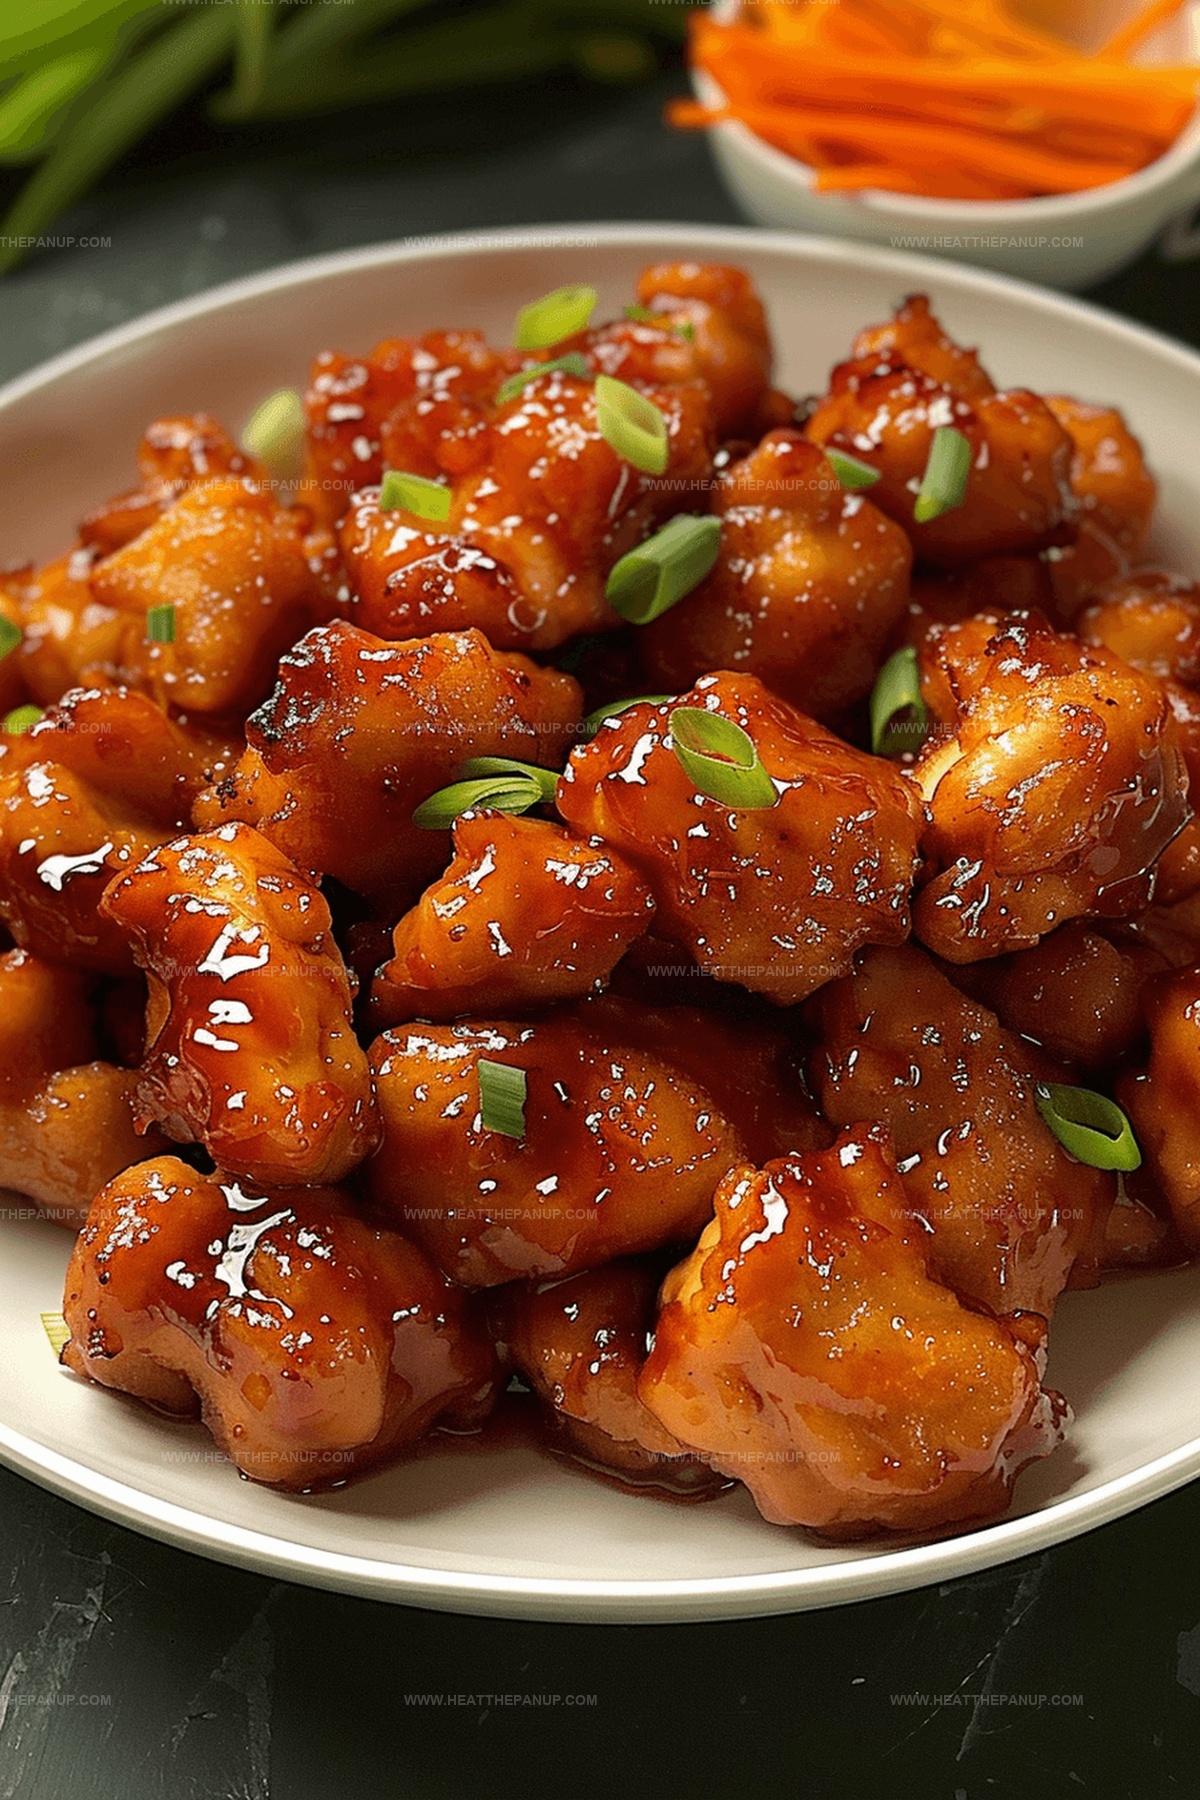
Irresistibly Crispy Oven-Baked Sweet and Sour Chicken Recipe
My kitchen always buzzes with excitement when I prepare this delectable oven-baked sweet and sour chicken recipe that combines tangy flavors with crispy textures.
Savory aromas fill every corner as the dish slowly roasts to golden perfection.
Carefully selected ingredients dance together, creating a symphony of taste that surprises and delights.
Each bite promises a remarkable culinary journey through balanced seasonings and tender meat.
Succulent chicken pieces gleam with a glossy, caramelized coating that signals deliciousness awaits.
Home cooks looking for a simple yet impressive meal will adore this straightforward approach to classic comfort food.
Absolutely worth every minute of preparation, this recipe guarantees smiles around the dinner table.
Sweet and Sour Chicken That Bakes Up Just Right
Oven-Baked Sweet and Sour Chicken Ingredients
Chicken:Coating:Seasoning and Spices:Sauce Ingredients:Cooking Ingredients:Oven Baked Sweet and Sour Chicken Full Recipe Method
Step 1: Prepare Baking Station
Warm up your oven to 325°F. Grab a spacious baking dish and give it a light coating of cooking spray to prevent sticking.
Step 2: Season and Coat Chicken
Sprinkle salt and pepper over chicken pieces. Create a crispy exterior by rolling each piece in cornstarch, then dipping thoroughly in beaten eggs for a golden-brown finish.
Step 3: Create Crispy Exterior
Fire up a skillet with vegetable oil over medium-high heat. Carefully place chicken pieces in batches, browning each side for 2-3 minutes. The goal is a beautiful golden color, not complete cooking.
Step 4: Arrange Chicken in Baking Dish
Transfer those beautifully browned chicken pieces into the prepared baking dish, spreading them out evenly.
Step 5: Whip Up Flavor-Packed Sauce
In a mixing bowl, combine:Whisk these ingredients until they transform into a smooth, glossy sauce.
Step 6: Sauce the Chicken
Pour the tangy sauce all over the chicken, making sure every piece gets a generous coating.
Step 7: Bake to Perfection
Slide the dish into the oven, leaving it uncovered. Bake for one hour, giving the chicken a gentle stir every 15 minutes. This helps the sauce thicken and ensures even flavor distribution.
Step 8: Serve and Enjoy
Plate your masterpiece over fluffy rice or alongside steamed vegetables for a complete, mouthwatering meal.
Tips for Baked Sweet and Sour Chicken
Sweet And Sour Chicken How To Store The Oven Baked Way
Sweet and Sour Chicken Companion Picks
Savor Complementary Flavors: Crisp Riesling Pairing – A light, slightly sweet Riesling cuts through the tangy sauce and balances the chicken’s richness, creating a harmonious taste experience that enhances every bite.
Refresh with Jasmine Rice Companion – Fluffy jasmine rice absorbs the sweet and sour sauce perfectly, providing a soft, aromatic base that elevates the dish’s complex flavor profile and adds textural contrast.
Brighten with Asian Slaw Side – Crunchy Asian-style coleslaw with rice vinegar and sesame oil offers a zesty, cool counterpoint to the warm chicken, introducing a refreshing element that cleanses the palate between bites.
Complement with Steamed Broccoli Accent – Lightly steamed broccoli adds nutritional value and a subtle green freshness that balances the dish’s sweet and tangy notes, creating a well-rounded meal with varied textures.
Sauce Combinations for Sweet and Sour Chicken
FAQs
Cornstarch creates a crispy exterior that helps seal in moisture and prevents the chicken from becoming soggy. It also helps the egg mixture adhere better to the chicken, resulting in a more even and crunchy coating.
Browning the chicken in a skillet first adds a delicious golden color and develops rich flavor through the Maillard reaction. This step also helps create a protective layer that keeps the chicken juicy during the baking process.
Yes, you can add red pepper flakes, sriracha sauce, or a dash of cayenne pepper to the sweet and sour sauce to increase the heat level. Start with a small amount and adjust to your preferred spice tolerance.
To make it gluten-free, use tamari instead of soy sauce and ensure your cornstarch is certified gluten-free. Double-check all ingredient labels to avoid any potential gluten contamination.
Print
Oven-Baked Sweet and Sour Chicken Recipe
- Total Time: 1 hour 20 minutes
- Yield: 4 1x
Description
Crispy Oven-Baked Sweet and Sour Chicken delivers a perfect balance of tangy flavors and golden-brown crunch. Homemade comfort meets restaurant-quality deliciousness, offering you a healthier alternative to deep-fried classics that satisfies without compromise.
Ingredients
Proteins:
- 1 lb (454 grams) chicken breasts, cut into bite-sized pieces
Coating and Binding:
- 1/2 cup (64 grams) cornstarch
- 2 large eggs, beaten
- Salt and pepper, to taste
Sauce and Flavor Ingredients:
- 1 cup (200 grams) sugar
- 1/2 cup (120 milliliters) distilled white vinegar
- 1/4 cup (60 milliliters) ketchup
- 1 tablespoon (15 milliliters) soy sauce
- 1 teaspoon garlic powder
- 1 teaspoon onion powder
- 1/3 cup (80 milliliters) vegetable oil
Instructions
- Prepare the oven environment by heating to 325°F and lightly lubricating a spacious baking vessel to prevent sticking.
- Meticulously season chicken fragments with salt and pepper, then generously dust with cornstarch, creating a crisp protective layer before immersing each morsel into whisked eggs for complete coverage.
- Activate a large skillet with vegetable oil at medium-high temperature, carefully introducing chicken portions in strategic batches to achieve a golden-brown exterior, approximately 2-3 minutes per side without fully cooking the protein.
- Carefully relocate the seared chicken fragments into the prepared baking receptacle, arranging them in a single layer for uniform cooking.
- Craft the signature sweet and sour elixir by thoroughly blending sugar, distilled white vinegar, ketchup, soy sauce, garlic powder, and onion powder until achieving a harmonious, smooth consistency.
- Generously cascade the vibrant sauce across the chicken, ensuring comprehensive and even coverage of each piece.
- Position the baking dish in the preheated oven, leaving uncovered and rotating the chicken every quarter-hour to promote sauce thickening and consistent flavor distribution during the one-hour roasting process.
- Present the glazed chicken atop fluffy rice or alongside steamed vegetable medley for a complete, tantalizing culinary experience.
Notes
- Achieve a golden, crispy exterior by thoroughly coating chicken in cornstarch before frying, which creates a perfect texture that locks in moisture.
- Control oil temperature when browning chicken to prevent burning and ensure even, light golden coloration for optimal flavor and appearance.
- Modify sauce sweetness by adjusting sugar levels or substituting with honey or agave for a healthier alternative that suits different dietary preferences.
- Enhance dish versatility by using gluten-free cornstarch and tamari sauce to make the recipe suitable for those with gluten sensitivities.
- Prep Time: 20 minutes
- Cook Time: 1 hour
- Category: Dinner, Lunch
- Method: Baking
- Cuisine: Chinese
Nutrition
- Serving Size: 4
- Calories: 600
- Sugar: 35 g
- Sodium: 400 mg
- Fat: 25 g
- Saturated Fat: 3 g
- Unsaturated Fat: 20 g
- Trans Fat: 0 g
- Carbohydrates: 75 g
- Fiber: 0 g
- Protein: 30 g
- Cholesterol: 140 mg
James Hambly
Founder & Recipe Creator
Expertise
Recipe Development, Culinary Education, Farm-to-Table Cooking, Southern Cuisine
Education
Asheville-Buncombe Technical Community College
Certificate in Culinary Arts
Focus: Hands-on training in professional cooking techniques, emphasizing farm-to-table practices and Southern cuisine.
The Chef’s Academy
Associate Degree in Culinary Arts
Focus: Comprehensive culinary education covering global cuisines, kitchen management, and food safety.
James grew up surrounded by the smells of cast-iron skillets and slow-cooked Southern meals in Asheville, North Carolina.
He sharpened his skills with a Certificate in Culinary Arts from Asheville-Buncombe Technical Community College, and later leveled up with an Associate Degree from The Chef’s Academy.
James’s philosophy is simple: the best meals don’t need fancy tricks, just fresh ingredients, a hot pan, and a little bit of heart. His favorite days are spent testing one-pan wonders, chasing bold flavors, and creating recipes that feel easy, even on a busy night.