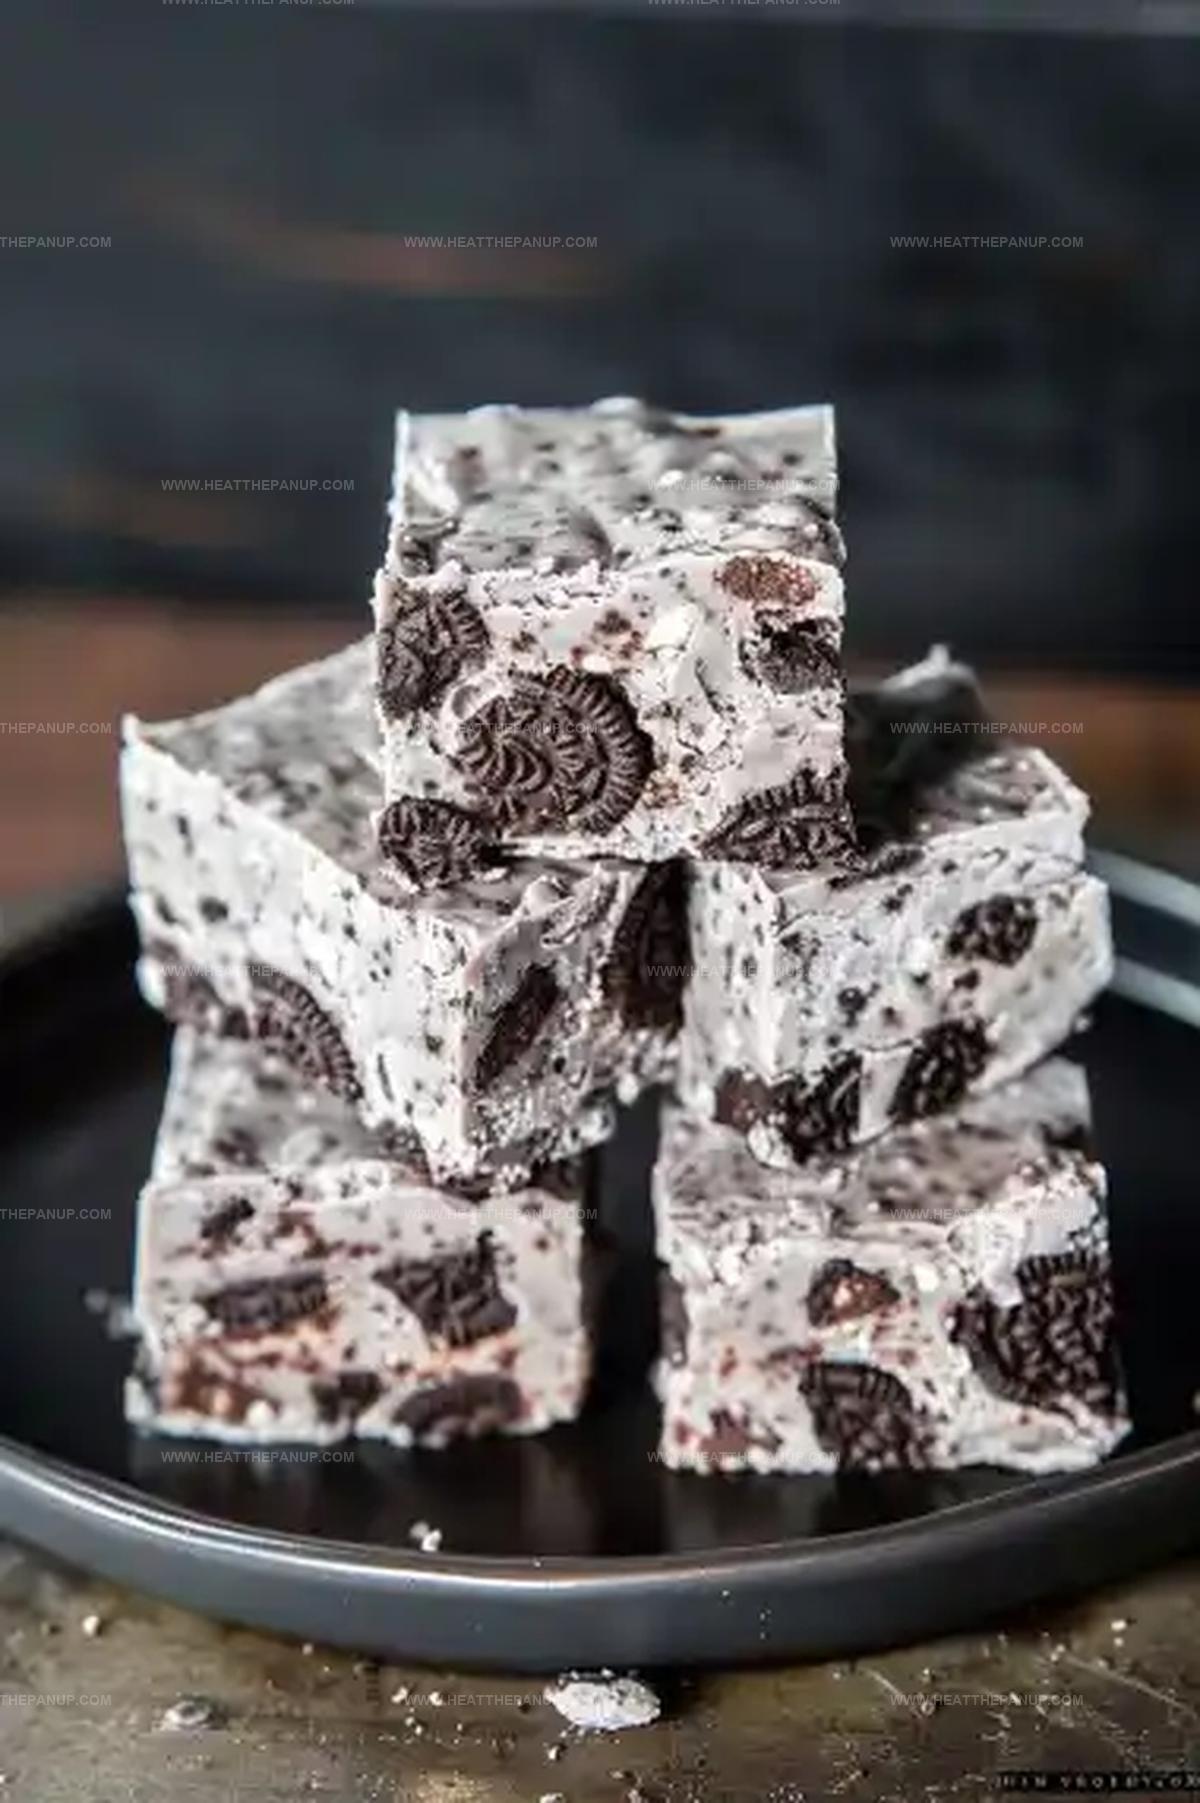
Homemade Oreo Fudge Recipe: Luscious Chocolatey Bliss
Whipping up a delectable oreo fudge promises pure indulgence for chocolate enthusiasts.
Creamy layers of sweet goodness beckon with irresistible charm.
My grandmother’s secret technique involves careful blending of classic ingredients.
Rich, velvety textures melt smoothly across eager taste buds.
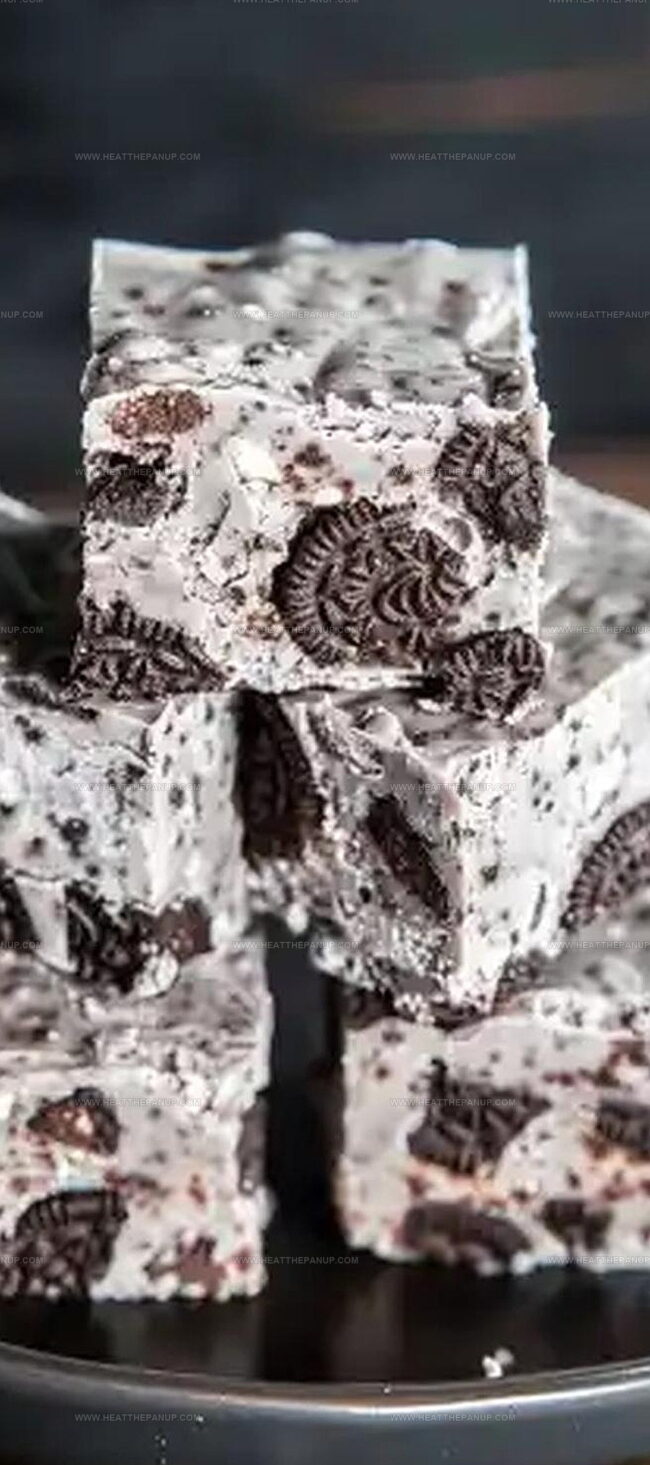
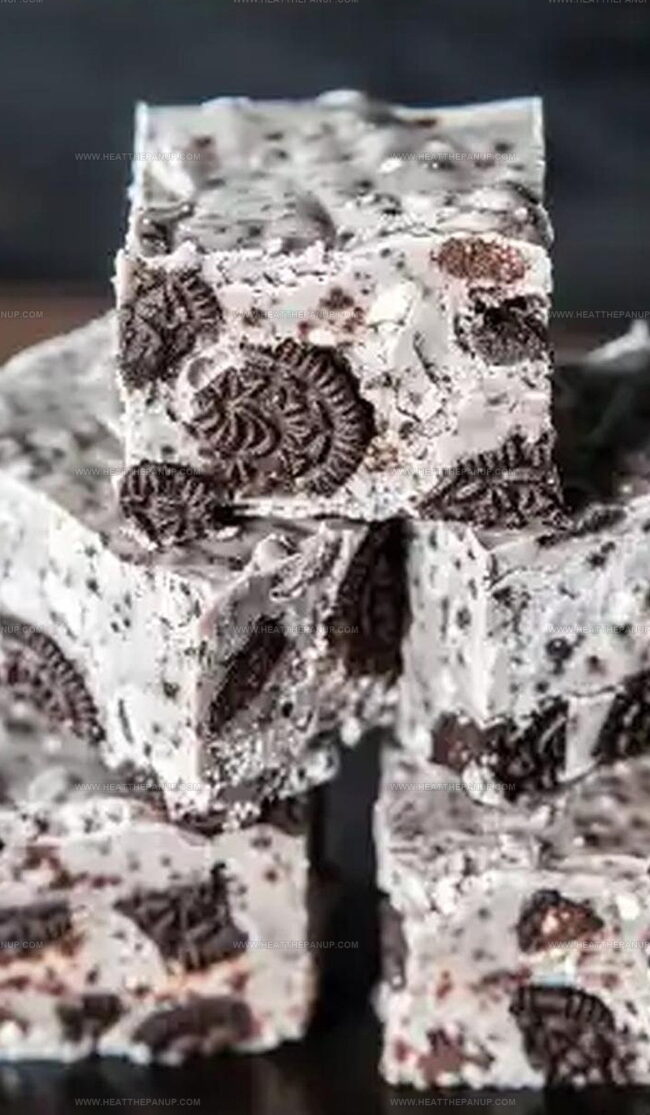
Unexpected bursts of cookie crunch create delightful surprise in every bite.
Minimal effort yields maximum deliciousness, making this treat perfect for spontaneous cravings.
You cannot resist diving into this decadent dessert that combines simplicity with pure pleasure.
Grab a slice and let the magic unfold!
Oreo Fudge That’s Quick and Crowd-Pleasing
Oreo Fudge Ingredients List
Main Ingredients:Sweeteners and Base:Finishing Touches:Easy Oreo Fudge Directions
Step 1: Prepare Baking Surface
Line an 8×8-inch baking pan with parchment paper, ensuring the paper covers the bottom and sides completely for easy removal of the fudge later.
Step 2: Create Fudge Base
In a medium saucepan, combine the following ingredients:Heat the mixture over medium heat, stirring constantly until it reaches a rolling boil. Keep a close eye on the pot to prevent burning.
Step 3: Melt Chocolate Components
Lower the heat and add:Stir continuously until the mixture becomes completely smooth and all ingredients are fully incorporated.
Step 4: Incorporate Oreo Crunch
Remove the pan from heat and gently fold in crushed Oreo cookies. Stir carefully to distribute the cookie pieces evenly throughout the fudge mixture.
Step 5: Set and Chill
Pour the fudge into the prepared pan, using a spatula to spread it evenly and create a smooth top surface. Transfer the pan to the refrigerator and let it chill for 2 hours or until the fudge becomes firm and set.
Step 6: Slice and Serve
Once the fudge is completely firm, lift it out of the pan using the parchment paper. Cut into neat squares using a sharp knife. Serve and enjoy the creamy, cookie-packed treat!
Easy Advice for Oreo Fudge
Oreo Fudge: Keep It Rich And Ready To Serve
Oreo Fudge Tasty Complements
Oreo Fudge Flavor Pairings
FAQs
Yes, you can substitute white chocolate chips with milk or dark chocolate chips for a different flavor profile.
Place Oreos in a resealable plastic bag and crush them using a rolling pin or the back of a spoon until you have small, uneven pieces.
Parchment paper helps easily remove the fudge from the pan and prevents sticking, so it’s recommended but not absolutely mandatory.
Marshmallow fluff helps create the creamy texture, so substituting it might change the consistency of the fudge. If you don’t have it, you could try marshmallows melted with a bit of cream.
Print
Oreo Fudge Recipe
- Total Time: 2 hours 15 minutes
- Yield: 12 1x
Description
Indulgent Oreo Fudge promises a creamy chocolate paradise that melts hearts with each rich, crumbly bite. Chocolate lovers will savor this simple, irresistible dessert that brings pure bliss to your sweet cravings.
Ingredients
Main Ingredients:
- 1 (7-ounce) jar marshmallow fluff
- 2.5 cups white chocolate chips
- 1 cup sugar
- 20 Oreos, crushed
Dairy Ingredients:
- 0.5 cup unsalted butter
- 0.5 cup heavy cream
Other Ingredients:
- 0.5 teaspoon salt
Instructions
- Prepare a square baking vessel by layering parchment paper across the bottom and sides to ensure easy removal of the fudge.
- Craft a rich base by merging butter, granulated sweetener, thick dairy cream, and a pinch of mineral seasoning in a cooking vessel, maintaining constant motion while heating until the mixture reaches a vigorous bubbling point.
- Introduce marshmallow cream and ivory chocolate fragments into the molten mixture, reducing thermal intensity to minimal. Continuously blend until achieving a uniform, glossy consistency.
- Carefully extract the pan from heat source and gently incorporate crumbled chocolate sandwich cookies, ensuring even distribution throughout the creamy foundation.
- Transfer the mixture into the prepared pan, utilizing a flat utensil to create a pristine, level surface that guarantees uniform texture.
- Chill the confection within the refrigeration unit for approximately two hours, allowing complete solidification and optimal flavor development.
- Once thoroughly set, slice the fudge into precise geometric portions, creating delectable individual servings ready for immediate enjoyment.
Notes
- Use room temperature ingredients to ensure smooth, even melting and consistent texture.
- Crush Oreos into different sizes for varied texture – some fine crumbs, some chunky pieces create interesting mouthfeel.
- Line pan with overhanging parchment paper for easy removal and clean cutting of fudge squares.
- Store fudge in airtight container in refrigerator for up to one week, separating layers with wax paper to prevent sticking.
- Prep Time: 15 minutes
- Cook Time: 2 hours
- Category: Desserts, Snacks
- Method: Boiling
- Cuisine: American
Nutrition
- Serving Size: 12
- Calories: 320
- Sugar: 24g
- Sodium: 150mg
- Fat: 18g
- Saturated Fat: 10g
- Unsaturated Fat: 6g
- Trans Fat: 0g
- Carbohydrates: 38g
- Fiber: 1g
- Protein: 2g
- Cholesterol: 30mg
James Hambly
Founder & Recipe Creator
Expertise
Recipe Development, Culinary Education, Farm-to-Table Cooking, Southern Cuisine
Education
Asheville-Buncombe Technical Community College
Certificate in Culinary Arts
Focus: Hands-on training in professional cooking techniques, emphasizing farm-to-table practices and Southern cuisine.
The Chef’s Academy
Associate Degree in Culinary Arts
Focus: Comprehensive culinary education covering global cuisines, kitchen management, and food safety.
James grew up surrounded by the smells of cast-iron skillets and slow-cooked Southern meals in Asheville, North Carolina.
He sharpened his skills with a Certificate in Culinary Arts from Asheville-Buncombe Technical Community College, and later leveled up with an Associate Degree from The Chef’s Academy.
James’s philosophy is simple: the best meals don’t need fancy tricks, just fresh ingredients, a hot pan, and a little bit of heart. His favorite days are spent testing one-pan wonders, chasing bold flavors, and creating recipes that feel easy, even on a busy night.