Irresistibly Sweet Ooey Gooey Bars Recipe for Dessert Lovers
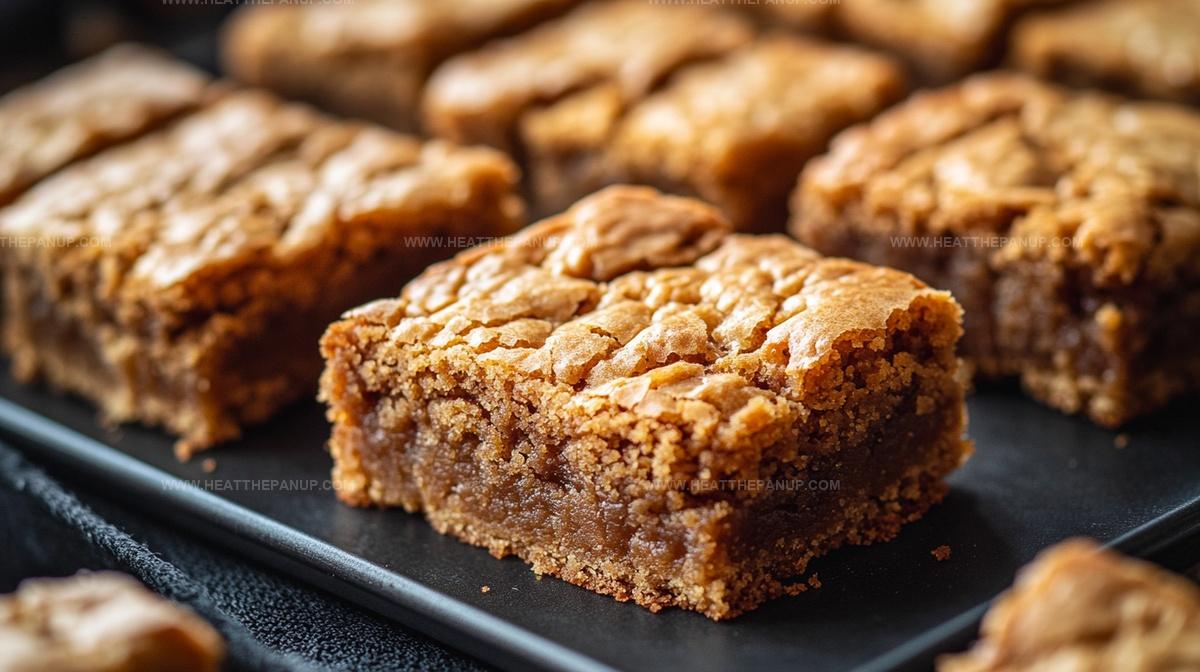
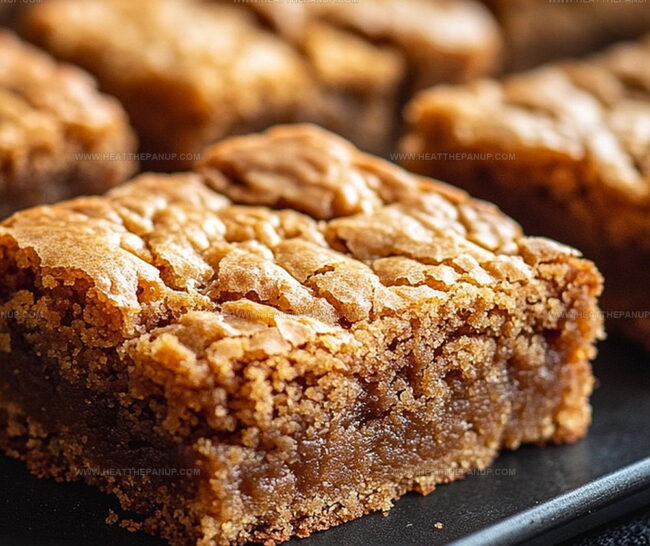
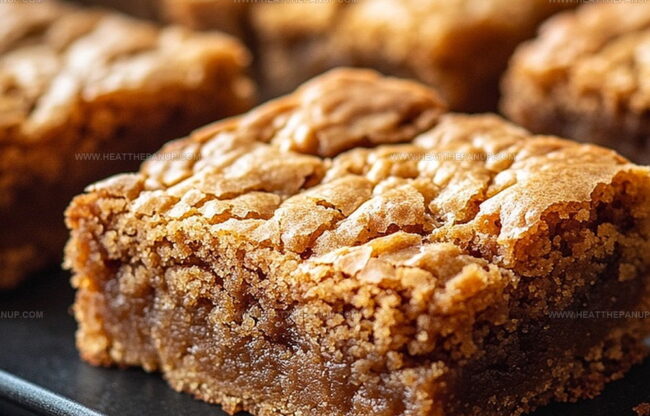
Chocolate chip ooey gooey bars combine decadent sweetness with irresistible texture.
Creamy layers melt together in a symphony of rich flavors.
Comfort meets indulgence through each delectable square of pure delight.
Childhood memories dance across taste buds with every gooey bite.
Sweet sensations promise a delightful escape from ordinary desserts.
Baking enthusiasts will love this simple yet magical treat that requires minimal effort.
Minimal ingredients unlock maximum pleasure in these irresistible bars.
Prepare to discover your new favorite dessert that sparks joy with every single mouthwatering bite.
Why Ooey Gooey Bars Are So Popular
Ooey Gooey Bars Ingredient List
Base Ingredients:Cream Cheese Filling Ingredients:Optional Topping/Garnish Ingredients:Simple Instructions for Ooey Gooey Bars
Step 1: Warm Up the Oven
Crank the oven to a toasty 350°F (175°C) to create the perfect baking environment.
Step 2: Create the Magical Crust
In a medium bowl, blend together:Mix until the ingredients transform into a delightful dough-like consistency.
Step 3: Prepare the Baking Dish
Grease a 9×13 inch baking dish and gently press the dough across the bottom, creating an even, smooth crust.
Step 4: Craft the Creamy Filling
Grab a large mixing bowl and whip the cream cheese until silky smooth.
Add eggs and whisk until perfectly combined.
Step 5: Sweeten the Mixture
Gradually fold powdered sugar into the cream cheese blend, whisking until the mixture becomes thick and luxuriously creamy.
Step 6: Layer the Filling
Carefully pour the cream cheese mixture over the prepared crust, using a spatula to spread it evenly.
Step 7: Bake to Perfection
Slide the dish into the preheated oven and bake for 25-30 minutes.
Look for a slightly golden top with a subtle jiggle in the center.
Step 8: Cool and Set
Let the bars cool completely on a wire rack for 1-2 hours, allowing them to set and develop their signature gooey texture.
Step 9: Slice and Serve
Cut into squares or rectangles, serving at room temperature.
Keep any leftovers in an airtight container for up to three days.
Tips for Gooey Bar Perfection
Best Way to Store Ooey Gooey Bars
What to Serve With Gooey Bars
Explore Delectable Pairings for Ooey Gooey Bars:Gooey Bar Recipe Variations
FAQs
Yes, they are quite sweet due to the yellow cake mix and powdered sugar, making them a decadent dessert for those with a serious sweet tooth.
While yellow cake mix works best, you could experiment with white or vanilla cake mix for similar results, but the flavor profile might slightly change.
The slight jiggle indicates the cream cheese filling is perfectly cooked but not overdone, which helps maintain the signature gooey texture of the bars.
No special equipment is needed – just a mixing bowl, baking dish, and standard kitchen tools like a whisk and spatula will work perfectly.
Print
Ooey Gooey Bars Recipe
- Total Time: 1 hour
- Yield: 12 1x
Description
Sinful Ooey Gooey Bars melt chocolate and caramel into a heavenly dessert that promises pure indulgence. Creamy layers and rich textures invite you to savor each delectable bite of sweet comfort.
Ingredients
Primary Ingredients:
- 1 box (15.25 ounces / 432 grams) yellow cake mix (dry, not prepared)
- 2 sticks (1 cup / 226 grams) unsalted butter, melted
- 1 large egg
Instructions
- Prepare the kitchen workspace and gather all necessary tools for a smooth baking experience.
- Preheat the oven to a precise 350°F (175°C) to ensure uniform heat distribution.
- Create the crust by combining yellow cake mix, melted butter, and an egg in a medium bowl, mixing until a cohesive dough forms.
- Thoroughly coat a 9×13 inch baking dish with grease, then carefully press the prepared dough into an even layer across the bottom.
- In a separate large mixing bowl, transform cream cheese into a velvety smooth texture by beating it until no lumps remain.
- Introduce eggs to the cream cheese, whisking gently to create a harmonious blend.
- Gradually incorporate powdered sugar into the cream cheese mixture, continuing to whisk until the filling achieves a luxurious, creamy consistency.
- Gently cascade the cream cheese filling over the prepared crust, using a spatula to distribute it evenly across the surface.
- Transfer the baking dish to the preheated oven and bake for 25-30 minutes, watching for a delicate golden hue on top and a subtle jiggle in the center.
- Remove from the oven and allow the bars to cool completely on a wire rack, which typically takes 1-2 hours.
- Once cooled, slice into precise squares or rectangles for serving.
- Enjoy at room temperature and store any remaining bars in an airtight container, consuming within three days for optimal freshness.
Notes
- Swap cake mix for gluten-free options to accommodate dietary restrictions and create a celiac-friendly dessert.
- Chill the bars for extra firmness and cleaner cutting lines, enhancing the overall presentation and texture.
- Prevent over-browning by covering the top with aluminum foil halfway through baking if edges start to darken too quickly.
- Experiment with flavor variations by adding extracts like vanilla, almond, or lemon to the cream cheese filling for a personalized twist.
- Prep Time: 30 minutes
- Cook Time: 30 minutes
- Category: Desserts, Snacks
- Method: Baking
- Cuisine: American
Nutrition
- Serving Size: 12
- Calories: 260
- Sugar: 14 g
- Sodium: 320 mg
- Fat: 16 g
- Saturated Fat: 10 g
- Unsaturated Fat: 6 g
- Trans Fat: 0 g
- Carbohydrates: 30 g
- Fiber: 0 g
- Protein: 2 g
- Cholesterol: 30 mg
Angelina Wiles
Content Editor & Culinary Enthusiast
Expertise
Food Writing and Editing, Vegetarian and Vegan Cuisine, Baking and Pastry Arts, Sustainable Cooking Practices
Education
Portland Community College
Certificate in Culinary Arts
Focus: Emphasis on sustainable cooking practices, vegetarian cuisine, and food writing.
Oregon Culinary Institute
Diploma in Baking and Pastry Arts
Focus: Specialized training in artisanal baking, pastry techniques, and dessert presentation.
Angelina’s love for cooking started with handwritten family recipes and weekend trips to farmers’ markets around Portland. She followed her passion with a Certificate in Culinary Arts from Portland Community College, then perfected her sweet side with a Diploma in Baking and Pastry Arts at Oregon Culinary Institute.
Angelina believes recipes should feel like a conversation, not a science project. She’s all about helping readers trust themselves in the kitchen with simple steps, fresh ideas, and easy twists on classic meals.
When she’s not editing recipes, she’s baking bread, sipping coffee, or getting inspired by the changing seasons.