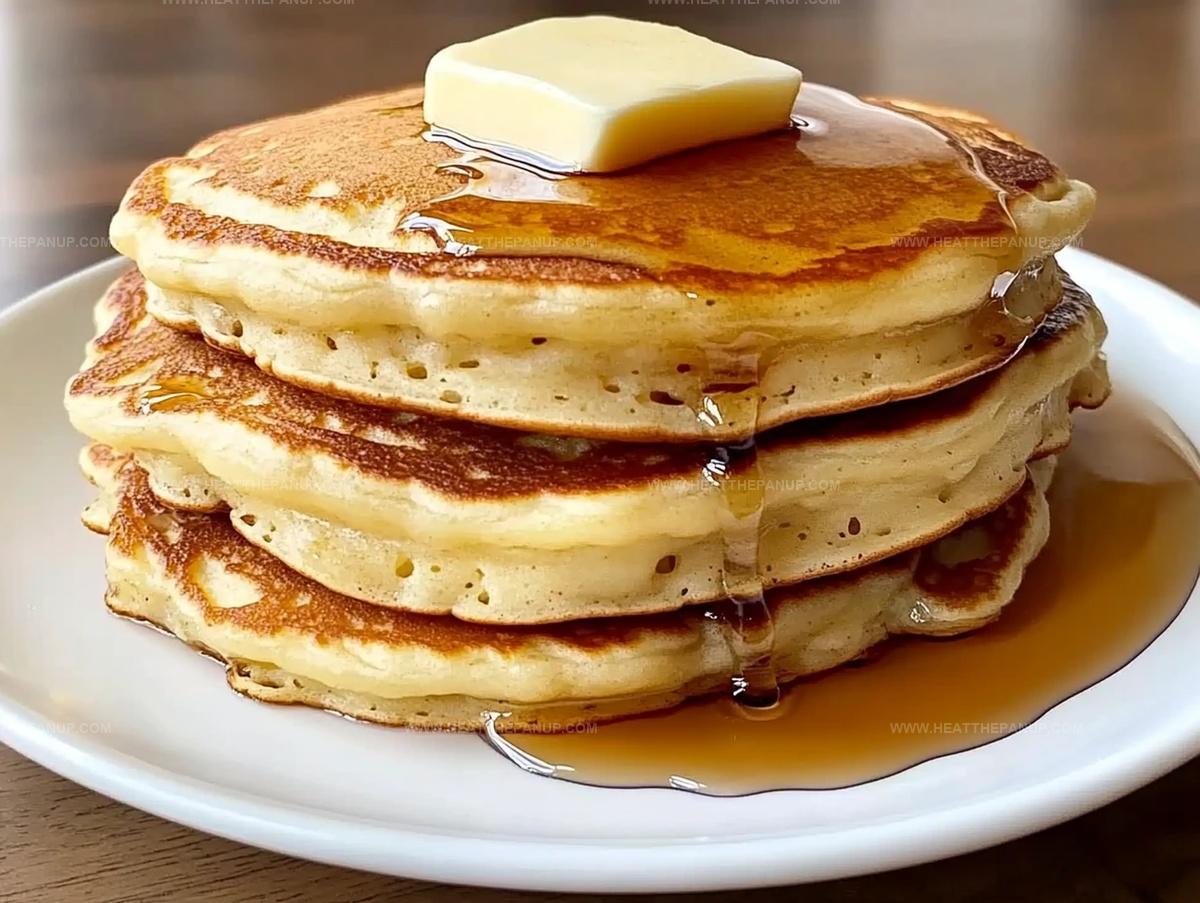
Granny’s Golden Old-Fashioned Pancakes Recipe
Breakfast becomes a nostalgic celebration with these classic old-fashioned pancakes that bring comfort straight to your morning table.
Weekend memories flood back with each fluffy, golden bite of these traditional pancakes.
Generations have cherished this simple yet delightful recipe passed down through kitchens.
Light and airy, these pancakes promise a breakfast that feels like a warm hug from grandma.
Crisp edges and soft centers make every forkful a delightful experience.
The secret lies in balancing ingredients with gentle care and love.
What Makes These Old-Fashioned Pancakes Special
Ingredients for the Perfect Pancake Stack
Dry Ingredients:Wet Ingredients:Optional Toppings:Easy Steps for Fluffy Homemade Pancakes
Step 1: Whisk Dry Ingredients Together
Grab a large mixing bowl and combine flour, baking powder, sugar, and salt.
Use a whisk to blend these ingredients thoroughly until they’re evenly mixed, ensuring no clumps remain.
Step 2: Create Smooth Batter
Make a small well in the center of the dry ingredients.
Pour the wet ingredients into this well.
Whisk everything together until the batter becomes silky smooth with no visible lumps.
The consistency should be slightly thick but pourable.
Step 3: Prepare Cooking Surface
Heat a griddle or non-stick skillet over medium-high heat.
Lightly grease the surface with butter or cooking spray to prevent sticking.
The pan is ready when water droplets dance and sizzle when sprinkled.
Step 4: Pour and Cook Pancakes
Carefully ladle batter onto the hot surface, creating circles about 4 inches wide.
Watch for small bubbles forming on the surface, which signals it’s time to flip.
This typically takes about 2-3 minutes.
Step 5: Flip and Finish Cooking
Gently turn each pancake using a flat spatula.
Cook the opposite side until it turns a beautiful golden brown, approximately 1-2 minutes.
The pancake should have a light, fluffy texture when done.
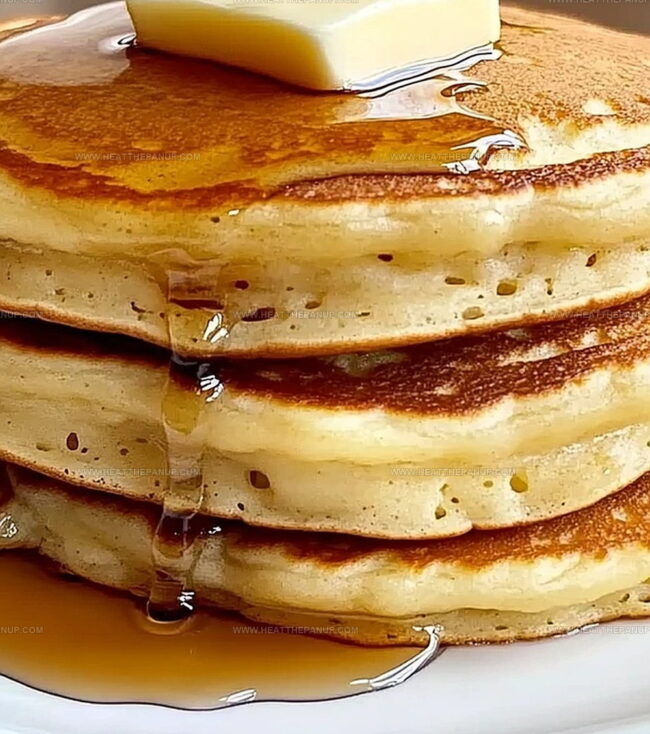
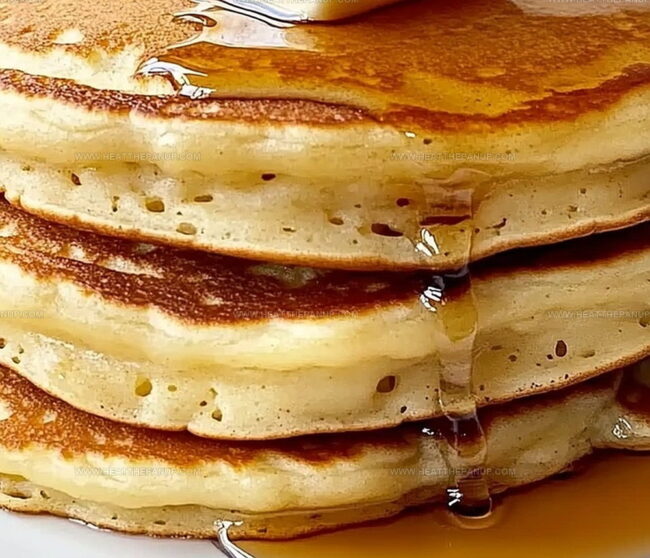
Step 6: Serve and Enjoy
Transfer pancakes to a warm plate.
Top with maple syrup, fresh berries, whipped cream, or your favorite pancake accessories.
Serve immediately for the most delightful breakfast experience.
Tips for Light and Golden Pancakes
How to Store and Reheat Pancakes Smoothly
Best Toppings and Sides for Pancakes
Flavor Ideas for Classic Pancake Lovers
FAQs
Yes, you can prepare the pancake batter and store it in the refrigerator for up to 24 hours. Just give it a quick whisk before cooking to restore its consistency.
Look for bubbles forming on the surface and slightly dry edges. This usually takes about 2-3 minutes on the first side, indicating it’s time to flip.
If the batter is too thick, add a little milk to thin it out. If it’s too thin, mix in a small amount of flour to achieve the right consistency.
Yes, you can substitute up to half the all-purpose flour with whole wheat flour. Keep in mind this will make the pancakes slightly denser and nuttier in flavor.
Print
Old-Fashioned Pancakes Recipe
- Total Time: 25 minutes
- Yield: 4 1x
Description
Classic “Old-Fashioned Pancakes” bring nostalgic comfort straight from grandma’s kitchen. Fluffy golden rounds drizzled with maple syrup promise a delightful breakfast that connects you to cherished morning memories.
Ingredients
Main Dry Ingredients:
- 1 1/2 cups all-purpose flour
- 3 1/2 teaspoons baking powder
- 1/4 teaspoon salt
Wet Ingredients:
- 1 1/4 cups milk
- 1 egg
- 3 tablespoons butter, melted
- 1 tablespoon white sugar
Tools/Seasonings:
(None additional in this recipe)
Instructions
- Gather all dry ingredients like flour, baking powder, sugar, and salt into a spacious mixing vessel, gently sifting them together to eliminate potential clumps and ensure uniform distribution.
- Create a central cavity within the dry ingredient mixture, then carefully introduce milk, melted butter, and a whisked egg into this hollow space.
- Blend the wet and dry components using smooth, deliberate strokes, transforming the ingredients into a silky, homogeneous batter without any visible lumpy textures.
- Position a griddle or non-stick skillet over medium-high thermal settings, lightly coating the surface with a thin layer of cooking lubricant to prevent adherence.
- Once the cooking surface reaches optimal temperature, delicately ladle approximately ¼ cup of batter for each individual pancake, allowing sufficient space between them.
- Monitor the pancake’s surface closely, watching for characteristic bubble formations and slightly dried edges, which typically occur within 2-3 minutes of cooking.
- Utilizing a flexible spatula, swiftly and confidently flip each pancake, revealing a golden-brown landscape underneath.
- Continue cooking the reverse side for an additional 2 minutes, ensuring a uniform caramel-like coloration across the entire pancake.
- Transfer the freshly prepared pancakes to serving plates, presenting them alongside preferred accompaniments such as maple syrup, softened butter, vibrant seasonal fruits, or airy whipped cream.
Notes
- Prevent lumpy batter by sifting dry ingredients and whisking wet ingredients thoroughly to create a smooth, silky texture.
- Achieve perfect pancake consistency by letting the batter rest for 5 minutes, allowing flour to absorb liquid and gluten to relax for fluffier results.
- Customize pancakes for dietary needs by substituting all-purpose flour with gluten-free flour blend, using plant-based milk, or replacing butter with coconut oil for various restrictions.
- Control heat carefully to avoid burning; medium heat ensures golden-brown exterior with soft, tender interior, creating restaurant-quality pancakes at home.
- Prep Time: 10 minutes
- Cook Time: 15 minutes
- Category: Breakfast, Snacks, Desserts
- Method: Frying
- Cuisine: American
Nutrition
- Serving Size: 4
- Calories: 253
- Sugar: 2 g
- Sodium: 135 mg
- Fat: 10 g
- Saturated Fat: 6 g
- Unsaturated Fat: 4 g
- Trans Fat: 0 g
- Carbohydrates: 36 g
- Fiber: 1 g
- Protein: 7 g
- Cholesterol: 47 mg
James Hambly
Founder & Recipe Creator
Expertise
Recipe Development, Culinary Education, Farm-to-Table Cooking, Southern Cuisine
Education
Asheville-Buncombe Technical Community College
Certificate in Culinary Arts
Focus: Hands-on training in professional cooking techniques, emphasizing farm-to-table practices and Southern cuisine.
The Chef’s Academy
Associate Degree in Culinary Arts
Focus: Comprehensive culinary education covering global cuisines, kitchen management, and food safety.
James grew up surrounded by the smells of cast-iron skillets and slow-cooked Southern meals in Asheville, North Carolina.
He sharpened his skills with a Certificate in Culinary Arts from Asheville-Buncombe Technical Community College, and later leveled up with an Associate Degree from The Chef’s Academy.
James’s philosophy is simple: the best meals don’t need fancy tricks, just fresh ingredients, a hot pan, and a little bit of heart. His favorite days are spent testing one-pan wonders, chasing bold flavors, and creating recipes that feel easy, even on a busy night.