The Best Old Fashioned Orange Candy Recipe for Sweet Nostalgia
Sweet memories of childhood often revolve around nostalgic orange candy that transports you back to simpler times.
Grandma’s kitchen always smelled magical when she prepared these delightful treats.
Sugary crystals would sparkle like tiny gems against the copper pot.
Bright citrus aromas would dance through her cozy space, promising something extraordinary.
Delicate oranges from local markets inspired her classic confectionery techniques.
Crafting these candies requires patience and a gentle touch from the heart.
Each bite connects generations through a simple, delicious tradition.
Come discover how easy it is to recreate this cherished sweet that will make everyone smile.
What Makes This Orange Candy Nostalgic and Sweet
Orange Candy (Old Fashioned) Ingredient Guide
Core Ingredients:Flavor and Color Enhancers:Coating and Preparation Ingredients:Old Fashioned Orange Candy Simple Candy Making Guide
Step 1: Prepare Candy Workspace
Get your 9×5-inch loaf pan ready by coating it with cooking spray. This prevents the candy from sticking and ensures easy removal later.
Step 2: Create Pectin Mixture
In a medium saucepan, combine:The mixture might foam up, which is totally normal and part of the candy-making magic.
Step 3: Build Sugar Base
In a large saucepan, mix sugar and light corn syrup. Cook over high heat, stirring frequently until the sugar mixture reaches a full boil.
Step 4: Merge Mixtures
Slowly pour the pectin solution into the boiling sugar mixture. Keep stirring continuously for about one minute to ensure smooth blending.
Step 5: Infuse Flavor
Remove from heat and stir in:This step adds the vibrant orange essence and beautiful color to your candy.
Step 6: Set Candy
Pour the mixture immediately into the prepared pan. Let it rest at room temperature for at least 3 hours or overnight until completely firm.
Step 7: Shape and Coat
Spread sugar on wax paper. Carefully turn out the candy onto the sugared surface. Cut into small cubes, using a knife dipped in hot water to prevent sticking.
Step 8: Final Sugar Dusting
Roll each candy cube in sugar until evenly coated. Place on a wire rack to dry completely overnight.
Step 9: Store and Enjoy
Transfer the dried candies to an airtight container. They’ll stay fresh at room temperature, ready to delight your taste buds whenever you want a sweet treat.
Candy Tips for Old-Fashioned Orange Sweets
Storing Homemade Orange Candy Just Right
Old Fashioned Orange Candy Matches
Homemade Flavor Twists for Old Fashioned Orange Candy
FAQs
Pectin is a natural fruit-based thickening agent that helps give the candy its firm, jellied texture. It’s crucial for creating the right consistency in homemade fruit candies.
Yes, you can substitute orange extract with other flavors like lemon, raspberry, or vanilla. Just ensure you use a high-quality extract for the best taste.
Hot water prevents the sticky candy from clinging to the knife, making clean, precise cuts easier and helping you create uniform candy cubes.
When stored in an airtight container at room temperature, these homemade candies will typically remain fresh and delicious for about 1-2 weeks.
Print
Old Fashioned Orange Candy Recipe
- Total Time: 45 minutes
- Yield: 20 1x
Description
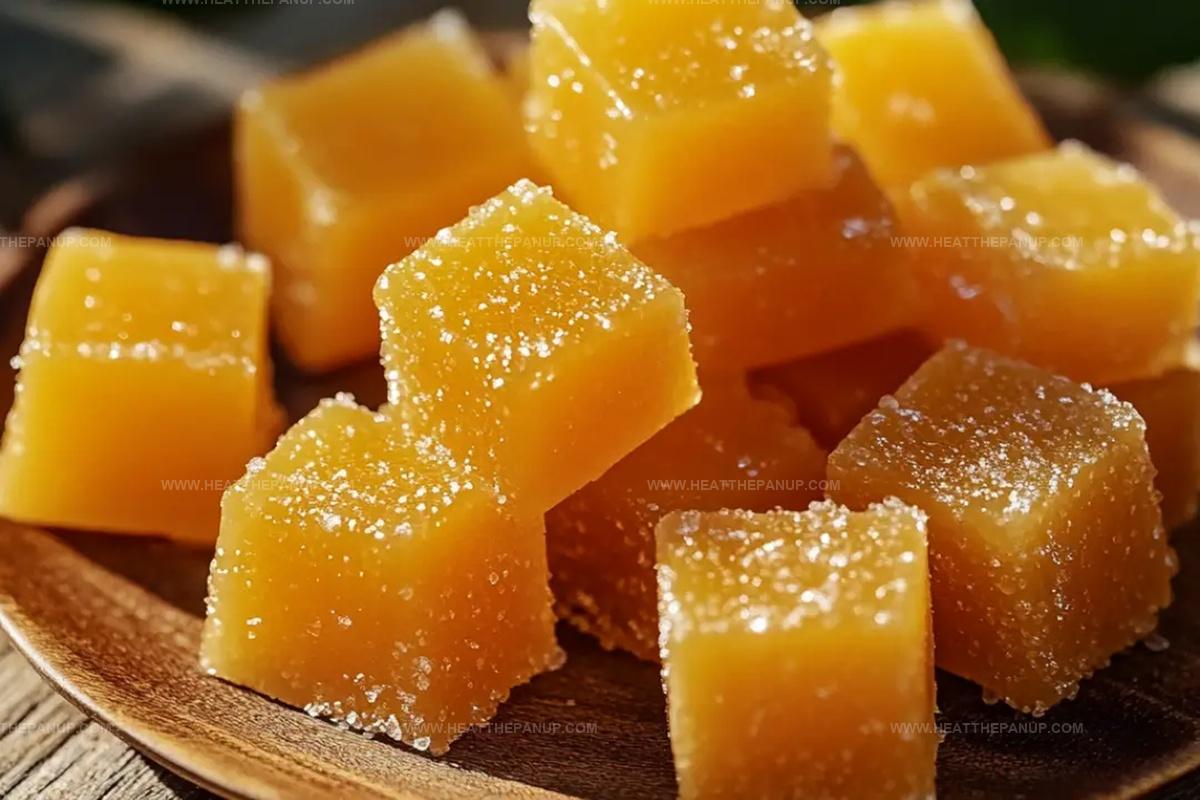
Sweet nostalgia comes alive with classic old fashioned orange candy, a delightful confection that whispers memories of grandmother’s kitchen. Citrus lovers will savor each crystallized bite, connecting generations through simple, pure ingredients and timeless culinary craft.
Ingredients
Main Ingredients:
- 1 1/4 cups sugar
- 1 cup light corn syrup
- 1 can (6 ounces/170 grams) fruit pectin
Liquid Ingredients:
- 3/4 cup (180 milliliters) water
- 2 teaspoons orange extract
Supplementary Ingredients:
- 1/2 teaspoon baking soda
- 5 drops red liquid food coloring
- 5 drops yellow liquid food coloring
Instructions
- Prepare a 9×5-inch loaf pan with cooking spray, ensuring complete coverage for easy candy removal.
- In a medium saucepan, whisk together fruit pectin, water, and baking soda until well combined, anticipating potential foaming.
- Simultaneously, in a large saucepan, heat sugar and light corn syrup over high heat, stirring frequently until the mixture reaches a vigorous boil.
- Carefully integrate the pectin solution into the boiling sugar mixture, maintaining constant stirring to prevent scorching.
- Continue cooking for an additional minute, creating a smooth, uniform candy base.
- Remove from heat and swiftly incorporate orange extract and food coloring, ensuring even distribution throughout the mixture.
- Immediately transfer the liquid candy into the prepared pan, allowing it to settle and cool at room temperature for several hours or overnight.
- Once completely set, sprinkle a generous layer of sugar on wax paper to prevent sticking.
- Invert the candy onto the sugared surface, revealing a solid candy block.
- Using a knife dipped in hot water to prevent adhesion, slice the candy into precise 3/4-inch cubes.
- Gently roll each cube in the remaining sugar, creating a sweet, crystalline exterior.
- Arrange the coated candies on a wire rack, allowing them to dry completely overnight.
- Transfer the finished orange candies to an airtight container, preserving their texture and flavor at room temperature.
Notes
- Precision matters when measuring ingredients, as slight variations can affect the candy’s texture and set.
- Prevent sugar crystallization by stirring constantly during the cooking process and using a clean, dry utensil.
- Use a candy thermometer for more accurate temperature control if you’re aiming for consistent results.
- Experiment with different extract flavors like lemon or raspberry to create unique variations of this classic candy.
- Prep Time: 30 minutes
- Cook Time: 15 minutes
- Category: Desserts, Snacks
- Method: Boiling
- Cuisine: American
Nutrition
- Serving Size: 20
- Calories: 90
- Sugar: 14 g
- Sodium: 1 mg
- Fat: 0 g
- Saturated Fat: 0 g
- Unsaturated Fat: 0 g
- Trans Fat: 0 g
- Carbohydrates: 23 g
- Fiber: 0 g
- Protein: 0 g
- Cholesterol: 0 mg
James Hambly
Founder & Recipe Creator
Expertise
Recipe Development, Culinary Education, Farm-to-Table Cooking, Southern Cuisine
Education
Asheville-Buncombe Technical Community College
Certificate in Culinary Arts
Focus: Hands-on training in professional cooking techniques, emphasizing farm-to-table practices and Southern cuisine.
The Chef’s Academy
Associate Degree in Culinary Arts
Focus: Comprehensive culinary education covering global cuisines, kitchen management, and food safety.
James grew up surrounded by the smells of cast-iron skillets and slow-cooked Southern meals in Asheville, North Carolina.
He sharpened his skills with a Certificate in Culinary Arts from Asheville-Buncombe Technical Community College, and later leveled up with an Associate Degree from The Chef’s Academy.
James’s philosophy is simple: the best meals don’t need fancy tricks, just fresh ingredients, a hot pan, and a little bit of heart. His favorite days are spent testing one-pan wonders, chasing bold flavors, and creating recipes that feel easy, even on a busy night.