
The Irresistible No-Bake Twinkie Cake Recipe for Sweet Cravings
Ever since discovering this no-bake twinkie cake, dessert adventures have never been the same.
Sweet memories spark with each creamy layer and nostalgic bite.
Childhood favorites merge into an effortless treat that requires zero oven time.
Soft cream fills every crevice between golden cake pieces, creating pure magic.
Minimal ingredients and simple steps make magic happen quickly in your kitchen.
Cool and smooth textures promise delightful moments of pure indulgence.
You will absolutely fall in love with this ridiculously easy dessert that comes together in minutes.
Fun Layers in This No-Bake Twinkie Cake
Twinkie Cake (No-Bake) Pantry Must-Haves
Cake Base:Pudding Layer:Topping Layer:Twinkie Cake (No-Bake) Easy Method
Step 1: Prepare Twinkie Base
Remove Twinkies from packaging and slice each one horizontally. Arrange the Twinkie halves with cream side facing upward in a single layer across the bottom of a 9×13-inch baking dish.
Step 2: Create Creamy Cheesecake Layer
In a medium mixing bowl, blend instant cheesecake pudding mix with milk. Whisk thoroughly until the mixture transforms into a smooth, thick consistency.
Step 3: Spread Pudding Magic
Carefully distribute the prepared cheesecake pudding evenly across the Twinkie layer. Ensure complete and consistent coverage for maximum flavor.
Step 4: Add Fluffy Whipped Clouds
Gently spread the thawed whipped topping over the pudding layer. Use a spatula to create a soft, even surface that looks light and inviting.
Step 5: Decorate with Fruity Flair
Scatter the sweetened strawberries across the whipped topping. Aim for an attractive and even distribution that covers the entire surface.
Step 6: Chill and Set
Cover the baking dish with plastic wrap. Refrigerate for a minimum of 2 hours to allow the dessert to set and flavors to meld perfectly.
No-Bake Notes for Twinkie Layer Cake
No-Bake Twinkie Cake: Save And Slice Later
No-Bake Twinkie Cake Serving Matches
No-Bake Twinkie Cake: Fun Change-Up Ideas
FAQs
Yes, you can substitute homemade whipped cream, but it may not hold its shape as well as store-bought whipped topping and might become softer faster.
Absolutely! You can prepare this No-Bake Twinkie Cake up to 24 hours in advance, which makes it perfect for parties and gatherings.
You can use vanilla pudding mix as an alternative. The flavor will be slightly different but still delicious.
Fresh strawberries can work, but they might release more liquid. If using fresh, slice them and sprinkle a little sugar to help them release their juices before adding to the cake.
Print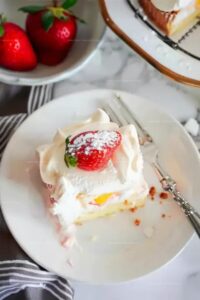
No-Bake Twinkie Cake Recipe
- Total Time: 2 hours 20 minutes
- Yield: 8 1x
Description
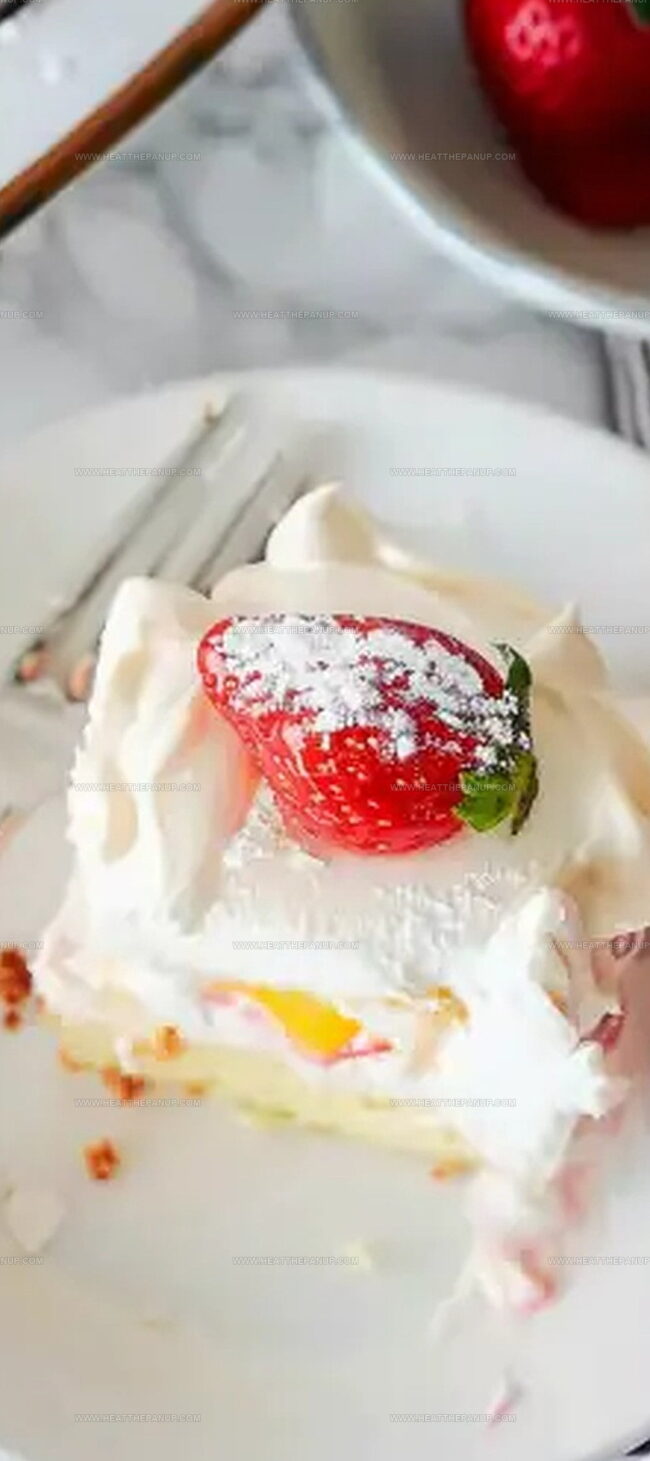
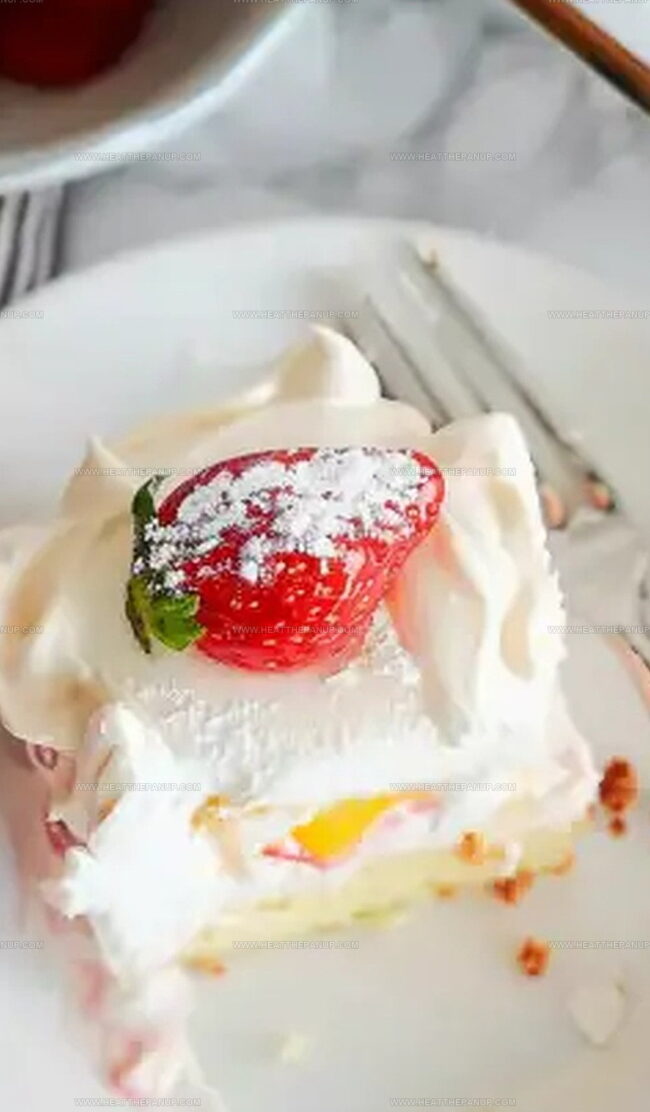
Creamy no-bake twinkie cake brings classic comfort dessert to life with layers of golden sponge cake and luscious cream. Sweet nostalgia meets simple preparation, delivering indulgent enjoyment you can easily craft in your kitchen.
Ingredients
Main Ingredients:
- 10 Twinkies
- 8 ounces (226 grams) whipped topping (thawed)
- 16 ounces (454 grams) container frozen sweetened strawberries (thawed)
Dairy and Pudding Mix:
- 1 box (3.4 ounces or 96 grams) instant cheesecake pudding mix
- 1 1/2 cups (360 milliliters) milk
Preparation Components:
- (No additional ingredients)
Instructions
- Carefully unwrap Twinkies and slice each horizontally, ensuring the cream-filled side faces upward. Arrange the Twinkie halves in a uniform layer across the bottom of a rectangular dish.
- In a mixing bowl, combine cheesecake pudding mix with milk. Whisk vigorously until the mixture transforms into a smooth, creamy consistency with no lumps.
- Using a spatula, gently spread the pudding mixture over the Twinkie layer, creating an even, velvety surface that completely covers the cake base.
- Delicately spread the thawed whipped topping across the pudding layer, maintaining a light touch to preserve the pudding’s smooth texture underneath.
- Scatter the sweetened strawberries uniformly over the whipped topping, ensuring an even distribution for consistent fruity flavor in each serving.
- Securely cover the dessert with plastic wrap, pressing gently to prevent the wrap from touching the surface. Refrigerate for a minimum of two hours, allowing the layers to set and flavors to meld together.
- Before serving, remove from refrigerator and let stand at room temperature for 5-10 minutes to soften slightly, making the dessert easier to slice and serve.
Notes
- Slice Twinkies carefully to maintain their structural integrity, ensuring even layers for a visually appealing dessert.
- Opt for full-fat milk when preparing the pudding to achieve a richer, creamier texture that complements the Twinkie base.
- Customize the dessert by substituting strawberries with other fruits like blueberries or peaches for seasonal variations.
- For a gluten-free version, use gluten-free Twinkies or replace them with gluten-free sponge cake to accommodate dietary restrictions.
- Prep Time: 20 minutes
- Cook Time: 2 hours
- Category: Desserts
- Method: None
- Cuisine: American
Nutrition
- Serving Size: 8
- Calories: 200
- Sugar: 12 g
- Sodium: 150 mg
- Fat: 9 g
- Saturated Fat: 3 g
- Unsaturated Fat: 4 g
- Trans Fat: 0 g
- Carbohydrates: 27 g
- Fiber: 1 g
- Protein: 2 g
- Cholesterol: 15 mg
James Hambly
Founder & Recipe Creator
Expertise
Recipe Development, Culinary Education, Farm-to-Table Cooking, Southern Cuisine
Education
Asheville-Buncombe Technical Community College
Certificate in Culinary Arts
Focus: Hands-on training in professional cooking techniques, emphasizing farm-to-table practices and Southern cuisine.
The Chef’s Academy
Associate Degree in Culinary Arts
Focus: Comprehensive culinary education covering global cuisines, kitchen management, and food safety.
James grew up surrounded by the smells of cast-iron skillets and slow-cooked Southern meals in Asheville, North Carolina.
He sharpened his skills with a Certificate in Culinary Arts from Asheville-Buncombe Technical Community College, and later leveled up with an Associate Degree from The Chef’s Academy.
James’s philosophy is simple: the best meals don’t need fancy tricks, just fresh ingredients, a hot pan, and a little bit of heart. His favorite days are spent testing one-pan wonders, chasing bold flavors, and creating recipes that feel easy, even on a busy night.