The Dreamiest No-Bake Oreo Mud Pie Recipe Ever
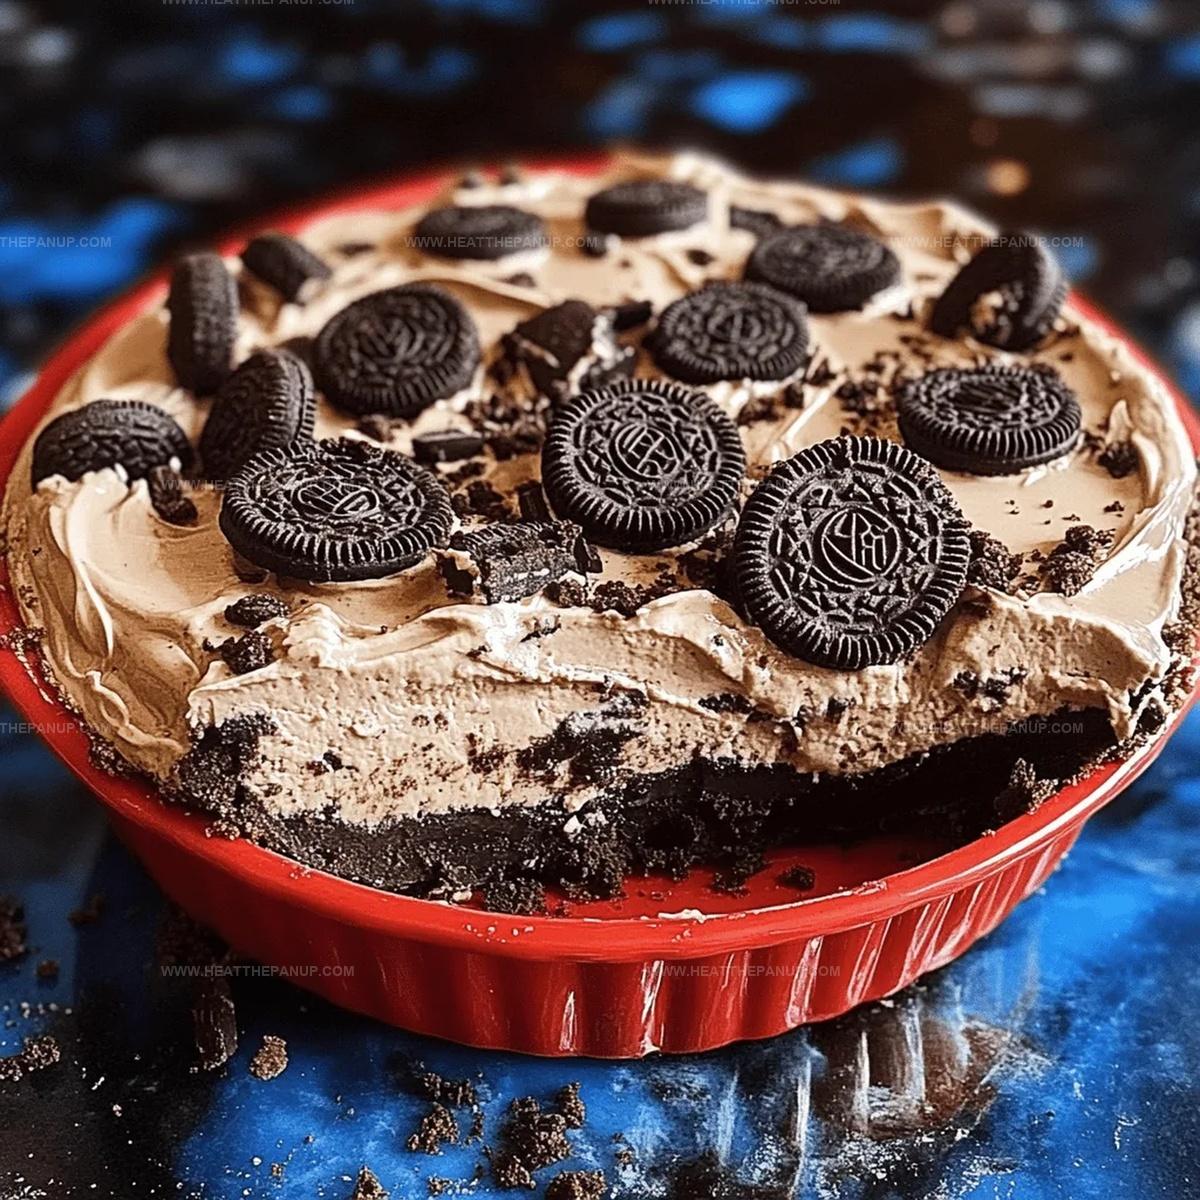
Dessert lovers adore this no-bake oreo mud pie that combines creamy indulgence with minimal kitchen effort.
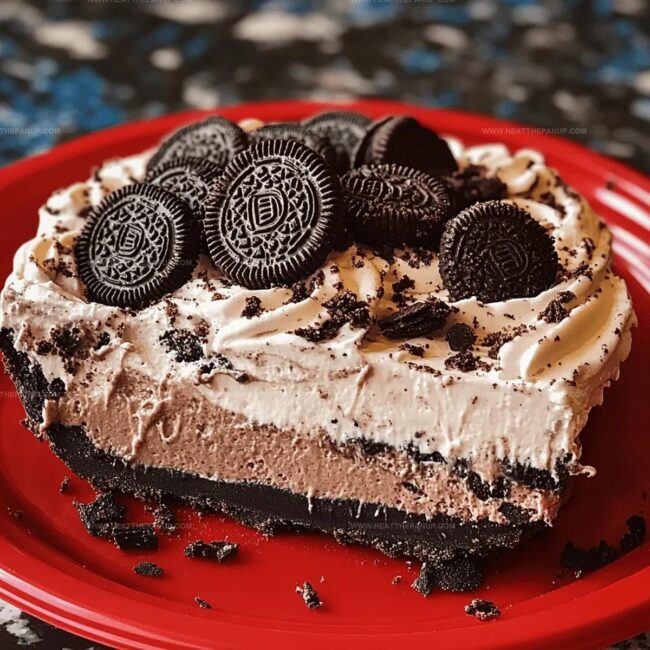
Chocolate cookie crusts create a decadent foundation for smooth, velvety layers.
Sweet cream cheese blends perfectly with whipped topping, creating a dreamy texture.
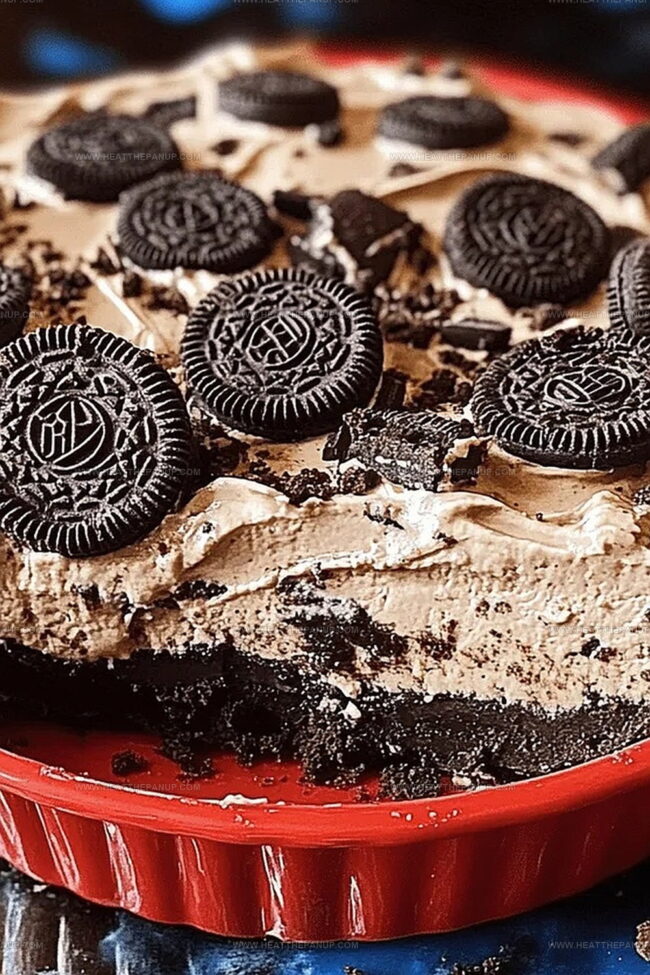
Crushing oreos releases rich, chocolatey flavor throughout each delightful bite.
Cold refrigeration helps ingredients meld into a luxurious, silky treat.
Chilled and ready in under thirty minutes, this pie promises pure satisfaction.
Come experience a dessert that delivers maximum pleasure with minimal preparation.
Why You’ll Love No-Bake Oreo Mud Pie
What Goes Into No-Bake Oreo Mud Pie
Oreo Cookies:Dairy Base:Topping and Garnish:How to Make the Best Oreo Mud Pie
Step 1: Prepare Creamy Pudding Base
Grab a spacious mixing bowl and whisk milk with pudding mix until it transforms into a smooth, thick consistency.
Gently fold in Cool Whip, creating a luscious, airy mixture that will become the heart of your delectable dessert.
Step 2: Create Oreo Cookie Layer
Take 12 Oreo cookies and place them inside a resealable plastic bag.
Use a rolling pin to crush the cookies into delightful crumbly pieces.
Stir these crunchy cookie fragments into the pudding mixture, ensuring an even distribution of chocolatey goodness.
Step 3: Spread and Smooth
Transfer the Oreo-infused pudding mixture into a 9×13-inch pan.
Use a spatula to spread the mixture evenly, creating a perfectly smooth surface that promises a delightful texture in every bite.
Step 4: Add Crunchy Topping
Crush an additional 12 Oreo cookies (or more if desired) into fine crumbs.
Generously sprinkle these cookie crumbs across the top of the dessert, creating a tempting and textured finishing layer.
Step 5: Chill and Set
Place the pan in the refrigerator and let it rest for at least 2 hours.
This cooling time allows the pie to set and the flavors to meld together, creating a refreshing and indulgent treat that will wow your taste buds.
Smart Tips for No-Bake Mud Pie Success

How to Chill and Re-Serve Oreo Mud Pie
Pairing Ideas for No-Bake Oreo Mud Pie
Fun Flavor Ideas for Oreo Mud Pie
FAQs
No, it’s super easy! You only need a few ingredients and basic kitchen tools like a mixing bowl, rolling pin, and a pan. Even beginners can make this No-Bake Oreo Mud Pie with confidence.
You can use regular Oreo cookies or any similar chocolate sandwich cookie. If you prefer, you can try different flavored Oreos like mint or peanut butter for a unique twist.
Absolutely! This No-Bake Oreo Mud Pie is perfect for preparing in advance. You can make it a day or two before serving, and it will stay fresh in the refrigerator. Just keep it covered until you’re ready to enjoy.
Yes, kids love this recipe! It’s a fun, sweet treat that doesn’t require baking, and children can even help crush the Oreo cookies. It’s a great dessert for family gatherings or children’s parties.
Print
No-Bake Oreo Mud Pie Recipe
- Total Time: 20 minutes
- Yield: 8 1x
Description
Creamy layers of no-bake oreo mud pie promise a chocolate lover’s dream with crushed cookie crust and silky filling. Cool whipped cream and chocolate drizzle complete this irresistible dessert that you can savor without turning on the oven.
Ingredients
Main Ingredients:
- 18 oz package Oreo cookies
- 1 large box (6 oz) instant chocolate pudding mix
- 3 cups (720 ml) milk
Creamy Components:
- 16 oz (454 g) Cool Whip, thawed
Instructions
- Prepare the pudding base by whisking milk and pudding mix in a spacious mixing vessel until it reaches a smooth, thickened consistency.
- Incorporate Cool Whip into the pudding mixture, using gentle folding motions to maintain a light, airy texture.
- Pulverize the first batch of Oreo cookies by placing them in a sturdy plastic bag and crushing with a rolling pin or heavy kitchen tool.
- Blend the crushed cookie fragments thoroughly into the pudding mixture, ensuring even distribution of cookie pieces.
- Transfer the combined mixture into a rectangular 9×13-inch serving pan, carefully spreading it to create an uniform layer.
- Take the remaining Oreo cookies and crush them into smaller, decorative fragments for topping.
- Generously scatter the additional crushed cookies across the surface of the dessert, creating a textured and visually appealing garnish.
- Chill the dessert in the refrigerator for a minimum of two hours, allowing the ingredients to set and flavors to meld together.
- Remove from refrigerator and serve chilled, offering a delightful no-bake treat perfect for casual gatherings or sweet indulgence.
Notes
- Customize cookie crunch by using different flavored Oreos for unique taste variations.
- Ensure pudding mixture is smooth and lump-free by whisking thoroughly and folding gently.
- Chill pie longer than 2 hours for firmer, more set texture that cuts cleanly.
- Make gluten-free version by using gluten-free sandwich cookies and checking pudding mix ingredients.
- Prep Time: 20 minutes
- Cook Time: 0 minutes
- Category: Desserts
- Method: Chilling
- Cuisine: American
Nutrition
- Serving Size: 8
- Calories: 300
- Sugar: 18 g
- Sodium: 250 mg
- Fat: 14 g
- Saturated Fat: 8 g
- Unsaturated Fat: 4 g
- Trans Fat: 0 g
- Carbohydrates: 40 g
- Fiber: 1 g
- Protein: 3 g
- Cholesterol: 5 mg
James Hambly
Founder & Recipe Creator
Expertise
Recipe Development, Culinary Education, Farm-to-Table Cooking, Southern Cuisine
Education
Asheville-Buncombe Technical Community College
Certificate in Culinary Arts
Focus: Hands-on training in professional cooking techniques, emphasizing farm-to-table practices and Southern cuisine.
The Chef’s Academy
Associate Degree in Culinary Arts
Focus: Comprehensive culinary education covering global cuisines, kitchen management, and food safety.
James grew up surrounded by the smells of cast-iron skillets and slow-cooked Southern meals in Asheville, North Carolina.
He sharpened his skills with a Certificate in Culinary Arts from Asheville-Buncombe Technical Community College, and later leveled up with an Associate Degree from The Chef’s Academy.
James’s philosophy is simple: the best meals don’t need fancy tricks, just fresh ingredients, a hot pan, and a little bit of heart. His favorite days are spent testing one-pan wonders, chasing bold flavors, and creating recipes that feel easy, even on a busy night.