Dreamy No-Bake Coconut Pecan Praline Dreams Recipe
Sweet memories of childhood desserts dance through my coconut pecan praline dreams recipe, promising delectable comfort.
Grandma’s kitchen whispers echoed with similar magical confections decades ago.
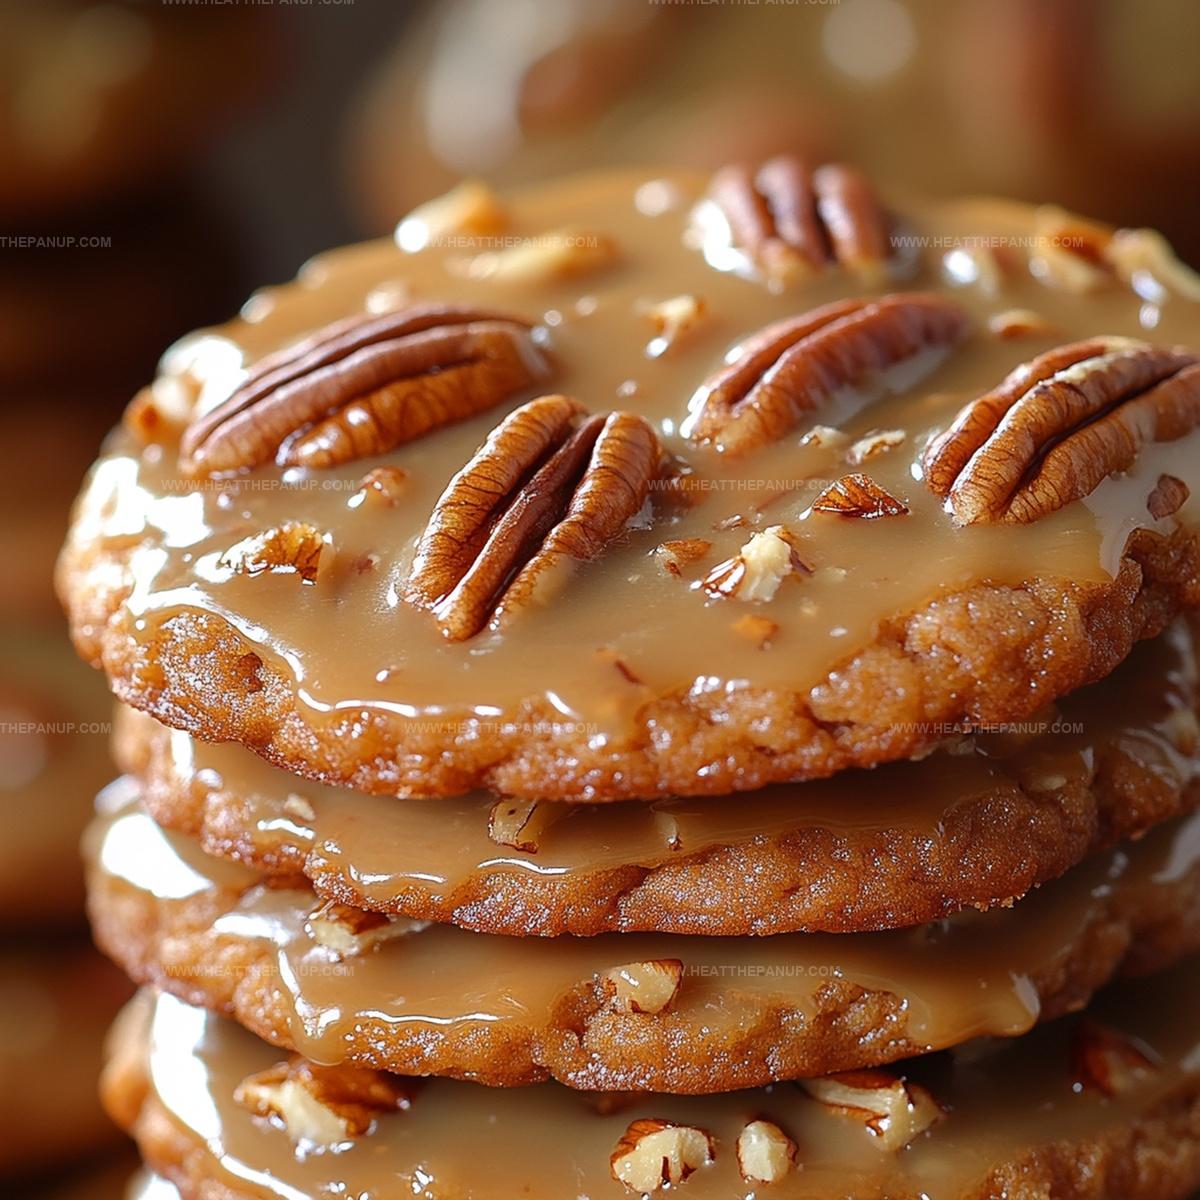
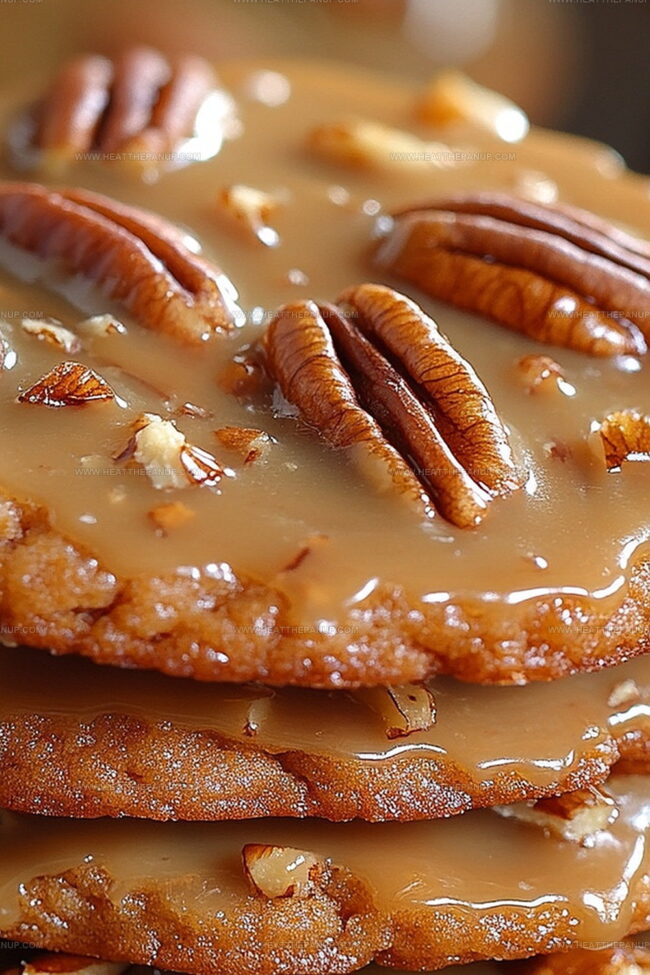
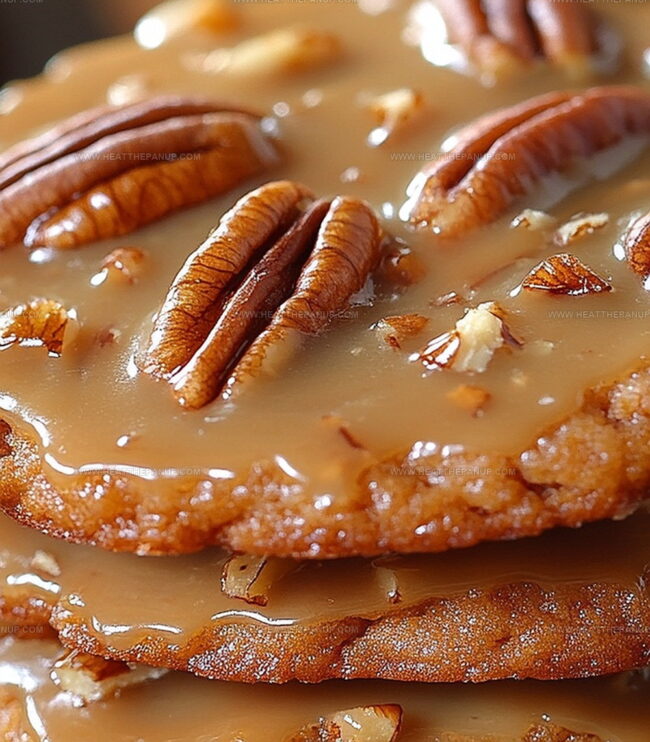
Clusters of toasted pecans intermingle with silky caramel notes, creating irresistible textures.
Creamy coconut undertones add unexpected depth to each decadent bite.
Kitchen novices and seasoned bakers alike will find joy in this simple treat.
Minimal ingredients combine effortlessly without requiring complicated techniques or specialized equipment.
One spoonful transports you to a world of indulgent, nostalgic bliss that begs for immediate preparation.
Why No-Bake Coconut Pecan Praline Dreams Are a Treat
Ingredients for No-Bake Coconut Pecan Dreams
Main Ingredients:
Sugar: Sweet crystal that forms the base of the praline.
Evaporated Milk: Creamy dairy product that adds richness.
Corn Syrup: Smooth sweetener that helps create a glossy texture.
Butter: Rich dairy product that provides depth of flavor.
Salt: Enhances overall taste profile.
Nut and Coconut Components:Flavor Enhancers:Steps to Make Pecan Praline Dreams
Step 1: Prep Your Sweet Workspace
Cover your countertop with wax paper sheets to catch the delightful cookie drops.
This makes cleanup a breeze and gives you a clean surface for creating these dreamy treats.
Step 2: Melt and Blend Base Ingredients
Grab a medium pot and toss in:Stir the ingredients over medium heat until they meld together into a smooth, glossy mixture.
Keep stirring to prevent any burning or sticking.
Step 3: Bring the Magic to a Boil
Let the mixture bubble up into a rolling boil.
Watch it dance and swirl for exactly 3 minutes, giving occasional stirs to keep everything moving smoothly.
The mixture will start to look rich and creamy.
Step 4: Welcome Nutty and Tropical Flavors
Pull the pot off the heat and introduce:Stir everything together so each drop will have a perfect blend of crunchy nuts and sweet coconut goodness.
Step 5: Create Cookie Clusters
Use a spoon or small scoop to dollop the mixture onto your wax paper.
Make bite-sized clusters that look rustic and inviting.
Step 6: Let the Treats Set
Give your praline dreams about 20-30 minutes to cool and firm up.
They’ll transform from a gooey mixture into delectable, chewy cookies you can’t resist.
Tips for Easy No-Bake Praline Perfection
Keep No-Bake Pralines Fresh and Firm
Pairing Suggestions for Coconut Pecan Dreams
Perfectly Pair Praline Dreams with:Ways to Switch Up No-Bake Praline Treats
FAQs
Toast raw pecans in a dry skillet over medium heat for 3-5 minutes until fragrant, stirring frequently to prevent burning.
Use sweetened or unsweetened coconut based on preference. Swap corn syrup with honey or maple syrup if needed, but this might slightly change the texture.
Stir continuously during cooking and use medium heat. Use a heavy-bottomed pot to distribute heat evenly and avoid hot spots that can cause scorching.
The 3-minute boiling window is crucial for achieving the right consistency. Cooking too long can make pralines hard and brittle, while undercooking results in a runny mixture that won’t set properly.
Print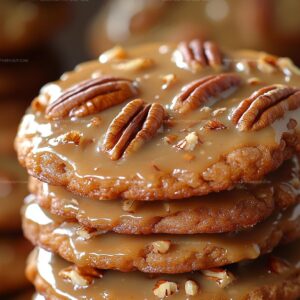
No-Bake Coconut Pecan Praline Dreams Recipe
- Total Time: 18 minutes
- Yield: 12 1x
Description
Silky no-bake coconut pecan praline dreams deliver Southern charm with rich caramel and nutty crunch. Sweet indulgence melts smoothly, promising delightful comfort in each luxurious spoonful you’ll savor.
Ingredients
Toasted Nuts and Coconut:
- 2 cups toasted pecans, chopped
- 2 cups shredded coconut
Sweeteners and Liquid Ingredients:
- 2 cups granulated sugar
- 1/2 cup corn syrup
- 1/2 cup evaporated milk
Base and Flavor Enhancers:
- 1/2 cup unsalted butter
- 1/4 teaspoon salt
- 1 teaspoon vanilla extract
Instructions
- Create a clean workspace by covering the countertop with wax paper sheets, providing a designated landing zone for the praline treats.
- Select a medium saucepan and combine sugar, evaporated milk, corn syrup, butter, and salt, whisking gently to integrate the ingredients smoothly.
- Position the saucepan over medium heat, stirring consistently to prevent ingredient separation and ensure even heating.
- Allow the mixture to reach a vigorous, rolling boil, maintaining a constant gentle stirring motion to prevent scorching.
- Once boiling, maintain the heat for precisely 3 minutes, watching carefully to achieve the perfect caramelization without burning.
- Immediately remove the saucepan from the heat source and incorporate toasted pecans, shredded coconut, and vanilla extract, mixing thoroughly to distribute ingredients evenly.
- Using a spoon or small cookie scoop, carefully dollop the warm mixture onto the prepared wax paper, creating uniform bite-sized clusters.
- Let the praline dreams rest at room temperature, allowing them to cool and solidify for 20-30 minutes until they achieve a firm, slice-able consistency.
- Once completely cooled, gently separate the praline treats from the wax paper and arrange on a serving platter or store in an airtight container.
Notes
- Toast pecans beforehand to enhance their nutty flavor and add a delightful crunch to the praline dreams.
- Use a candy thermometer for precise temperature control, ensuring the mixture reaches the perfect consistency without burning.
- Swap evaporated milk with coconut milk for a more intense tropical flavor profile and dairy-free option.
- Experiment with different nut combinations like almonds or macadamia nuts to create unique variations of this classic treat.
- Prep Time: 10 minutes
- Cook Time: 8 minutes
- Category: Desserts, Snacks
- Method: Boiling
- Cuisine: American
Nutrition
- Serving Size: 12
- Calories: 258
- Sugar: 32 g
- Sodium: 41 mg
- Fat: 14 g
- Saturated Fat: 6 g
- Unsaturated Fat: 8 g
- Trans Fat: 0 g
- Carbohydrates: 35 g
- Fiber: 2 g
- Protein: 2 g
- Cholesterol: 20 mg
Angelina Wiles
Content Editor & Culinary Enthusiast
Expertise
Food Writing and Editing, Vegetarian and Vegan Cuisine, Baking and Pastry Arts, Sustainable Cooking Practices
Education
Portland Community College
Certificate in Culinary Arts
Focus: Emphasis on sustainable cooking practices, vegetarian cuisine, and food writing.
Oregon Culinary Institute
Diploma in Baking and Pastry Arts
Focus: Specialized training in artisanal baking, pastry techniques, and dessert presentation.
Angelina’s love for cooking started with handwritten family recipes and weekend trips to farmers’ markets around Portland. She followed her passion with a Certificate in Culinary Arts from Portland Community College, then perfected her sweet side with a Diploma in Baking and Pastry Arts at Oregon Culinary Institute.
Angelina believes recipes should feel like a conversation, not a science project. She’s all about helping readers trust themselves in the kitchen with simple steps, fresh ideas, and easy twists on classic meals.
When she’s not editing recipes, she’s baking bread, sipping coffee, or getting inspired by the changing seasons.