
The Irresistible No-Bake Avalanche Cookies Recipe That Wows
Whipping up these delightful no-bake avalanche cookies brings pure joy to any sweet-loving soul.
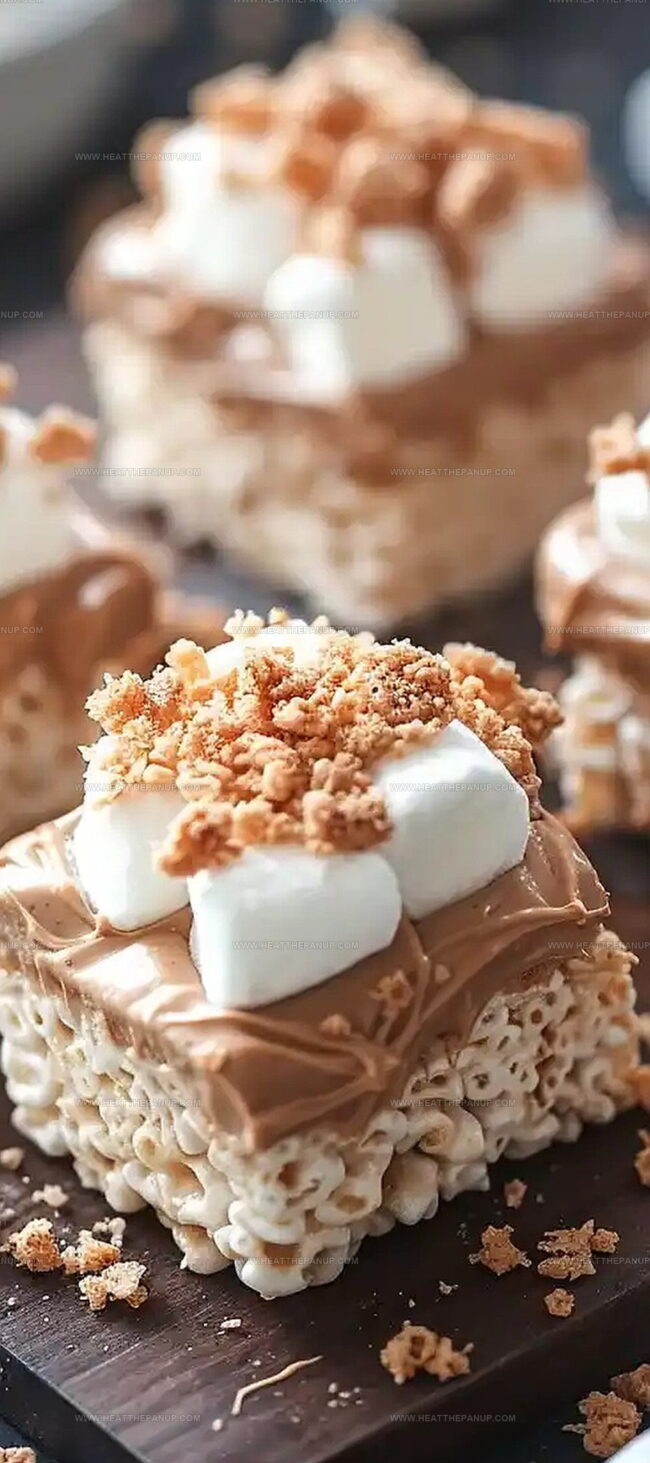
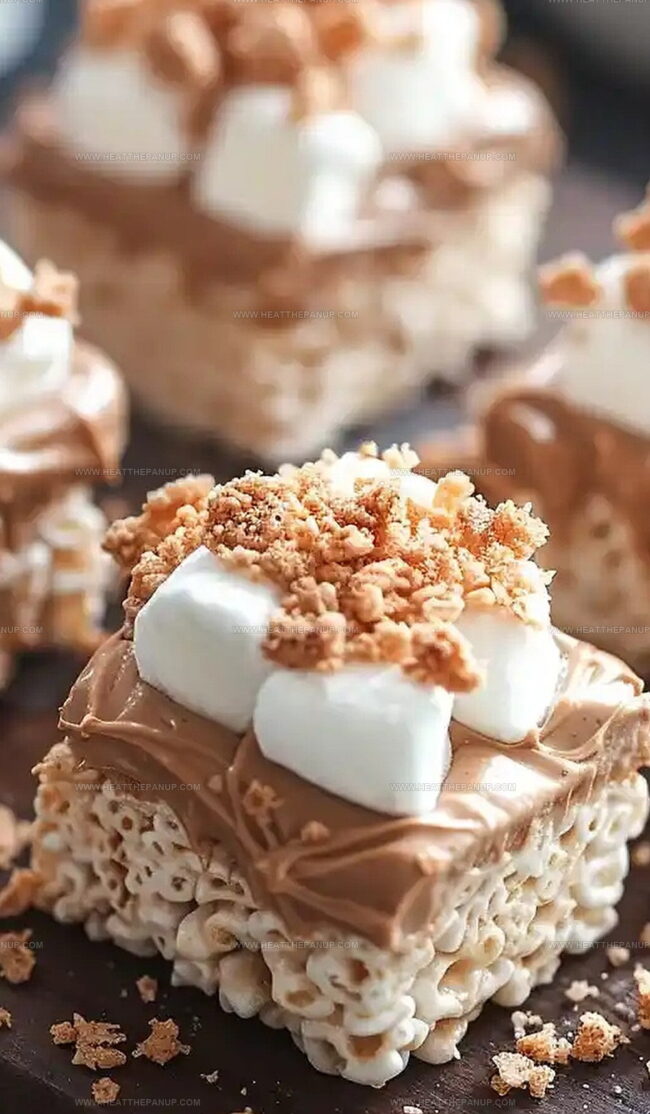
Crispy rice cereal adds the perfect crunch to this irresistible treat.
Marshmallows and white chocolate create a dreamy combination that melts in your mouth.
Peanut butter provides a rich, creamy backdrop for the entire dessert.
Quick and easy preparation means you can satisfy your sugar cravings in mere minutes.
Each bite promises a heavenly blend of textures and flavors that will make you swoon.
Dive into this simple recipe and let the deliciousness take over your kitchen.
Easy Wins with No-Bake Avalanche Cookies
No-Bake Avalanche Cookies Pantry Must-Haves
Sweet Base:Crispy Element:Soft Add-Ins:Avalanche Cookies (No-Bake) Method
Step 1: Prepare Baking Surface
Grab a baking sheet and layer it with parchment paper, creating a smooth, clean workspace for your delightful cookie adventure.
Step 2: Melt Chocolate Goodness
Place white chocolate in a microwave-safe bowl. Zap it in short 30-second bursts, stirring gently between each interval until the chocolate transforms into a silky, glossy pool of sweetness.
Step 3: Create Magical Cookie Base
In a spacious mixing bowl, whisk together these dreamy ingredients:Gently fold in:Stir until every morsel is gloriously coated with the white chocolate mixture.
Step 4: Shape Delectable Treats
Scoop generous spoonfuls of the mixture onto the prepared parchment-lined baking sheet. Let each cookie find its perfect shape.
Step 5: Chill and Set
Slide the baking sheet into the refrigerator. Allow the cookies to firm up and become wonderfully solid, which takes about 30 minutes.
Step 6: Enjoy Your Creation
Once set, these no-bake wonders are ready to devour! Store any leftovers in an airtight container in the refrigerator for continued snacking pleasure.
Easy Help for Avalanche Cookies
No-Bake Avalanche Cookies: How To Store Them Well
Avalanche Cookies Tasty Matches
No-Bake Cookie Swap Ideas
FAQs
The key ingredients are white chocolate, peanut butter, Rice Krispies cereal, and mini marshmallows. These create a sweet, crunchy, and soft treat that’s easy to make without baking.
Yes! These cookies are perfect for kids to help prepare. They can assist in mixing ingredients, dropping spoonfuls onto the baking sheet, and watching them set in the refrigerator. It’s a fun, no-heat cooking activity.
The cookies need about 30 minutes in the refrigerator to completely set and become firm. This chilling time helps them hold their shape and develop a nice, solid texture.
While the recipe calls for white chocolate, you could experiment with milk or dark chocolate for a different flavor profile. Just ensure you melt the chocolate gently and mix it smoothly with other ingredients.
Print
No-Bake Avalanche Cookies Recipe
- Total Time: 45 minutes
- Yield: 12 1x
Description
Chocolate and peanut butter lovers unite for this irresistible No-Bake Avalanche Cookies recipe that melts hearts with creamy marshmallow charm. Sweet kernels of crispy rice cereal blend perfectly with white chocolate drizzles, creating a quick dessert that satisfies sudden cravings.
Ingredients
Main Ingredients:
- 1 pound white chocolate, chopped
- 1/2 cup creamy peanut butter
- 1 1/2 cups Rice Krispies cereal
Binding/Flavor Ingredients:
- 1 cup mini marshmallows
Flavor Enhancers:
- 1/4 teaspoon vanilla extract
Instructions
- Prepare the workspace by laying out a parchment-lined baking sheet to catch the soon-to-be delectable morsels.
- Create a silky base by gently melting white chocolate in short microwave bursts, stirring carefully to achieve a perfectly smooth consistency.
- Transform the melted chocolate into a luscious mixture by incorporating peanut butter and a splash of vanilla extract, ensuring thorough blending of flavors.
- Introduce Rice Krispies and mini marshmallows to the creamy mixture, folding delicately to coat each morsel evenly with the white chocolate sauce.
- Craft individual clusters by dolloping generous spoonfuls onto the prepared parchment sheet, creating rustic, free-form shapes.
- Allow the cookies to solidify by placing the baking sheet in the refrigerator, giving the treats time to set and develop a satisfying texture (approximately 30 minutes).
- Once chilled and firm, transfer the cookies to an airtight container for storage or serve immediately for maximum enjoyment.
Notes
- Swap peanut butter with sunflower seed butter for a nut-free version perfect for school lunches and kids with allergies.
- Keep chocolate melting temperature low and gentle to prevent seizing, stirring constantly for smooth, glossy texture.
- Use room temperature ingredients to ensure better mixture consistency and easier blending of white chocolate and peanut butter.
- Customize by adding crushed pretzels or sprinkles for extra crunch and visual appeal, making these cookies more exciting and personalized.
- Prep Time: 15 minutes
- Cook Time: 30 minutes
- Category: Desserts, Snacks
- Method: None
- Cuisine: American
Nutrition
- Serving Size: 12
- Calories: 200
- Sugar: 12 g
- Sodium: 50 mg
- Fat: 10 g
- Saturated Fat: 5 g
- Unsaturated Fat: 4.5 g
- Trans Fat: 0 g
- Carbohydrates: 27 g
- Fiber: 1 g
- Protein: 3 g
- Cholesterol: 0 mg
James Hambly
Founder & Recipe Creator
Expertise
Recipe Development, Culinary Education, Farm-to-Table Cooking, Southern Cuisine
Education
Asheville-Buncombe Technical Community College
Certificate in Culinary Arts
Focus: Hands-on training in professional cooking techniques, emphasizing farm-to-table practices and Southern cuisine.
The Chef’s Academy
Associate Degree in Culinary Arts
Focus: Comprehensive culinary education covering global cuisines, kitchen management, and food safety.
James grew up surrounded by the smells of cast-iron skillets and slow-cooked Southern meals in Asheville, North Carolina.
He sharpened his skills with a Certificate in Culinary Arts from Asheville-Buncombe Technical Community College, and later leveled up with an Associate Degree from The Chef’s Academy.
James’s philosophy is simple: the best meals don’t need fancy tricks, just fresh ingredients, a hot pan, and a little bit of heart. His favorite days are spent testing one-pan wonders, chasing bold flavors, and creating recipes that feel easy, even on a busy night.