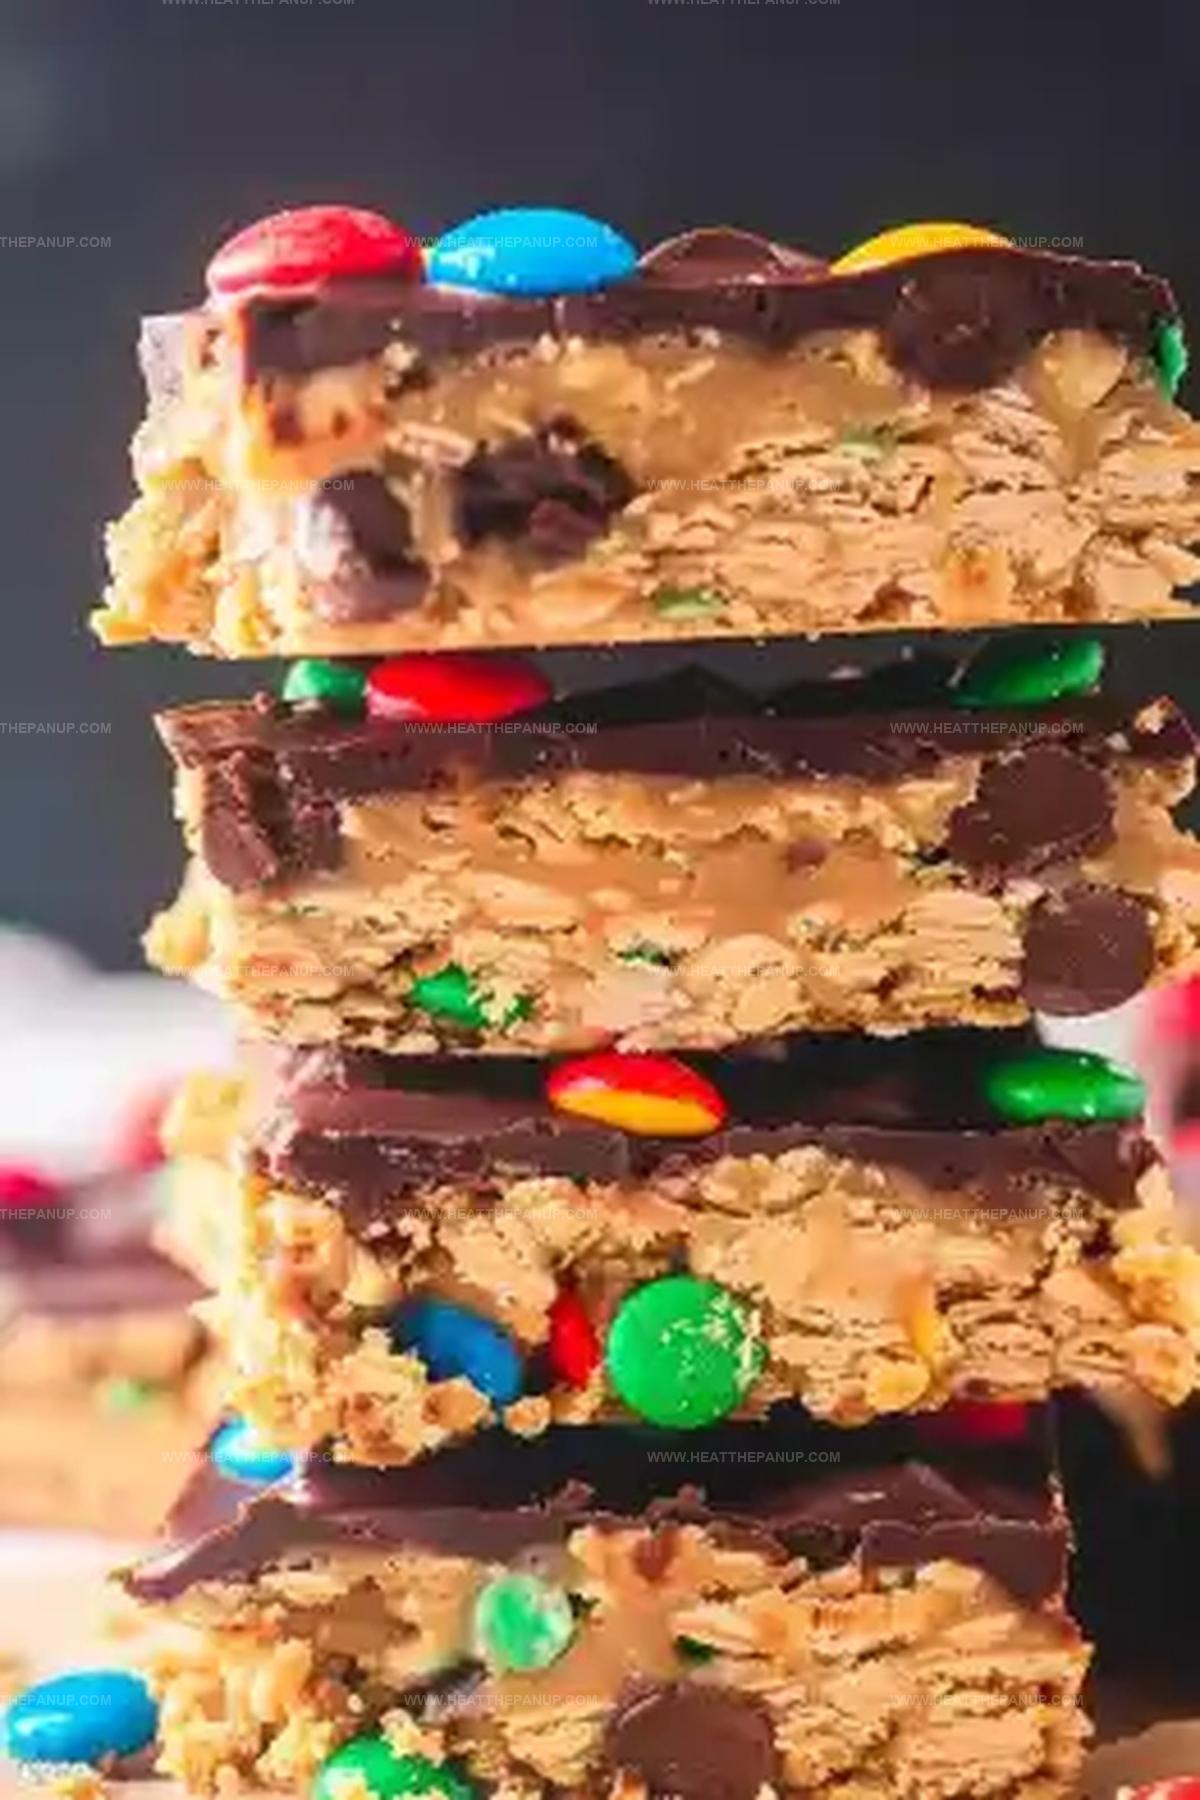
Quick & Irresistible Monster Cookie No-Bake Bars Recipe
Whipping up monster cookie no-bake bars can satisfy those sudden sweet cravings in minutes.
Colorful candies and chocolate chips create a playful dessert perfect for spontaneous snacking.
Packed with peanut butter and oats, these treats blend classic flavors into an irresistible no-fuss recipe.
Quick assembly means you can enjoy delicious results without complicated cooking techniques.
Minimal ingredients and zero oven time make this snack a go-to solution for busy kitchens.
Cool and set these bars in the refrigerator for a delightful treat that everyone will love.
Dive into this simple yet delectable recipe and watch magic happen on your kitchen counter.
Simple Joys of Monster Cookie No-Bake Bars
Monster Cookie No-Bake Bars Essentials
Base Ingredients:Dry Ingredients:Mix-Ins:Topping Ingredients:No-Bake Monster Cookie Bars Process
Step 1: Whip Up the Sweet Base
In a spacious mixing bowl, blend softened butter, white sugar, and brown sugar until they transform into a light and airy mixture. Pour in creamy peanut butter and a splash of vanilla extract, stirring until everything combines into a delightful, smooth consistency.
Step 2: Create the Cookie Dough
Gently fold in:Stir until the ingredients are perfectly integrated. Add colorful M&Ms and mix them throughout the dough, creating pockets of chocolatey goodness.
Step 3: Press into Prepared Pan
Transfer the dough into a parchment-lined 8×8 inch baking pan. Use clean hands or a spatula to firmly press the mixture, creating an even, compact layer that will serve as the bar’s foundation.
Step 4: Craft the Chocolate Drizzle
Heat heavy cream until it reaches a gentle simmer. Pour the warm cream over chocolate chips in a separate bowl. Allow the cream to melt the chocolate, then whisk until the mixture becomes silky and glossy. Spread this luxurious chocolate layer evenly across the cookie base.
Step 5: Add Colorful Topping
Sprinkle a generous handful of mini M&Ms across the chocolate surface, creating a playful and vibrant decoration.
Step 6: Chill and Set
Place the pan in the refrigerator for approximately 2 hours. The bars will firm up and become perfectly sliceable during this time.
Step 7: Slice and Enjoy
Remove the pan from the refrigerator and lift the bars out using the parchment paper. Cut into square portions and serve these delectable no-bake treats.
No-Bake Bar Tips for Monster Cookies
Monster Cookie Bars: No-Bake Storage Tips
No-Bake Bars Tasty Pairings
Fun Ideas for Monster Cookie Bars
FAQs
Yes! With colorful M&Ms and a sweet peanut butter base, these no-bake bars are perfect for children’s parties or after-school snacks. Kids love helping to make and decorate them.
Absolutely! Simply substitute the regular flour with a gluten-free all-purpose flour blend. The rest of the ingredients are naturally gluten-free, making it easy to adapt.
These bars can be stored in an airtight container in the refrigerator for up to 5-7 days. Just make sure to keep them chilled to maintain their texture and prevent the chocolate from melting.
Semi-sweet or milk chocolate chips both work wonderfully. Choose your favorite or use what you have on hand. The key is melting them smoothly with warm cream to create a glossy chocolate layer.
Print
Monster Cookie No-Bake Bars Recipe
- Total Time: 2 hours 20 minutes
- Yield: 16 1x
Description
Indulgent Monster Cookie No-Bake Bars blend peanut butter, oats, and chocolate chips into a nostalgic dessert that’s quick and irresistible. Chocolate drizzle and colorful candies make these bars a playful treat you won’t be able to resist.
Ingredients
Main Ingredients:
- 1 cup creamy peanut butter
- 2 cups quick-cooking oats
- 1 cup M&Ms
Base/Binding Ingredients:
- 1/2 cup salted butter, softened
- 1/2 cup white granulated sugar
- 1/4 cup brown sugar
- 1/2 cup all-purpose flour
- 1 teaspoon real vanilla extract
Topping Ingredients:
- 1 1/4 cups semi-sweet chocolate chips
- 1/2 cup heavy cream
- 1/4 cup mini M&Ms (optional)
Instructions
- Cream butter, white sugar, and brown sugar in a spacious mixing vessel until light and airy, ensuring a smooth consistency.
- Incorporate peanut butter and vanilla extract, blending thoroughly to create a rich, unified mixture.
- Gently integrate flour and rolled oats, stirring until the dry ingredients are completely distributed throughout the mixture.
- Fold colorful M&Ms into the dough, distributing them evenly for maximum flavor and visual appeal.
- Transfer the mixture to a parchment-lined 8×8 inch baking pan, using firm, even pressure to create a compact, uniform base.
- Prepare the chocolate topping by gently heating cream until it reaches a delicate simmer, then carefully pour over chocolate chips.
- Whisk the chocolate and cream until achieving a silky, glossy texture with no visible lumps.
- Smoothly spread the molten chocolate layer across the prepared oat base, ensuring complete and even coverage.
- Artfully scatter additional mini M&Ms over the chocolate surface for extra crunch and decorative flair.
- Chill the bars in the refrigerator for approximately two hours, allowing the layers to set completely and flavors to meld.
- Once firm, slice into neat squares and serve chilled for maximum enjoyment.
Notes
- Customize the sweetness by adjusting sugar levels to suit your taste preferences.
- Swap traditional butter with coconut oil for a dairy-free alternative that maintains creamy texture.
- Replace wheat flour with gluten-free oat flour to make the bars suitable for celiac or gluten-sensitive individuals.
- Use dark chocolate chips for a richer, less sweet topping that balances the candy’s sweetness.
- Prep Time: 20 minutes
- Cook Time: 2 hours
- Category: Snacks, Desserts
- Method: None
- Cuisine: American
Nutrition
- Serving Size: 16
- Calories: 335
- Sugar: 22g
- Sodium: 90mg
- Fat: 16g
- Saturated Fat: 7g
- Unsaturated Fat: 8g
- Trans Fat: 0g
- Carbohydrates: 41g
- Fiber: 2g
- Protein: 6g
- Cholesterol: 15mg


James Hambly
Founder & Recipe Creator
Expertise
Recipe Development, Culinary Education, Farm-to-Table Cooking, Southern Cuisine
Education
Asheville-Buncombe Technical Community College
Certificate in Culinary Arts
Focus: Hands-on training in professional cooking techniques, emphasizing farm-to-table practices and Southern cuisine.
The Chef’s Academy
Associate Degree in Culinary Arts
Focus: Comprehensive culinary education covering global cuisines, kitchen management, and food safety.
James grew up surrounded by the smells of cast-iron skillets and slow-cooked Southern meals in Asheville, North Carolina.
He sharpened his skills with a Certificate in Culinary Arts from Asheville-Buncombe Technical Community College, and later leveled up with an Associate Degree from The Chef’s Academy.
James’s philosophy is simple: the best meals don’t need fancy tricks, just fresh ingredients, a hot pan, and a little bit of heart. His favorite days are spent testing one-pan wonders, chasing bold flavors, and creating recipes that feel easy, even on a busy night.