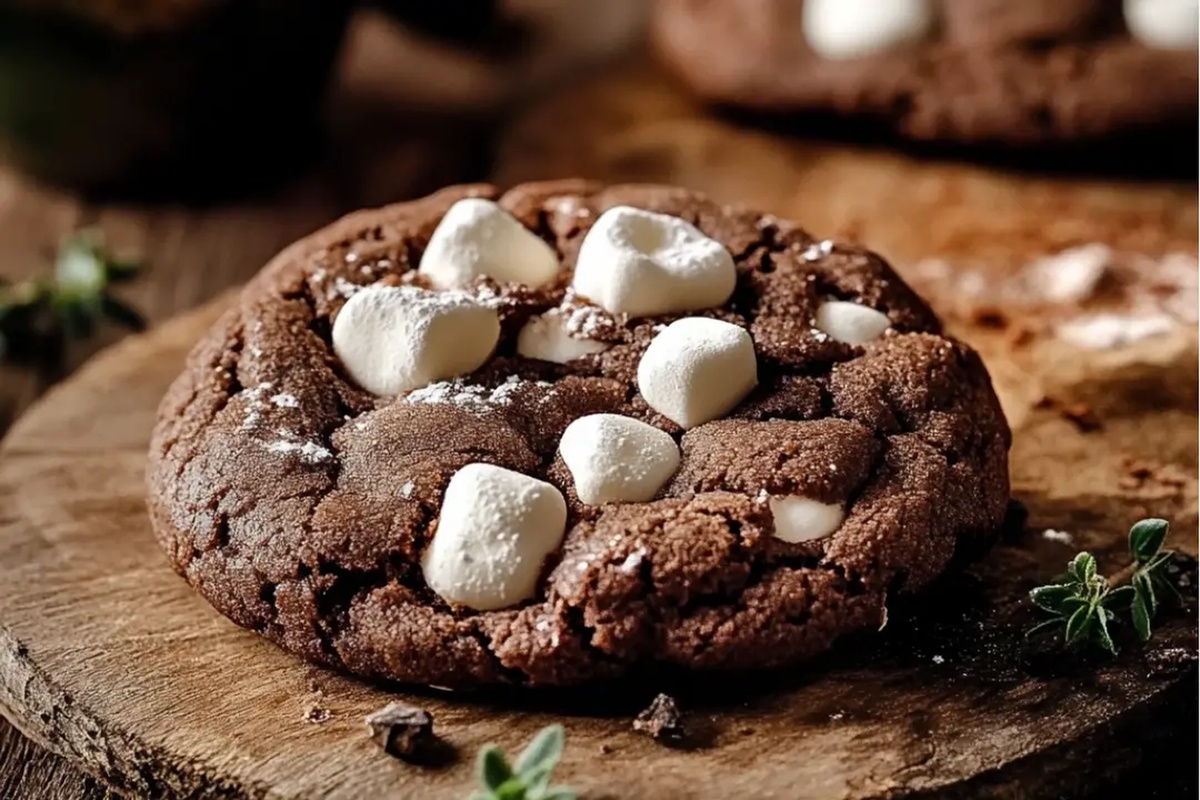
Dreamy Marshmallow-Surprise Hot Cocoa Cookies Recipe
Crafting a delightful marshmallow-surprise hot cocoa cookies recipe promises pure winter magic.
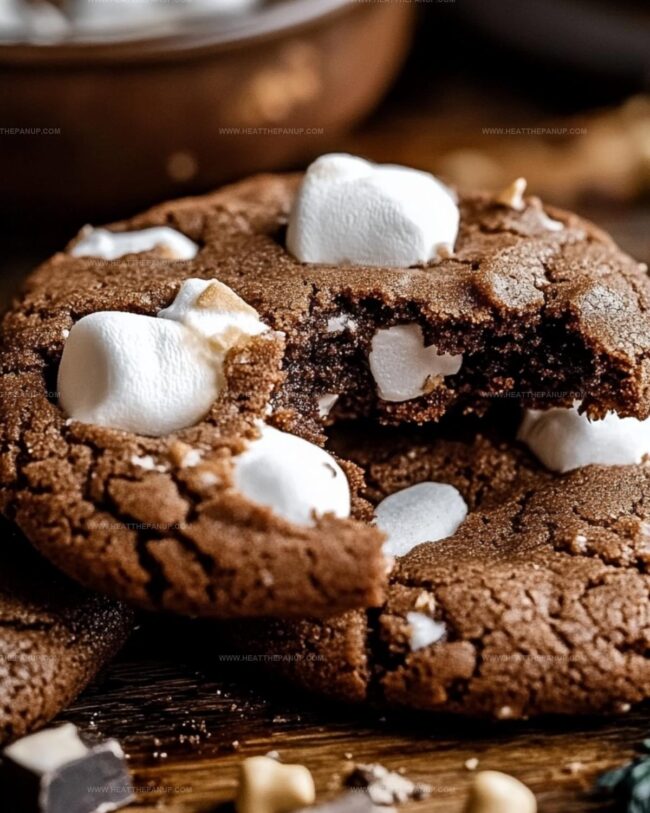
Nestled within each soft, chocolatey bite hides a gooey marshmallow center waiting to melt.
Sweet memories of cozy evenings drift through my kitchen as I mix these treats.
Childhood comfort meets grown-up sophistication in this playful dessert that sparks conversation.
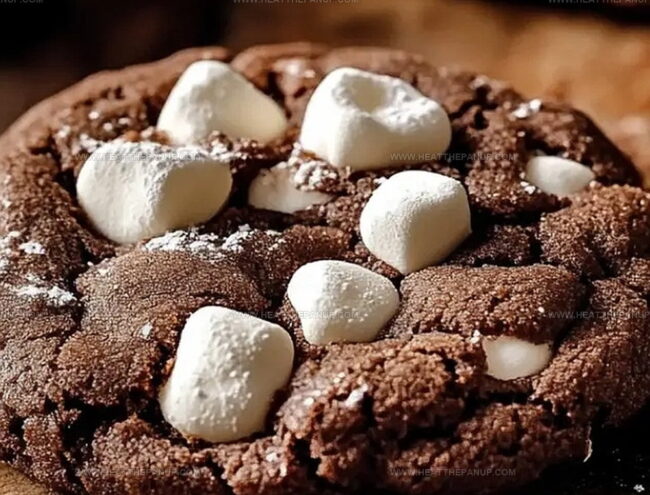
Rich cocoa powder infuses deep flavor into every tender crumb.
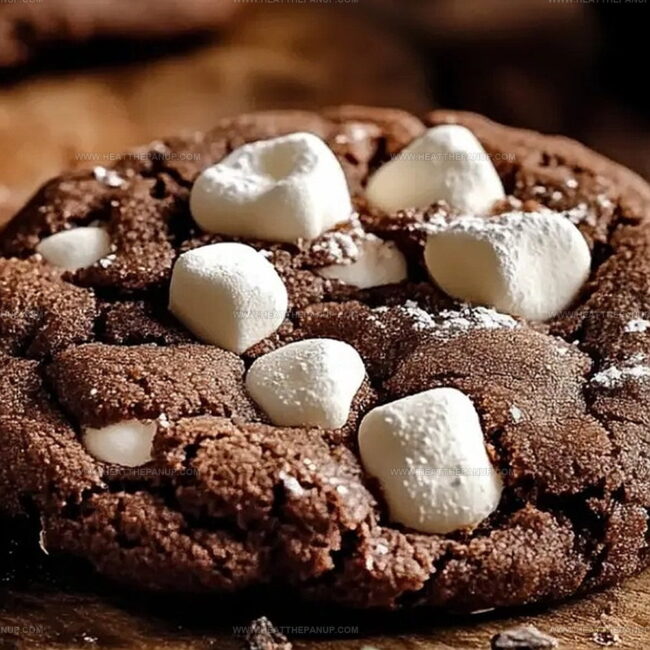
Chocolatey warmth embraces the unexpected marshmallow core, creating a delicious twist on classic cookies.
Cocoa Cookies with a Marshmallow Surprise You’ll Love Biting Into
Quick and Easy Baking Adventure: Discover why these Marshmallow-Surprise Hot Cocoa Cookies are a total game-changer!
Marshmallow-Surprise Hot Cocoa Cookies – Ingredients Inside
Base Ingredients:Dry Ingredients:Topping Ingredients:Cookie Instructions for Cocoa Marshmallow Surprises
Step 1: Whip Up the Cookie Base
In a spacious mixing bowl, cream together butter, granulated sugar, and brown sugar using a mixer.
Beat until the mixture turns fluffy and lightens in color.
Add egg and vanilla extract, mixing thoroughly.
In a separate bowl, combine flour, cocoa powder, hot cocoa mix, baking soda, and salt.
Slowly incorporate dry ingredients into the wet mixture.
Add milk to soften the dough.
Seal the dough and chill in the refrigerator for 2-3 hours.
Step 2: Bake and Marshmallow Magic
Heat the oven to 350°F.
Line baking sheets with parchment paper.
Roll chilled dough into small balls.
Place balls on prepared sheets, leaving space between each.
Bake for 10 minutes.
Pull out the cookies and gently press a marshmallow half onto each cookie’s surface.
Return to oven and bake for an additional 2 minutes.
Step 3: Shape and Smooth Marshmallows
Remove cookies from oven.
Use a spoon to softly flatten the marshmallows.
Allow cookies to cool on the baking sheet for 5 minutes before transferring to a cooling rack.
Step 4: Drizzle Chocolate Finish
Melt chocolate in short microwave intervals, stirring between each.
Drizzle melted chocolate over marshmallow-topped cookies.
Let chocolate set completely before serving.
Hot Cocoa Cookie Surprises – Here’s How to Nail Them
Store Marshmallow-Surprise Hot Cocoa Cookies
Sweet Matches for Hot Cocoa Cookies
Cocoa Cookies Sweet Surprise Tweaks
FAQs
Chilling the dough helps prevent spreading and allows the flavors to develop, creating a richer, more concentrated taste in your cookies. It also helps the cookies maintain their shape during baking.
While you can substitute, hot cocoa mix adds a unique sweetness and flavor that regular cocoa powder doesn’t provide. The mix contains sugar and other flavoring agents that enhance the cookie’s overall taste.
The edges will look set and slightly dry, but the centers will still appear soft. The cookies will continue to firm up as they cool, so don’t overbake them. They should look slightly underdone when you remove them from the oven.
The first bake allows the cookie to set, and the second short bake helps the marshmallow melt slightly and adhere to the cookie without burning. Gently pressing the marshmallow creates a beautiful, slightly flattened look on top of the cookie.
Print
Marshmallow-Surprise Hot Cocoa Cookies Recipe
- Total Time: 30 minutes
- Yield: 24 1x
Description
Chocolate lovers rejoice with marshmallow-surprise hot cocoa cookies, a delightful winter treat that blends rich cocoa and gooey marshmallow magic. Sweet comfort awaits in each bite, promising warm memories and pure indulgence you’ll savor down to the last crumb.
Ingredients
Main Ingredients:
- 2 1/4 cups (280 grams) all-purpose flour
- 1/2 cup (45 grams) unsweetened cocoa powder
- 1 1/2 cups (150 grams) mini marshmallows (or 1 large marshmallow, cut into pieces)
- 1/2 cup (90 grams) chocolate chips (semi-sweet or milk chocolate)
Wet Ingredients:
- 1 cup (225 grams) unsalted butter, softened
- 3/4 cup (150 grams) granulated sugar
- 3/4 cup (165 grams) packed brown sugar
- 1 large egg
- 1 teaspoon vanilla extract
Additional Ingredients:
- 1 teaspoon baking soda
- 1/2 teaspoon salt
- 1/4 cup (30 grams) powdered sugar (for rolling)
Instructions
- Prepare the kitchen workspace by setting the oven temperature to 350°F (175°C) and lining a baking sheet with parchment paper.
- Create a creamy base by thoroughly blending softened butter with granulated and brown sugars until the mixture becomes light and airy.
- Incorporate the egg and vanilla extract into the butter mixture, stirring until completely integrated and smooth.
- In a separate container, combine the dry ingredients – flour, cocoa powder, baking soda, and salt – using a whisk to ensure even distribution.
- Gradually fold the dry ingredient mixture into the wet ingredients, mixing gently until a cohesive dough forms without overmixing.
- Portion out tablespoon-sized dough sections and flatten them slightly on your palm.
- Nestle mini marshmallows or marshmallow pieces into the center of each dough portion, carefully encasing the marshmallow completely to prevent leakage during baking.
- Generously coat each dough ball in powdered sugar, ensuring a complete and even coverage.
- Arrange the sugar-coated dough balls on the prepared baking sheet, spacing them approximately 2 inches apart to allow for spreading.
- Bake in the preheated oven for 8-10 minutes, watching for set edges and soft centers that indicate the marshmallow has melted internally.
- Remove from the oven and let the cookies rest on the baking sheet for a few minutes to stabilize.
- Transfer cookies to a wire cooling rack, allowing them to reach room temperature and firm up.
- Serve these decadent cookies warm, revealing the surprise molten marshmallow center with each delightful bite.
Notes
- Experiment with different marshmallow flavors like chocolate or strawberry to create unique taste variations that surprise everyone.
- Chill the dough for 30 minutes before forming balls to prevent excessive spreading and maintain a perfect cookie shape during baking.
- For gluten-free friends, substitute all-purpose flour with almond or coconut flour to make these delightful cookies accessible to more people.
- Cool cookies completely before storing to prevent moisture buildup and maintain their delicious crisp exterior and gooey marshmallow center.
- Prep Time: 20 minutes
- Cook Time: 10 minutes
- Category: Desserts, Snacks
- Method: Baking
- Cuisine: American
Nutrition
- Serving Size: 24
- Calories: 190
- Sugar: 12g
- Sodium: 90mg
- Fat: 9g
- Saturated Fat: 5g
- Unsaturated Fat: 4g
- Trans Fat: 0g
- Carbohydrates: 26g
- Fiber: 1g
- Protein: 2g
- Cholesterol: 20mg
Angelina Wiles
Content Editor & Culinary Enthusiast
Expertise
Food Writing and Editing, Vegetarian and Vegan Cuisine, Baking and Pastry Arts, Sustainable Cooking Practices
Education
Portland Community College
Certificate in Culinary Arts
Focus: Emphasis on sustainable cooking practices, vegetarian cuisine, and food writing.
Oregon Culinary Institute
Diploma in Baking and Pastry Arts
Focus: Specialized training in artisanal baking, pastry techniques, and dessert presentation.
Angelina’s love for cooking started with handwritten family recipes and weekend trips to farmers’ markets around Portland. She followed her passion with a Certificate in Culinary Arts from Portland Community College, then perfected her sweet side with a Diploma in Baking and Pastry Arts at Oregon Culinary Institute.
Angelina believes recipes should feel like a conversation, not a science project. She’s all about helping readers trust themselves in the kitchen with simple steps, fresh ideas, and easy twists on classic meals.
When she’s not editing recipes, she’s baking bread, sipping coffee, or getting inspired by the changing seasons.