The Best Kool-Aid Gummy Treats Recipe for Sweet Summer Fun
My kids go crazy for these colorful kool-aid gummy treats that sparkle with unexpected fruity magic.
Sweet memories flood back whenever I mix these playful snacks.
Childhood nostalgia dances through each bite-sized morsel.
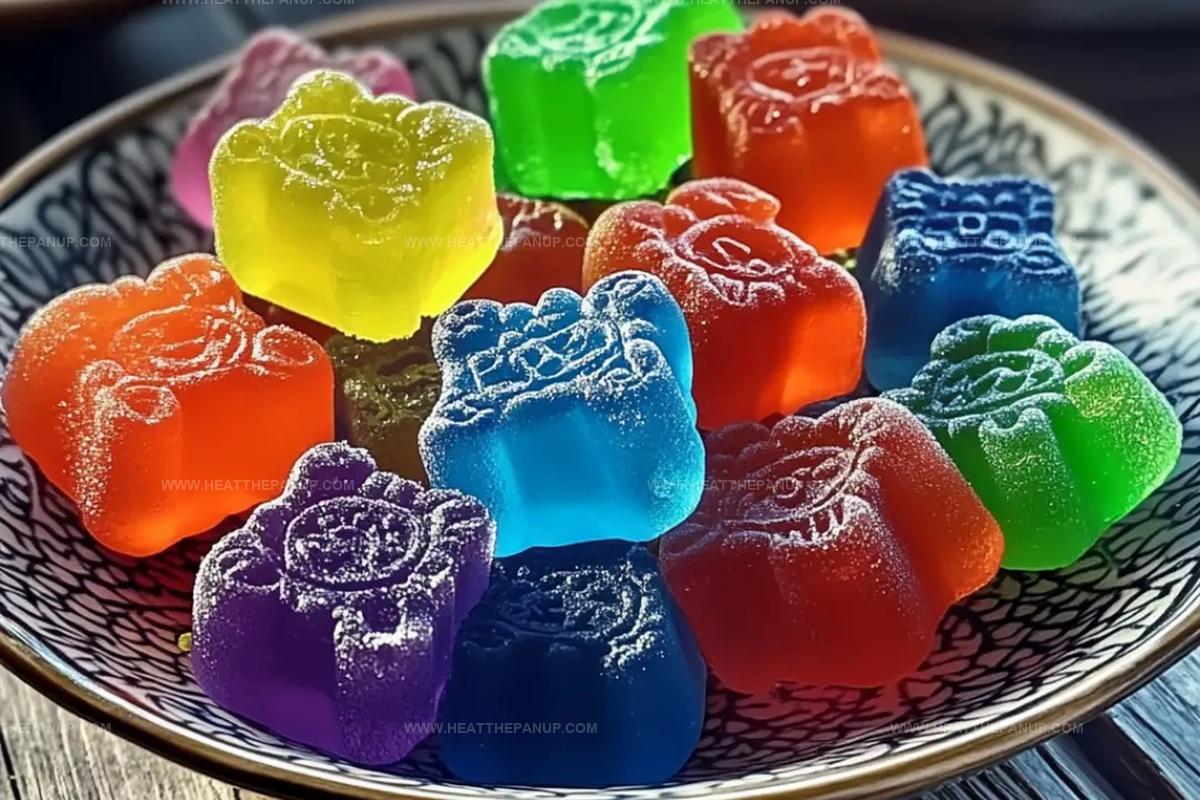
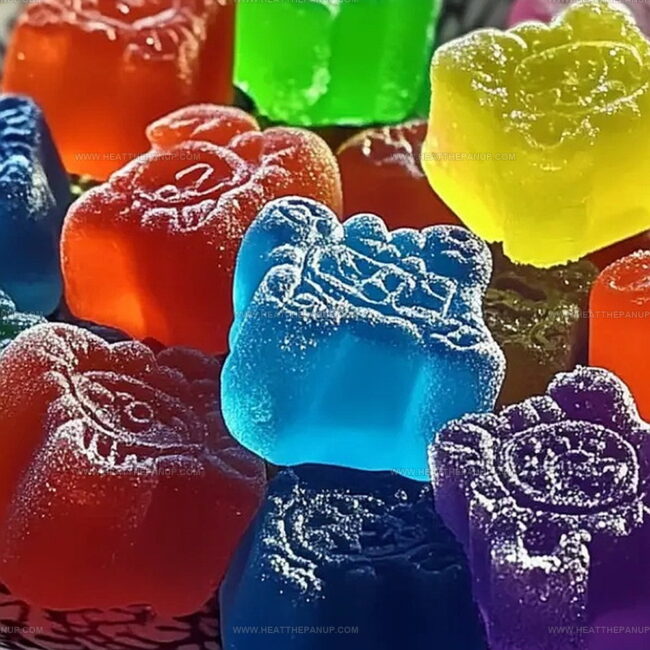
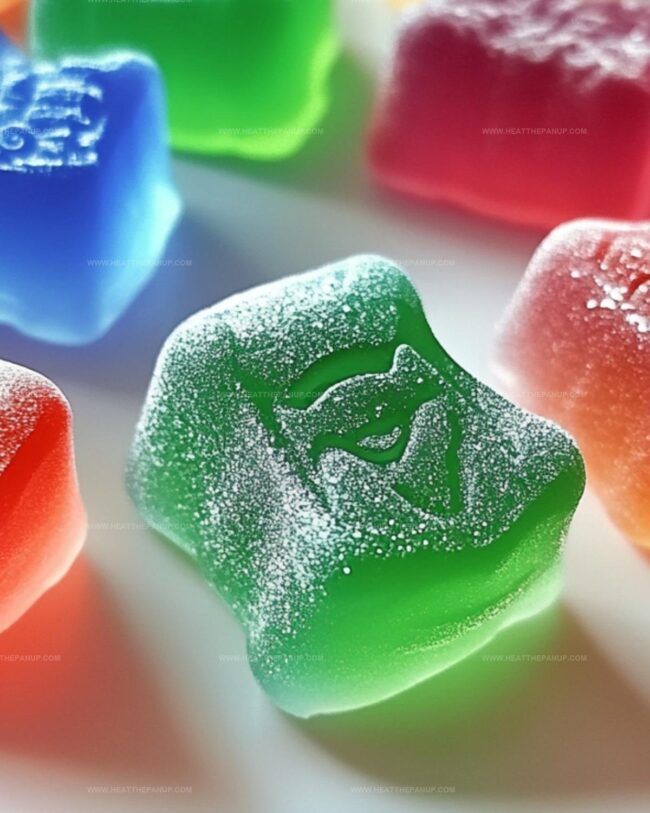
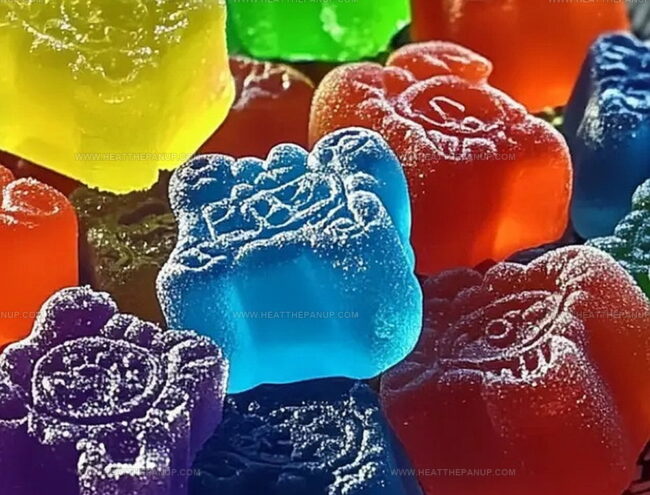
Vibrant colors pop against white plates, creating instant excitement.
Minimal ingredients make this recipe super approachable for anyone wanting a quick dessert.
Simple kitchen skills work perfectly here, no fancy techniques required.
Let’s craft some delightful treats that will make everyone smile and ask for seconds!
Kool-Aid Gummies That Are Fun and Fruity
Kool-Aid Gummy Treats What Goes In
Gelatin and Liquid Base:Flavoring and Color:Equipment:Gummy Treat Instructions Using Kool-Aid
Step 1: Bloom the Gelatin
Sprinkle gelatin powder over cold water in a small bowl.
Let the mixture sit quietly for 5-7 minutes.
Watch as the gelatin transforms from powdery crystals to a thick, jellylike substance that will give your treats their signature chewy texture.
Step 2: Create Sweet Liquid Base
Pour sugar and corn syrup into a saucepan.
Heat the mixture over medium flame, stirring continuously.
The sugar will gradually dissolve, creating a crystal-clear syrup that serves as the foundation for your gummy treats.
Remove from heat and let it cool slightly.
Step 3: Blend Flavor and Texture
Add the bloomed gelatin into the warm syrup.
Stir until the gelatin completely melts and combines.
Sprinkle in Kool-Aid powder and mix thoroughly.
The mixture will burst with vibrant color and tangy flavor.
Step 4: Fill Gummy Molds
Use a dropper or small spoon to carefully transfer the liquid mixture into gummy bear molds.
Work swiftly, as the mixture begins to set quickly.
Ensure each mold receives an even amount of the colorful liquid.
Step 5: Set and Solidify
Let the filled molds rest at room temperature for about an hour.
For faster results, place them in the refrigerator for 25-30 minutes.
The gummies will transform from liquid to wiggly, jiggly treats.
Step 6: Release and Preserve
Gently pop the gummies from their molds.
If they stick, briefly dip the mold in warm water to loosen them.
Transfer the completed treats to an airtight container.
These vibrant snacks will stay fresh for up to one week at room temperature.
Gummy Treat Tips with Kool-Aid Fun & Simplicity
Keep Kool-Aid Gummy Treats Fresh
Kool-Aid Gummy Treats Pairings
Kool-Aid Gummies in Fun Versions
FAQs
Blooming gelatin means softening dried gelatin in cold water before using it. This process helps the gelatin dissolve smoothly and prevents lumps, ensuring a consistent texture in your gummy treats.
Absolutely! You can experiment with various Kool-Aid powder flavors to create different colored and tasting gummy treats. Each flavor will bring a unique twist to your homemade candies.
You’ll need gummy bear molds, which are easily found online or in baking supply stores. A dropper or small spoon helps fill the molds precisely, but it’s not mandatory – a steady hand works too.
Corn syrup prevents sugar crystallization and helps create a smoother, more stable syrup. It contributes to the gummies’ glossy texture and helps them maintain their shape without becoming too sticky.
Print
Kool-Aid Gummy Treats Recipe
- Total Time: 20 minutes
- Yield: 12 1x
Description
Kool-aid gummy treats bring nostalgic childhood sweetness with a playful twist of fruity flavors. Colorful, chewy delights will brighten your snack time and spark memories of carefree summer days you’ll savor with each bite.
Ingredients
Primary Ingredients:
- 1.5 cups granulated sugar
- 0.5 cup light corn syrup
- 2 packets (0.13 ounces/3.7 grams each) Kool-Aid (in favorite flavors)
- 3 tablespoons unflavored gelatin
Liquid Ingredients:
- 0.5 cup cold water
Mold and Optional Decorative Ingredient:
- Gummy bear molds (or any mold of choice)
- Optional: Edible shimmer dust (for sparkling effect)
Instructions
- Dissolve the gelatin powder in cold water, allowing it to bloom and transform into a thick, gel-like substance over 5-7 minutes.
- Create a translucent sugar syrup by heating granulated sugar and corn syrup in a saucepan, stirring until the mixture becomes completely smooth and glossy.
- Gently fold the activated gelatin into the warm syrup, ensuring complete integration and a uniform texture.
- Infuse the mixture with vibrant Kool-Aid powder, whisking until the liquid achieves a consistent color and flavor profile.
- Utilize a precision dropper or small spoon to transfer the liquid mixture into gummy bear molds, working efficiently to prevent premature setting.
- Allow the filled molds to rest at ambient temperature for approximately one hour, or expedite the process by chilling in the refrigerator for 25-30 minutes.
- Extract the gummies from the molds with a gentle touch, using a brief warm water bath if they resist removal.
- Preserve the freshly crafted treats in a sealed container at room temperature, ensuring optimal taste and texture for up to one week.
Notes
- Experiment with different Kool-Aid flavors to create unique color and taste combinations for your gummy treats.
- Use silicone molds for easy removal and to prevent sticking, making the gummy-making process smoother and more enjoyable.
- Adjust the sweetness by reducing sugar or using alternative sweeteners like honey or agave for a healthier twist on the classic recipe.
- For a vegan version, replace gelatin with agar-agar or pectin to create plant-based gummy treats that everyone can enjoy.
- Prep Time: 10 minutes
- Cook Time: 10 minutes
- Category: Snacks, Desserts
- Method: Steeping
- Cuisine: American
Nutrition
- Serving Size: 12
- Calories: 67
- Sugar: 10 g
- Sodium: 1 mg
- Fat: 0 g
- Saturated Fat: 0 g
- Unsaturated Fat: 0 g
- Trans Fat: 0 g
- Carbohydrates: 17 g
- Fiber: 0 g
- Protein: 1 g
- Cholesterol: 0 mg
Angelina Wiles
Content Editor & Culinary Enthusiast
Expertise
Food Writing and Editing, Vegetarian and Vegan Cuisine, Baking and Pastry Arts, Sustainable Cooking Practices
Education
Portland Community College
Certificate in Culinary Arts
Focus: Emphasis on sustainable cooking practices, vegetarian cuisine, and food writing.
Oregon Culinary Institute
Diploma in Baking and Pastry Arts
Focus: Specialized training in artisanal baking, pastry techniques, and dessert presentation.
Angelina’s love for cooking started with handwritten family recipes and weekend trips to farmers’ markets around Portland. She followed her passion with a Certificate in Culinary Arts from Portland Community College, then perfected her sweet side with a Diploma in Baking and Pastry Arts at Oregon Culinary Institute.
Angelina believes recipes should feel like a conversation, not a science project. She’s all about helping readers trust themselves in the kitchen with simple steps, fresh ideas, and easy twists on classic meals.
When she’s not editing recipes, she’s baking bread, sipping coffee, or getting inspired by the changing seasons.