
The Magic of Kismet Cookies: A Sweet Destiny Recipe
Magic sometimes happens when unexpected culinary twists create a kismet cookie that defies ordinary expectations.
Whispers of serendipity dance through this delightful recipe, promising something extraordinary.
Sweet aromas will fill your kitchen with anticipation.
Delicate ingredients blend seamlessly, telling a story of delicious surprise.
Baking becomes an art form where chance and skill intersect perfectly.
Each bite connects you to a moment of pure joy.
Let these cookies become your delectable adventure into delightful randomness.
Sweet Highlights in This Kismet Cookie Recipe
Kismet Cookies What Goes In
Wet Ingredients:Dry Ingredients:Mix-In Ingredients:Kismet Cookie Recipe Steps
Step 1: Prep the Baking Zone
Get your oven toasty at 350°F. Cover baking sheets with parchment paper or silicone mats for perfect cookie release.
Step 2: Cream the Sweet Base
Grab a big mixing bowl and whip together:Blend until the mixture looks light and fluffy like a cloud.
Step 3: Bring in the Moisture
Crack eggs one at a time into the bowl, beating thoroughly after each addition. Splash in vanilla extract for extra flavor magic.
Step 4: Create the Dry Foundation
In a separate bowl, whisk together:Slowly fold this dry mixture into the wet ingredients, mixing gently until just combined.
Step 5: Add Delicious Chunks
Fold in:Step 6: Shape Cookie Delights
Scoop rounded tablespoons of dough onto prepared baking sheets, leaving about 2 inches between each cookie.
Step 7: Bake to Golden Perfection
Slide sheets into the oven and bake for 10-12 minutes. Look for lightly golden edges with soft centers.
Step 8: Cool and Enjoy
Let cookies rest on the baking sheet for 5 minutes, then transfer to a wire rack for complete cooling. Grab a glass of milk and savor your homemade treats!
How to Nail Kismet Cookies
Kismet Cookies: Easy Storage You’ll Appreciate
Kismet Cookie Pairings
Kismet Cookie Recipe: Fun Baking Styles
FAQs
This can happen if your butter is too soft or melted. Make sure to use butter that’s just softened at room temperature, not completely melted. Chilling the dough for 30 minutes before baking can also help prevent excessive spreading.
Absolutely! Feel free to swap semi-sweet chocolate chips with milk chocolate, dark chocolate, or even white chocolate chips. You can also mix different types of chocolate for a more complex flavor profile.
Don’t overbake the cookies. Take them out when the edges are golden but the centers still look slightly underbaked. They’ll continue to set as they cool on the baking sheet. Using brown sugar also helps create a softer, chewier cookie.
No, the nuts are optional. If you don’t like nuts or have an allergy, simply omit them from the recipe. The cookies will still taste delicious with just the chocolate chips.
Print
Kismet Cookie Recipe
- Total Time: 30 minutes
- Yield: 24 1x
Description
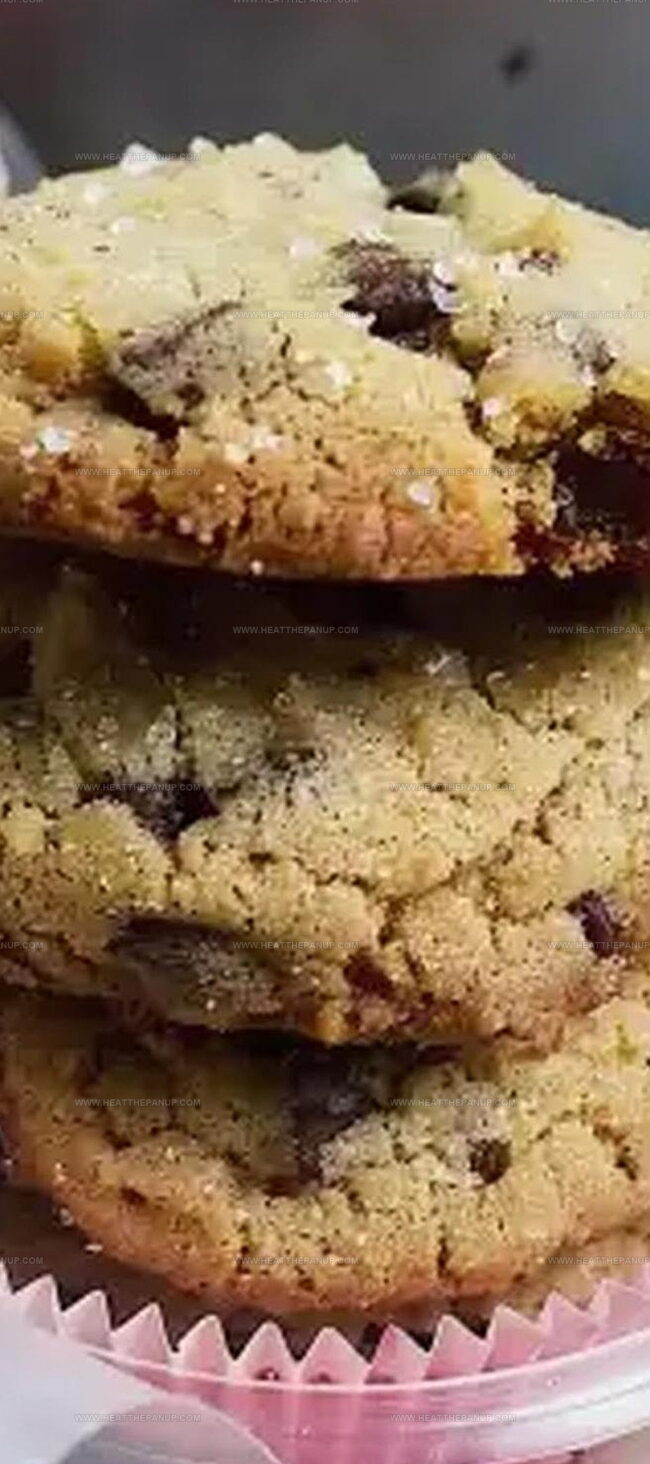
Kismet cookies blend Mediterranean charm with sweet serendipity, offering delicate almond notes and rich butter flavor. Crumbly, golden rounds promise a delightful journey through traditional Middle Eastern baking that welcomes you to savor each delectable bite.
Ingredients
Main Ingredients:
- 2 cups (473 ml) unsalted butter
- 3 eggs
- 2 cups (240 g) all-purpose flour
- 2 cups (340 g) semi-sweet chocolate chips
Sweeteners:
- 1 cup (200 g) granulated sugar
- 2 teaspoons packed brown sugar
Additional Ingredients:
- 1 teaspoon vanilla extract
- 1 teaspoon baking powder
- 1/2 teaspoon baking soda
- 1 teaspoon salt
- 1 cup (100 g) chopped walnuts or pecans (optional)
Instructions
- Warm the oven to 350°F, positioning the rack in the center. Cover baking trays with parchment paper or silicone mats to prevent sticking.
- Cream together softened butter with both sugars in a spacious mixing vessel, whipping until the mixture becomes airy and pale.
- Incorporate eggs individually, thoroughly blending after each addition. Pour in vanilla extract and mix until fully integrated.
- Separately, combine flour, leavening agents, and salt through a fine-mesh sifter to eliminate potential lumps.
- Gently fold dry ingredients into the butter mixture, stirring minimally to maintain a tender cookie texture.
- Introduce chocolate chips and chopped nuts, distributing evenly throughout the dough with gentle sweeping motions.
- Portion dough using a tablespoon, creating rounded mounds approximately two inches apart on prepared baking surfaces.
- Slide trays into preheated oven, baking for 10-12 minutes until edges transform to a delicate golden hue while centers remain soft and yielding.
- Remove from oven and let cookies rest on baking sheet for five minutes, allowing them to firm slightly.
- Transfer cookies to a wire cooling rack, permitting complete cooling and texture development before serving or storing.
Notes
- Softened butter ensures smooth, creamy cookie dough that blends ingredients effortlessly and creates a tender texture.
- Room temperature eggs integrate more evenly, preventing clumpy batter and promoting consistent cookie structure.
- Avoid overmixing the dry and wet ingredients to maintain a tender, soft cookie crumb and prevent tough cookies.
- Chilling the dough for 30 minutes before baking can intensify flavors and prevent excessive spreading during baking.
- Swap walnuts with other nuts like almonds or use seeds for nut-free alternatives without compromising taste.
- Use dark chocolate chips for a richer flavor profile or milk chocolate for sweeter, more kid-friendly cookies.
- Store cookies in an airtight container at room temperature for up to 5 days to preserve freshness and texture.
- Prep Time: 20 minutes
- Cook Time: 10 minutes
- Category: Desserts, Snacks
- Method: Baking
- Cuisine: American
Nutrition
- Serving Size: 24
- Calories: 230
- Sugar: 12g
- Sodium: 150mg
- Fat: 14g
- Saturated Fat: 8g
- Unsaturated Fat: 4g
- Trans Fat: 0g
- Carbohydrates: 26g
- Fiber: 1g
- Protein: 3g
- Cholesterol: 40mg
James Hambly
Founder & Recipe Creator
Expertise
Recipe Development, Culinary Education, Farm-to-Table Cooking, Southern Cuisine
Education
Asheville-Buncombe Technical Community College
Certificate in Culinary Arts
Focus: Hands-on training in professional cooking techniques, emphasizing farm-to-table practices and Southern cuisine.
The Chef’s Academy
Associate Degree in Culinary Arts
Focus: Comprehensive culinary education covering global cuisines, kitchen management, and food safety.
James grew up surrounded by the smells of cast-iron skillets and slow-cooked Southern meals in Asheville, North Carolina.
He sharpened his skills with a Certificate in Culinary Arts from Asheville-Buncombe Technical Community College, and later leveled up with an Associate Degree from The Chef’s Academy.
James’s philosophy is simple: the best meals don’t need fancy tricks, just fresh ingredients, a hot pan, and a little bit of heart. His favorite days are spent testing one-pan wonders, chasing bold flavors, and creating recipes that feel easy, even on a busy night.