The Ultimate Homemade Reeses Eggs Recipe: Sweet Chocolate Bliss
Sweet chocolate cravings often lead me to dream about this homemade reeses eggs recipe that reminds me of childhood indulgences.
Nostalgic memories flood back with each delicious bite of these creamy treats.
My kitchen becomes a playground of flavor when I start mixing the ingredients.
Peanut butter and chocolate create an irresistible combination that melts hearts instantly.
Simple pantry staples transform into decadent desserts that spark joy and excitement.
Crafting these eggs feels like a delightful baking adventure waiting to unfold.
I promise you’ll fall in love with every single chocolatey, peanut buttery moment of this delectable experience.
Why Homemade Reese’s Eggs Are So Popular

Ingredients In Homemade Reese’s Eggs
Main Ingredients:
Peanut Butter Filling:Chocolate Coating:Supporting Ingredients:
Preparation Essentials:Easy Guide To Making Reese’s Eggs

Step 1: Melt Creamy Peanut Butter Base
Grab a medium saucepan and combine these delightful ingredients:Heat over medium flame, stirring constantly until everything melts together smoothly and sugar completely dissolves.
Step 2: Create Silky Peanut Butter Mixture
Remove pan from heat and gradually sprinkle in powdered sugar.
Stir until the mixture becomes perfectly smooth and consistent.
The texture should feel like a luxurious peanut butter dream.
Step 3: Shape Magical Egg Forms
Carefully mold the peanut butter mixture into egg-like shapes using your hands.
Place each egg onto a parchment-lined baking sheet.
Pop the entire tray into the freezer for about one hour until they become rock-solid.
Step 4: Prepare Chocolatey Coating
Select a microwave-safe bowl and combine:Microwave in short 30-second bursts, stirring between each interval, until the chocolate transforms into a silky, glossy liquid.
Step 5: Chocolate Dipping Adventure
Remove frozen eggs from freezer.
Using a fork, delicately dip each egg into melted chocolate, ensuring complete coverage.
Gently tap fork to remove excess chocolate before placing back on parchment paper.
Step 6: Final Chill
Slide the chocolate-covered eggs into the refrigerator.
Let them rest for approximately 30 minutes until the chocolate sets into a perfect, glossy shell.
Top Tips For Homemade Reese’s Eggs
Store And Serve Homemade Reese’s Eggs Right
Best Pairings With Reese’s Eggs
Variants For Homemade Reese’s Eggs
FAQs
Dust your hands with powdered sugar or wear food-safe gloves to easily shape the mixture without sticking.
Yes, you can substitute milk chocolate chips for a sweeter coating that will taste more like the original Reese’s eggs.
The shortening helps create a smoother, glossier chocolate coating and prevents it from cracking when you bite into the eggs.
When stored in an airtight container in the refrigerator, they will keep for up to 2 weeks, maintaining their delicious flavor and texture.
Print
Homemade Reeses Eggs Recipe
- Total Time: 45 minutes
- Yield: 12 1x
Description
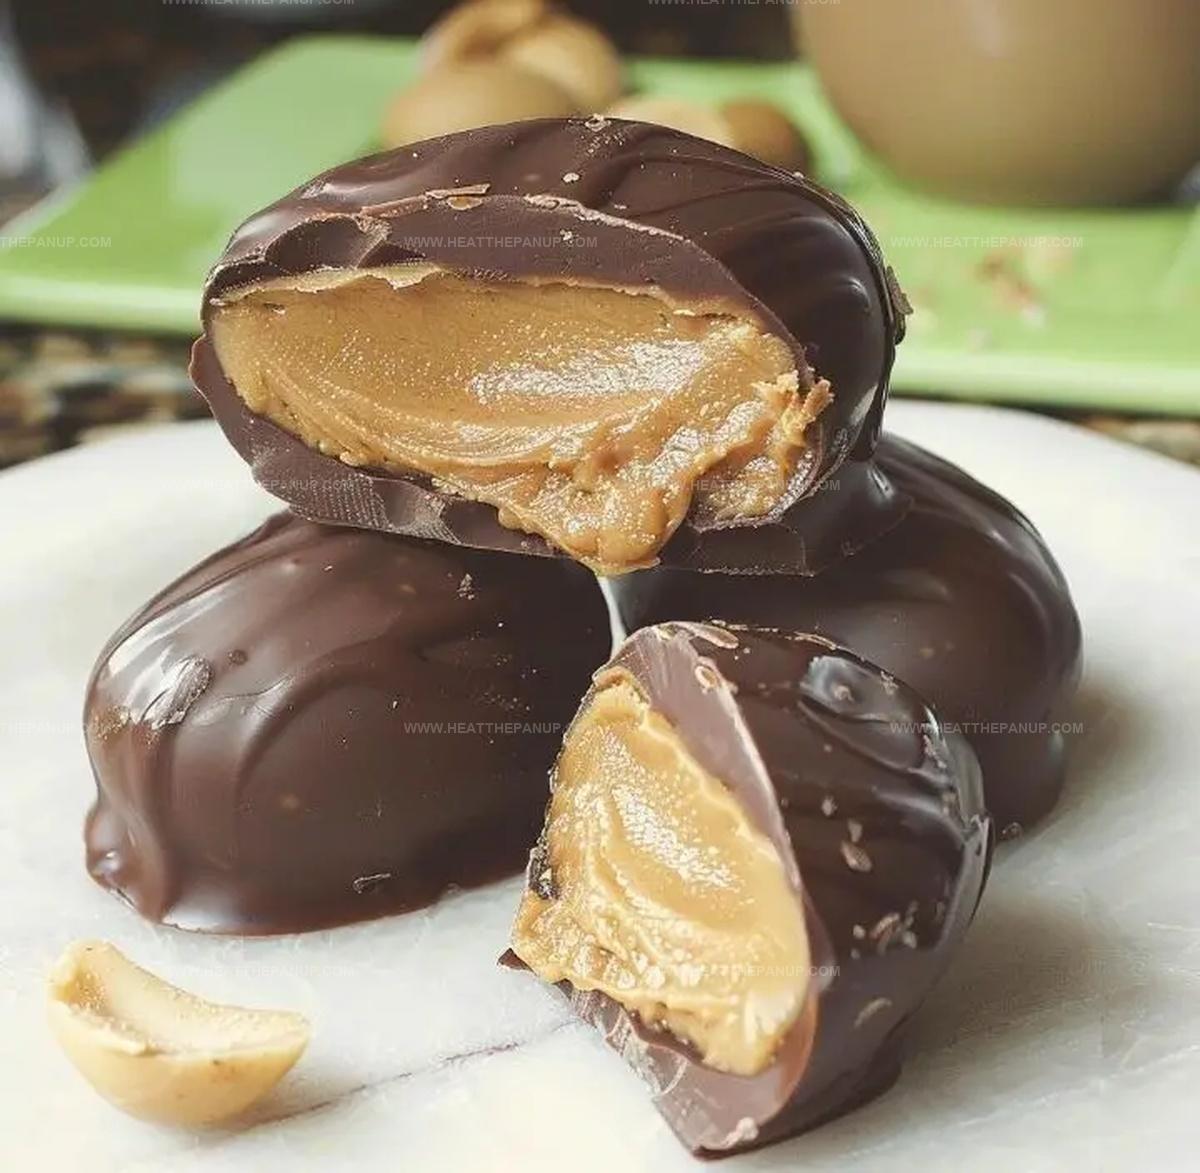
Indulgent chocolate meets creamy peanut butter in Homemade Reeses Eggs, a nostalgic treat that brings childhood memories to life. Sweet chocolate shells cradle smooth peanut butter centers, promising pure bliss with each delectable bite you’ll savor.
Ingredients
Main Ingredients:
- 1 cup creamy peanut butter
- 2 cups milk chocolate chips
- 1/4 cup unsalted butter
Sweeteners and Binding Agents:
- 1/4 cup brown sugar
- 1 1/4 cups powdered sugar
Additional Ingredients:
- 2 tablespoons vegetable shortening
Instructions
- Craft a creamy peanut butter base by gently heating peanut butter, butter, and brown sugar in a saucepan until the sugar fully dissolves and ingredients harmonize.
- Gradually fold powdered sugar into the warm mixture, stirring continuously until a smooth, pliable consistency develops.
- Mold the peanut butter blend into oval egg-like shapes, maintaining uniform size and thickness.
- Transfer the shaped eggs onto a parchment-lined baking sheet, ensuring they do not touch each other.
- Chill the egg-shaped confections in the freezer for approximately one hour, allowing them to firm up completely.
- Prepare the chocolate coating by melting chocolate chips and vegetable shortening in a microwave-safe bowl, stirring between brief heating intervals until perfectly smooth.
- Remove the frozen peanut butter eggs and carefully dip each one into the melted chocolate using a fork, ensuring complete and even coverage.
- Gently tap the fork to remove excess chocolate, then delicately place the coated eggs back onto the parchment paper.
- Refrigerate the chocolate-dipped treats until the coating hardens completely, typically around 30 minutes.
Notes
- Chill peanut butter mixture thoroughly before shaping to ensure eggs hold their perfect egg-like form and prevent crumbling during chocolate coating.
- Use room temperature ingredients to help create smoother, more consistent mixture without lumps or uneven texture.
- Consider using dark or milk chocolate as alternative coating options for different flavor profiles and personal preferences.
- When dipping eggs in chocolate, tap fork gently against bowl’s edge to remove excess chocolate and create clean, smooth chocolate shell with professional-looking finish.
- Prep Time: 45 minutes
- Cook Time: 0 minutes
- Category: Desserts, Snacks
- Method: None
- Cuisine: American
Nutrition
- Serving Size: 12
- Calories: 202
- Sugar: 16 g
- Sodium: 95 mg
- Fat: 12 g
- Saturated Fat: 5 g
- Unsaturated Fat: 7 g
- Trans Fat: 0 g
- Carbohydrates: 23 g
- Fiber: 1 g
- Protein: 4 g
- Cholesterol: 10 mg
Angelina Wiles
Content Editor & Culinary Enthusiast
Expertise
Food Writing and Editing, Vegetarian and Vegan Cuisine, Baking and Pastry Arts, Sustainable Cooking Practices
Education
Portland Community College
Certificate in Culinary Arts
Focus: Emphasis on sustainable cooking practices, vegetarian cuisine, and food writing.
Oregon Culinary Institute
Diploma in Baking and Pastry Arts
Focus: Specialized training in artisanal baking, pastry techniques, and dessert presentation.
Angelina’s love for cooking started with handwritten family recipes and weekend trips to farmers’ markets around Portland. She followed her passion with a Certificate in Culinary Arts from Portland Community College, then perfected her sweet side with a Diploma in Baking and Pastry Arts at Oregon Culinary Institute.
Angelina believes recipes should feel like a conversation, not a science project. She’s all about helping readers trust themselves in the kitchen with simple steps, fresh ideas, and easy twists on classic meals.
When she’s not editing recipes, she’s baking bread, sipping coffee, or getting inspired by the changing seasons.