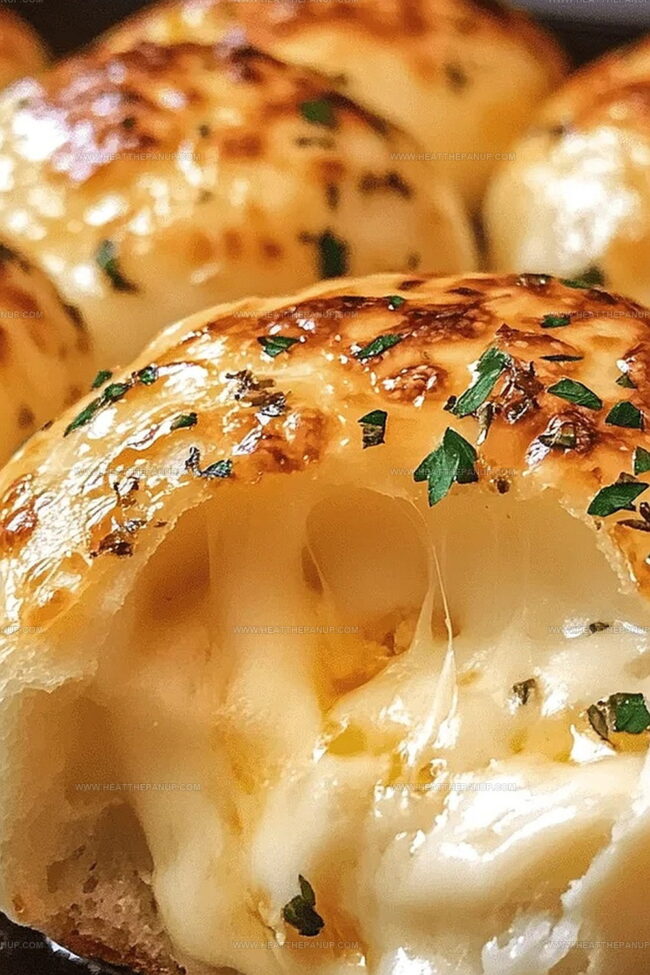
The Ultimate Homemade Garlic Butter Cheese Bombs Recipe
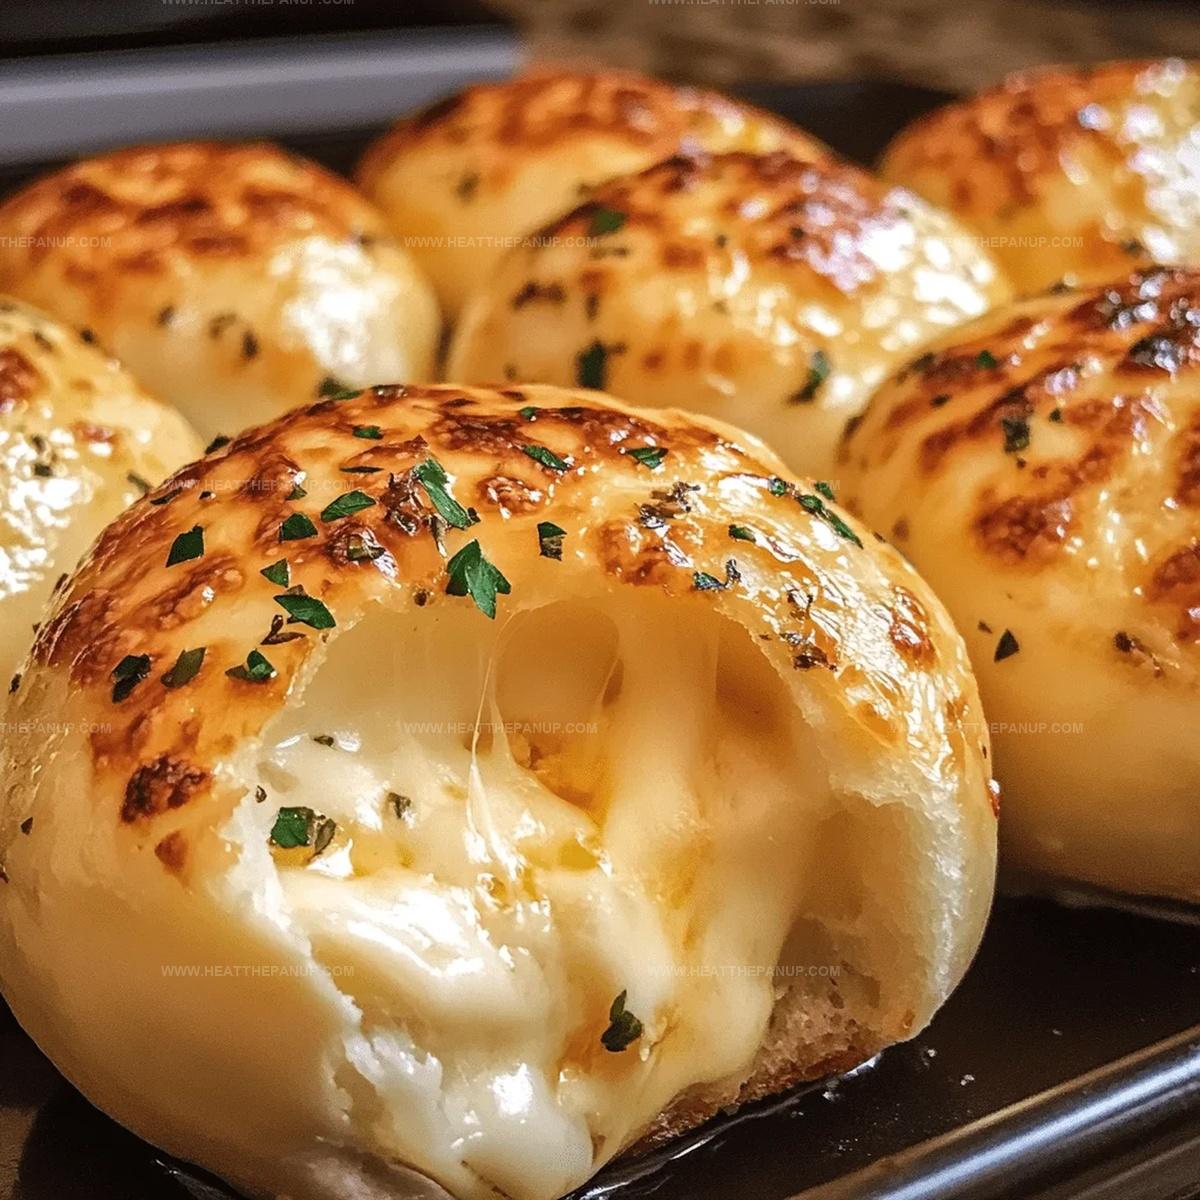
Crispy golden pastry shells burst with melted garlic butter cheese bombs that make any meal feel special.
Cheesy pockets of pure comfort wait inside each perfectly baked morsel.
Warm, gooey centers promise an explosion of savory goodness with every bite.
Simple ingredients come together quickly in this crowd-pleasing appetizer that looks way more complicated than it actually is.
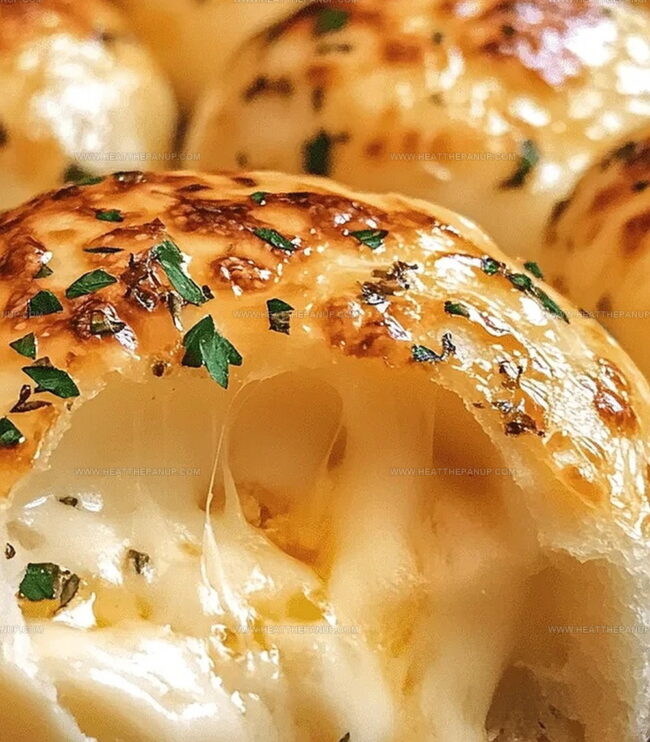
Buttery, herb-infused dough wraps around rich cheese for an irresistible treat.
Soft, pillowy edges give way to a molten center that’ll have everyone asking for seconds.
What You’ll Love About Cheese Bombs
What Goes Into Cheese Bombs
Bread Base:Cheese:Butter and Seasonings:Directions for Cheese Bombs
Step 1: Prepare the Oven
Heat the oven to 375°F.
Line a baking sheet with parchment paper or give it a quick spray of cooking oil to prevent sticking.
Step 2: Unleash the Dough
Carefully separate each biscuit from the container.
Gently press and stretch each biscuit into a round circle about 3 inches wide, creating a soft, pliable canvas for your cheesy creation.
Step 3: Create Cheesy Centers
Place a chunk of mozzarella cheese right in the middle of each dough circle.
Carefully fold the edges up and around the cheese, pinching and sealing the dough to create a perfect little cheese-filled ball.
Make sure no cheese can escape!
Step 4: Prepare the Flavor Boost
In a small mixing bowl, whisk together:Stir until the seasonings are well combined and your kitchen starts to smell amazing.
Step 5: Dress and Decorate
Arrange the cheese-filled dough balls on the baking sheet with the sealed side facing down.
Use a pastry brush to generously coat the tops with the seasoned butter mixture, ensuring each bomb gets maximum flavor.
Step 6: Bake to Golden Perfection
Slide the baking sheet into the preheated oven.
Bake for 12-15 minutes, watching for a gorgeous golden-brown color and the promise of melted, gooey cheese inside.
Step 7: Serve and Savor
Pull out the piping hot cheese bombs and let them cool for just a moment.
Serve immediately while they’re warm and irresistible.
Pair with marinara sauce, ranch, or enjoy them all on their own!
Key Tips for Cheese Bombs Success
Keep & Reheat Cheese Bombs Fresh
Great Sides with Cheese Bombs
Flavor Spins on Cheese Bombs
FAQs
Yes, you can substitute mozzarella with cheddar, provolone, or any melting cheese that suits your taste preference.
You can prepare and freeze the unbaked cheese bombs. When ready to serve, bake directly from frozen, adding a few extra minutes to the cooking time.
Substitute with homemade biscuit dough or crescent roll dough. Just ensure the dough is pliable enough to wrap around the cheese.
Seal the edges of the dough tightly by pinching and folding the edges completely around the cheese, ensuring no gaps remain before baking.
Print
Homemade Garlic Butter Cheese Bombs Recipe
- Total Time: 35 minutes
- Yield: 8 1x
Description
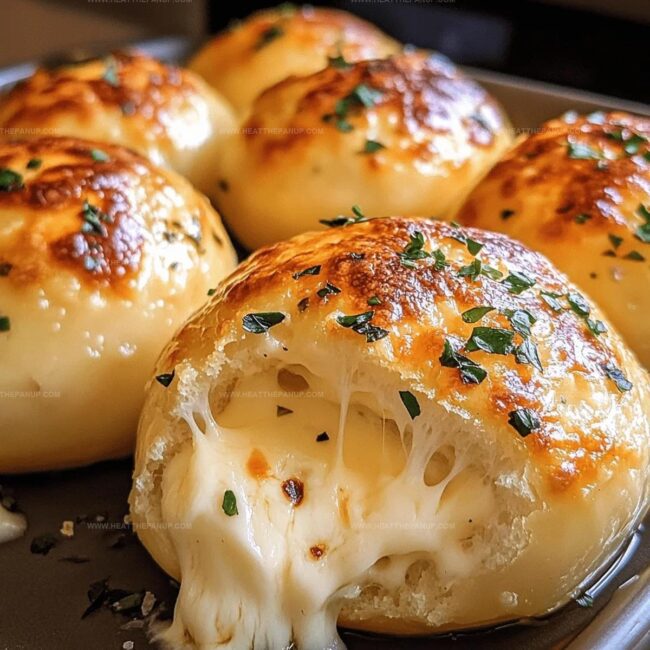
Garlic butter cheese bombs explode with flavor in this irresistible appetizer that merges creamy cheese and zesty garlic inside golden-brown bread pockets. Savory, cheesy, and utterly delicious, these bombs will become your new favorite party snack you cannot resist.
Ingredients
Main Ingredients:
- 1 (16 ounces) container refrigerated biscuit dough (8 biscuits)
- 4 ounces mozzarella cheese (soft, shredded, or diced string cheese)
Seasoning Ingredients:
- 1 teaspoon garlic powder
- 1 teaspoon Italian seasoning
- 1 pinch of salt
Finishing Ingredients:
- 4 tablespoons melted butter (half a stick)
Instructions
- Transform refrigerated biscuit dough into delectable cheese-filled parcels that burst with molten mozzarella and aromatic garlic essence.
- Warm the oven to 375°F (190°C), preparing a baking sheet with parchment paper or a light coating of grease.
- Gently separate each biscuit from its container, carefully stretching and flattening into delicate 3-inch circular landscapes.
- Nestle a creamy mozzarella cube precisely at the center of each dough circle, then tenderly fold and encase the cheese, meticulously sealing the edges to create compact, rounded bundles.
- Position the cheese-sealed dough spheres with their sealed side downward on the prepared baking surface.
- Craft a luxurious butter elixir by blending melted butter with fragrant garlic powder, herb-infused Italian seasoning, and a whisper of salt.
- Lavishly paint the exterior of each biscuit bomb with the aromatic butter mixture, ensuring comprehensive coverage.
- Slide the baking sheet into the preheated oven, allowing the parcels to transform for 12-15 minutes until they achieve a golden, crisp exterior and the internal cheese melts into a luscious, gooey state.
- Extract from the oven and let rest momentarily, then present these sizzling gastronomic treasures immediately, accompanied by optional complementary dipping sauces for enhanced enjoyment.
Notes
- Choose cold, high-quality mozzarella to ensure a perfect cheesy center without leaking during baking.
- Seal edges carefully by pinching and rolling to prevent cheese from escaping while cooking.
- Use room temperature butter for easier mixing and more even coating on the biscuit bombs.
- For gluten-free option, substitute refrigerated biscuit dough with gluten-free biscuit mix or almond flour dough.
- Prep Time: 20 minutes
- Cook Time: 15 minutes
- Category: Appetizer, Snacks
- Method: Baking
- Cuisine: American
Nutrition
- Serving Size: 8
- Calories: 250
- Sugar: 1 g
- Sodium: 350 mg
- Fat: 18 g
- Saturated Fat: 11 g
- Unsaturated Fat: 7 g
- Trans Fat: 0 g
- Carbohydrates: 22 g
- Fiber: 1 g
- Protein: 6 g
- Cholesterol: 30 mg
James Hambly
Founder & Recipe Creator
Expertise
Recipe Development, Culinary Education, Farm-to-Table Cooking, Southern Cuisine
Education
Asheville-Buncombe Technical Community College
Certificate in Culinary Arts
Focus: Hands-on training in professional cooking techniques, emphasizing farm-to-table practices and Southern cuisine.
The Chef’s Academy
Associate Degree in Culinary Arts
Focus: Comprehensive culinary education covering global cuisines, kitchen management, and food safety.
James grew up surrounded by the smells of cast-iron skillets and slow-cooked Southern meals in Asheville, North Carolina.
He sharpened his skills with a Certificate in Culinary Arts from Asheville-Buncombe Technical Community College, and later leveled up with an Associate Degree from The Chef’s Academy.
James’s philosophy is simple: the best meals don’t need fancy tricks, just fresh ingredients, a hot pan, and a little bit of heart. His favorite days are spent testing one-pan wonders, chasing bold flavors, and creating recipes that feel easy, even on a busy night.