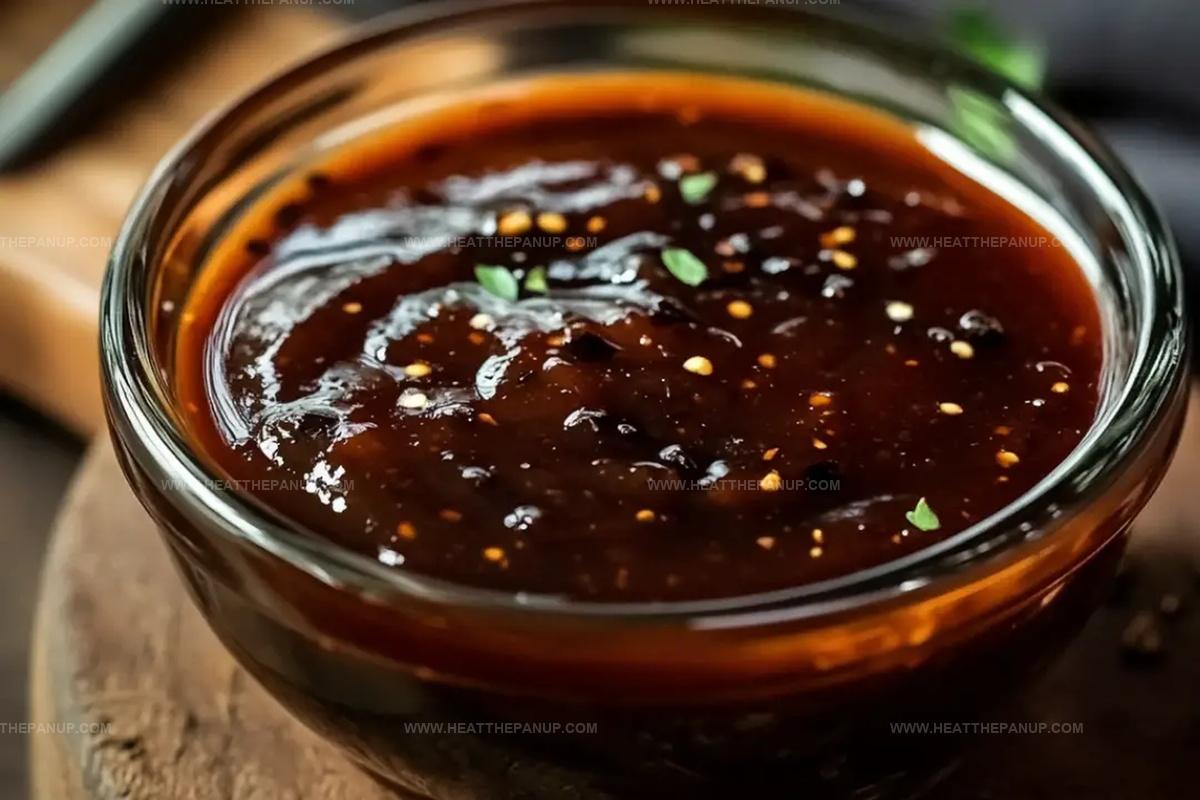
The Perfect Homemade A1 Steak Sauce Recipe for Bold Flavor
Crafting a mouthwatering homemade a1 steak sauce brings restaurant-quality flavor right into your kitchen.
Bold spices and tangy ingredients dance together in this classic condiment.
Passionate home cooks understand the magic of creating signature sauces from scratch.
My grandmother’s secret recipe inspired this incredible blend of sweet and zesty notes.
Most store-bought versions pale in comparison to this vibrant, fresh alternative.
Robust tomato undertones and carefully balanced seasonings make this sauce irresistibly delicious.
Homemade A1 Sauce That Brings Big Flavor to Every Bite
Homemade A1 Steak Sauce Recipe Ingredients
Base Sauce Ingredients:Seasoning Ingredients:Spice and Flavor Enhancers:Homemade A1-Style Steak Sauce Cooking Guide
Step 1: Gather Flavor Boosters
Collect all your sauce ingredients ready to transform your cooking experience.
You’ll need items like ketchup, Worcestershire sauce, balsamic vinegar, soy sauce, Dijon mustard, and other zesty companions.
Step 2: Create Flavor Fusion
Grab a medium saucepan and pour in all liquid ingredients.
Whisk these flavor friends together until they become one smooth, harmonious mixture.
The ketchup will provide a rich base while other ingredients dance around creating depth.
Step 3: Season and Spice
Sprinkle in your dry seasonings, stirring continuously.
This is where magic happens – each spice will contribute its unique personality to the sauce.
Mix thoroughly so no ingredient feels left out.
Step 4: Gentle Simmering Magic
Place your saucepan on medium heat.
Let the mixture bubble gently, transforming from separate ingredients into a unified, delicious sauce.
Reduce heat and allow flavors to mingle and develop for 10-15 minutes.
Stir occasionally to prevent sticking.
Step 5: Cool and Store
Remove from heat and let the sauce cool completely.
Pour into a clean glass jar or airtight container.
Your homemade A1 sauce will keep in the refrigerator for two weeks, ready to elevate any meal.
Step 6: Enjoy Your Creation
Drizzle over steaks, use as a dipping sauce, or brush onto grilled vegetables.
Your personalized steak sauce is now ready to impress!
Steak Sauce Tips to Match A1 Flavor, Homemade-Style
Store Homemade A1 Steak Sauce
Best Uses for Homemade A1 Steak Sauce
Homemade A1 Sauce with Tangy Variations
FAQs
While inspired by A1, this homemade version offers a fresher, more customizable flavor with real ingredients and no preservatives.
Yes, you can add hot sauce or red pepper flakes to increase heat, or reduce black pepper for a milder taste.
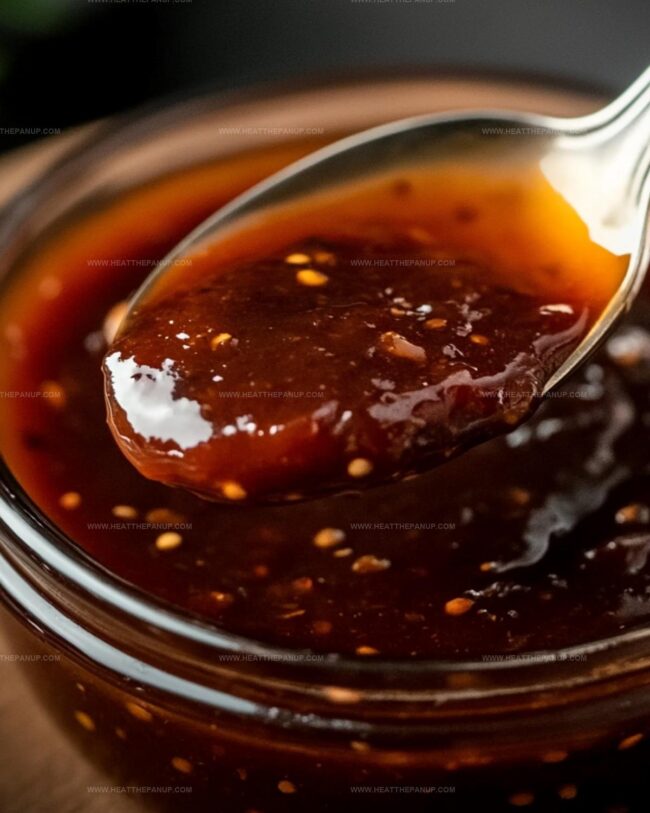
The sauce should coat the back of a spoon and have a slightly reduced, glossy appearance after simmering for 10-15 minutes.
You can substitute with red wine vinegar or apple cider vinegar, which will provide a similar tangy flavor profile to the original recipe.
Print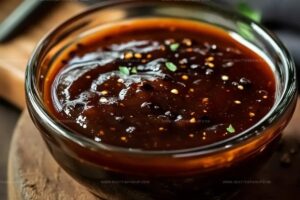
Homemade A1 Steak Sauce Recipe
- Total Time: 20 minutes
- Yield: 8 1x
Description
A1 steak sauce brings classic steakhouse flavor right to home kitchens with minimal effort. Crafted from pantry staples like tomato paste, vinegar, and spices, this zesty condiment elevates grilled meats and delivers restaurant-quality taste you’ll crave.
Ingredients
Sauce Base Ingredients:
- 1/2 cup (120 ml) ketchup
- 1/4 cup (60 ml) Worcestershire sauce
- 1/4 cup (60 ml) balsamic vinegar
- 2 tablespoons soy sauce
Sweetening and Flavor Enhancers:
- 2 tablespoons brown sugar
- 1 tablespoon lemon juice
Spices and Seasonings:
- 1/2 teaspoon Dijon mustard
- 1/2 teaspoon garlic powder
- 1/2 teaspoon onion powder
- 1/4 teaspoon black pepper
- 1/4 teaspoon smoked paprika (optional, for a smoky flavor)
Instructions
- In a medium saucepan, whisk together ketchup, Worcestershire sauce, balsamic vinegar, soy sauce, and Dijon mustard until thoroughly blended.
- Incorporate lemon juice, brown sugar, garlic powder, onion powder, black pepper, and smoked paprika, stirring until the mixture becomes uniform.
- Position the saucepan over medium heat, allowing the concoction to reach a gentle bubbling point without aggressive boiling.
- Reduce temperature to low, permitting the sauce to simmer and develop depth, periodically stirring to prevent scorching and promote even consistency.
- Continue cooking for approximately 12-15 minutes, watching the liquid gradually thicken and the flavors meld together.
- Carefully remove the saucepan from heat, allowing the homemade sauce to cool completely at room temperature.
- Once cooled, transfer the sauce into a sterilized glass container or airtight bottle for refrigeration.
- Preserve the sauce in the refrigerator, where it will maintain optimal flavor and quality for up to two weeks.
- Serve as a robust accompaniment to grilled meats, roasted vegetables, or use as a dynamic dipping sauce for various culinary creations.
Notes
- Customize heat levels by adding hot sauce or red pepper flakes for those who enjoy spicier condiments.
- Replace brown sugar with honey or maple syrup for a more natural sweetness and deeper flavor profile.
- Create a low-sodium version by using reduced-sodium soy sauce and eliminating added salt to suit dietary restrictions.
- Experiment with smoky variations by increasing smoked paprika or adding a drop of liquid smoke for enhanced depth.
- Prep Time: 5 minutes
- Cook Time: 15 minutes
- Category: Dinner, Condiment
- Method: Simmering
- Cuisine: American
Nutrition
- Serving Size: 8
- Calories: 35
- Sugar: 6 g
- Sodium: 300 mg
- Fat: 0 g
- Saturated Fat: 0 g
- Unsaturated Fat: 0 g
- Trans Fat: 0 g
- Carbohydrates: 8 g
- Fiber: 0 g
- Protein: 1 g
- Cholesterol: 0 mg
Angelina Wiles
Content Editor & Culinary Enthusiast
Expertise
Food Writing and Editing, Vegetarian and Vegan Cuisine, Baking and Pastry Arts, Sustainable Cooking Practices
Education
Portland Community College
Certificate in Culinary Arts
Focus: Emphasis on sustainable cooking practices, vegetarian cuisine, and food writing.
Oregon Culinary Institute
Diploma in Baking and Pastry Arts
Focus: Specialized training in artisanal baking, pastry techniques, and dessert presentation.
Angelina’s love for cooking started with handwritten family recipes and weekend trips to farmers’ markets around Portland. She followed her passion with a Certificate in Culinary Arts from Portland Community College, then perfected her sweet side with a Diploma in Baking and Pastry Arts at Oregon Culinary Institute.
Angelina believes recipes should feel like a conversation, not a science project. She’s all about helping readers trust themselves in the kitchen with simple steps, fresh ideas, and easy twists on classic meals.
When she’s not editing recipes, she’s baking bread, sipping coffee, or getting inspired by the changing seasons.