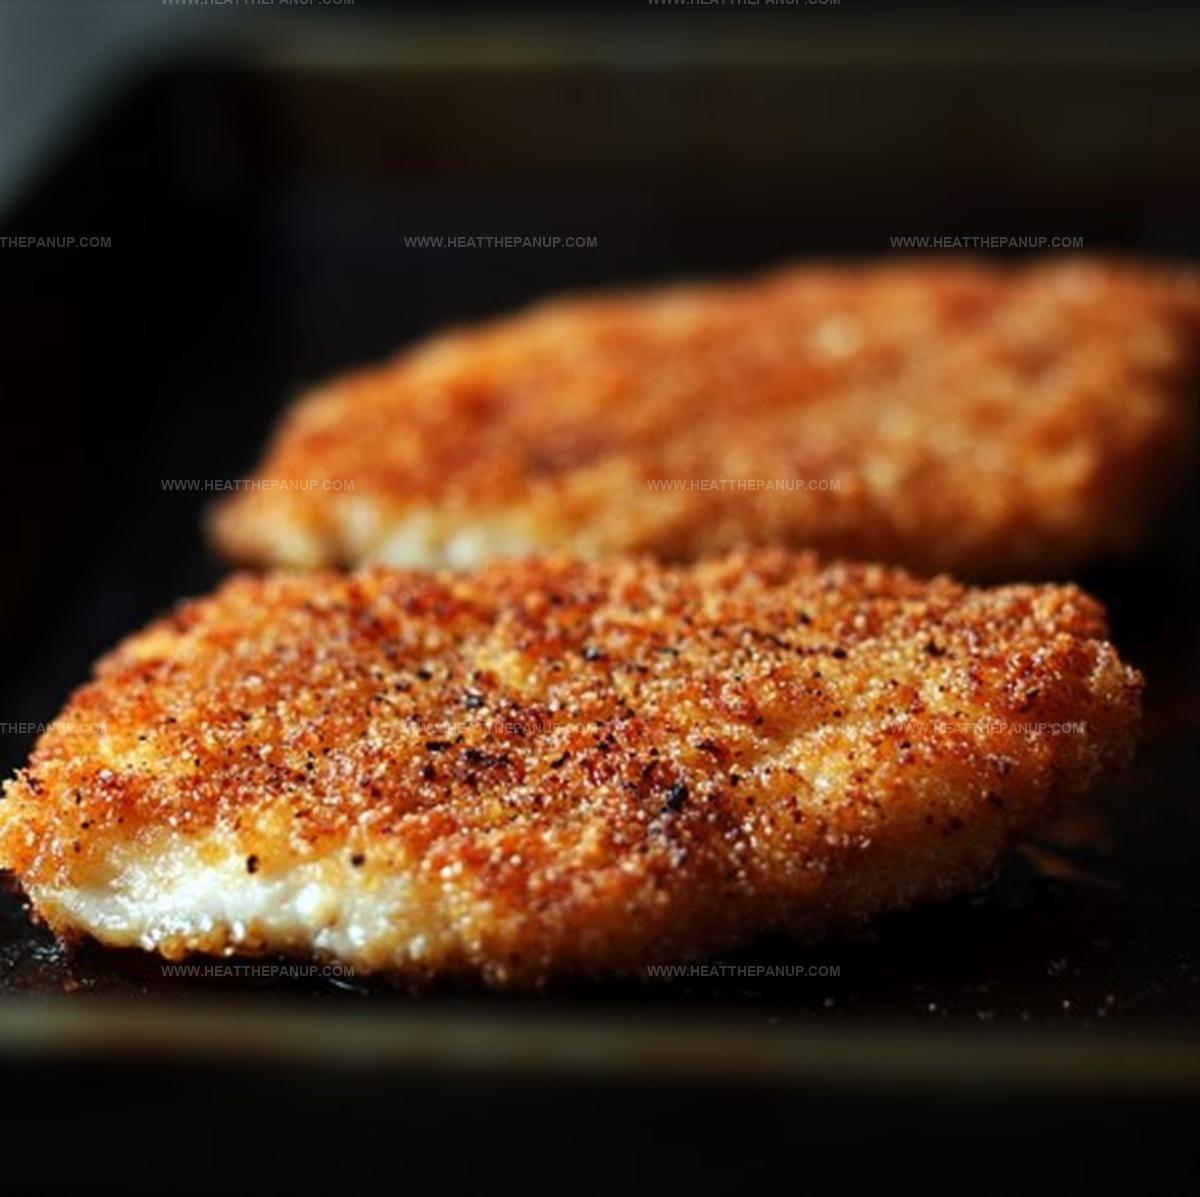
Savory Garlic Parmesan Crispy Oven Fried Chicken Recipe
My crispy oven-fried garlic parmesan chicken promises a delightful twist on classic comfort food.
Crisp golden breading packs incredible flavor into every juicy bite.
Weeknight dinners just became more exciting with this simple yet impressive dish.
You can easily master these crunchy, cheesy chicken pieces without complicated techniques.
Parmesan adds a savory richness that transforms ordinary chicken into something spectacular.
Mediterranean herbs and fresh garlic create an irresistible aroma that fills your kitchen.
Let’s turn an ordinary meal into an extraordinary culinary adventure.
What’s Tasty About Garlic Parmesan Crispy Oven Fried Chicken
Garlic Parmesan Crispy Chicken Ingredient Guide
For Coating:For Wet Ingredients:Chicken:For Finishing:Instructions for Garlic Parmesan Crispy Chicken
Step 1: Create Seasoning Blend
Combine a zesty mix of flour, grated Parmesan cheese, garlic powder, paprika, salt, and black pepper in a wide, shallow dish.
This flavorful coating will give your chicken an incredible crunch and mouthwatering taste.
Step 2: Prepare Egg Wash
Whisk eggs with a splash of milk in a separate bowl, creating a smooth binding agent that helps the seasoning stick perfectly to the chicken.
Step 3: Coat Chicken Pieces
Dip each chicken piece first into the seasoned flour mixture, then fully submerge in the egg wash.
Return the chicken to the flour mixture, pressing firmly to create a thick, even coating.
Use the back of a spoon to pack the breading, ensuring a super crispy exterior.
Step 4: Bake to Golden Perfection
Place coated chicken on a wire rack set over a baking sheet.
Bake in a preheated oven, cooking until the bottom turns golden and crisp.
Carefully flip the pieces using an offset spatula to preserve the crunchy coating.
Step 5: Crisp Under the Broiler
Finish the chicken under the broiler for 2-3 minutes, watching closely to achieve a gorgeous golden-brown and extra crispy exterior.
The Parmesan will create irresistible browned bits that add incredible flavor.
Tips for Making Garlic Parmesan Crispy Chicken
How to Save and Reheat Oven Fried Chicken
Side Dish Ideas for Crispy Oven Fried Chicken
Fun Variations on Garlic Parmesan Oven Chicken
FAQs
The double-coating method creates a thick, extra crispy breading that locks in moisture and provides a crunchy exterior. The first dry coat helps the egg mixture stick, while the second thick coating ensures a golden, textured crust.
Use an offset spatula when flipping, gently slide it under the chicken, and avoid disturbing the breading. Ensure you’ve thoroughly pressed the dry mixture onto the chicken using the back of a tablespoon, creating a uniform, well-adhered coating.
Yes, simply substitute the all-purpose flour with a gluten-free flour blend or almond flour. The technique remains the same, ensuring you’ll still get a crispy, flavorful chicken.
The secret is layering techniques: start with a light dry coat, then egg wash, then a thick dry coating. Bake at the right temperature, carefully flip once, and finish with a quick broil to achieve that perfect golden-brown crispiness.
Print
Garlic Parmesan Crispy Oven Fried Chicken Recipe
- Total Time: 40 minutes
- Yield: 2 1x
Description
Crispy garlic parmesan oven-fried chicken delivers a mouthwatering golden crunch that elevates weeknight dinner expectations. Crunchy exterior and tender meat create an irresistible meal promising restaurant-quality flavor without complicated preparation.
Ingredients
Main Protein:
- 4 chicken breasts
Coating Ingredients:
- 1 cup all-purpose flour
- 1/2 cup panko breadcrumbs
- 1/2 cup grated parmesan cheese
Liquid and Seasoning Ingredients:
- 2 large eggs
- 2/3 cup buttermilk
- 2 tablespoons olive oil
- 3 cloves garlic, minced
- 1 teaspoon salt
- 1/2 teaspoon black pepper
- 1/2 teaspoon paprika
- 1/4 teaspoon garlic powder
Instructions
- Thoroughly blend the dry ingredients in a wide, shallow dish to create a seasoned coating for the chicken.
- Whisk the egg mixture until smooth and well-combined, ensuring complete protein coverage.
- Carefully dredge each chicken piece in the dry mixture, pressing firmly to create a thick, even layer of breading. Use a spoon to generously pack the seasoning around the entire surface, paying special attention to complete coverage and preventing any bare spots.
- Arrange the breaded chicken pieces on a prepared baking sheet, ensuring they are not touching each other to promote even crisping.
- Roast in a preheated oven, watching carefully for the first side to turn a rich golden brown, typically 12-17 minutes depending on the chicken’s thickness.
- Gently flip each piece using a thin, flexible spatula to maintain the crisp breading, continuing to cook until the internal temperature reaches safe consumption levels.
- Activate the broiler for a final 2-3 minute burst of heat, creating an extra-crispy, golden-brown exterior that highlights the garlic and parmesan seasonings.
- Remove from the oven and let the chicken rest for 3-5 minutes, allowing the juices to redistribute and the coating to set perfectly crisp.
Notes
- Pat chicken pieces dry before coating to ensure maximum crispiness and better breading adherence.
- Use a wire rack on the baking sheet for extra air circulation, helping achieve a crunchier exterior without soggy bottom.
- Grate fresh Parmesan cheese for more intense flavor compared to pre-grated varieties, which often contain anti-caking agents.
- For gluten-free version, replace all-purpose flour with almond flour or gluten-free breadcrumbs to maintain crispy texture.
- Add cayenne or smoked paprika to the dry mix for a subtle kick of heat and deeper flavor profile.
- Let chicken rest for 5 minutes after baking to help breading set and prevent falling off when serving.
- Check internal chicken temperature reaches 165°F for food safety, using a meat thermometer for precise cooking.
- Prep Time: 15 minutes
- Cook Time: 20-25 minutes
- Category: Dinner, Snacks
- Method: Baking
- Cuisine: American
Nutrition
- Serving Size: 2
- Calories: 200
- Sugar: 1 g
- Sodium: 450 mg
- Fat: 10 g
- Saturated Fat: 3 g
- Unsaturated Fat: 7 g
- Trans Fat: 0 g
- Carbohydrates: 8 g
- Fiber: 0 g
- Protein: 12 g
- Cholesterol: 150 mg
Angelina Wiles
Content Editor & Culinary Enthusiast
Expertise
Food Writing and Editing, Vegetarian and Vegan Cuisine, Baking and Pastry Arts, Sustainable Cooking Practices
Education
Portland Community College
Certificate in Culinary Arts
Focus: Emphasis on sustainable cooking practices, vegetarian cuisine, and food writing.
Oregon Culinary Institute
Diploma in Baking and Pastry Arts
Focus: Specialized training in artisanal baking, pastry techniques, and dessert presentation.
Angelina’s love for cooking started with handwritten family recipes and weekend trips to farmers’ markets around Portland. She followed her passion with a Certificate in Culinary Arts from Portland Community College, then perfected her sweet side with a Diploma in Baking and Pastry Arts at Oregon Culinary Institute.
Angelina believes recipes should feel like a conversation, not a science project. She’s all about helping readers trust themselves in the kitchen with simple steps, fresh ideas, and easy twists on classic meals.
When she’s not editing recipes, she’s baking bread, sipping coffee, or getting inspired by the changing seasons.