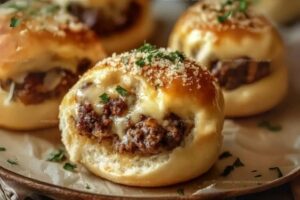
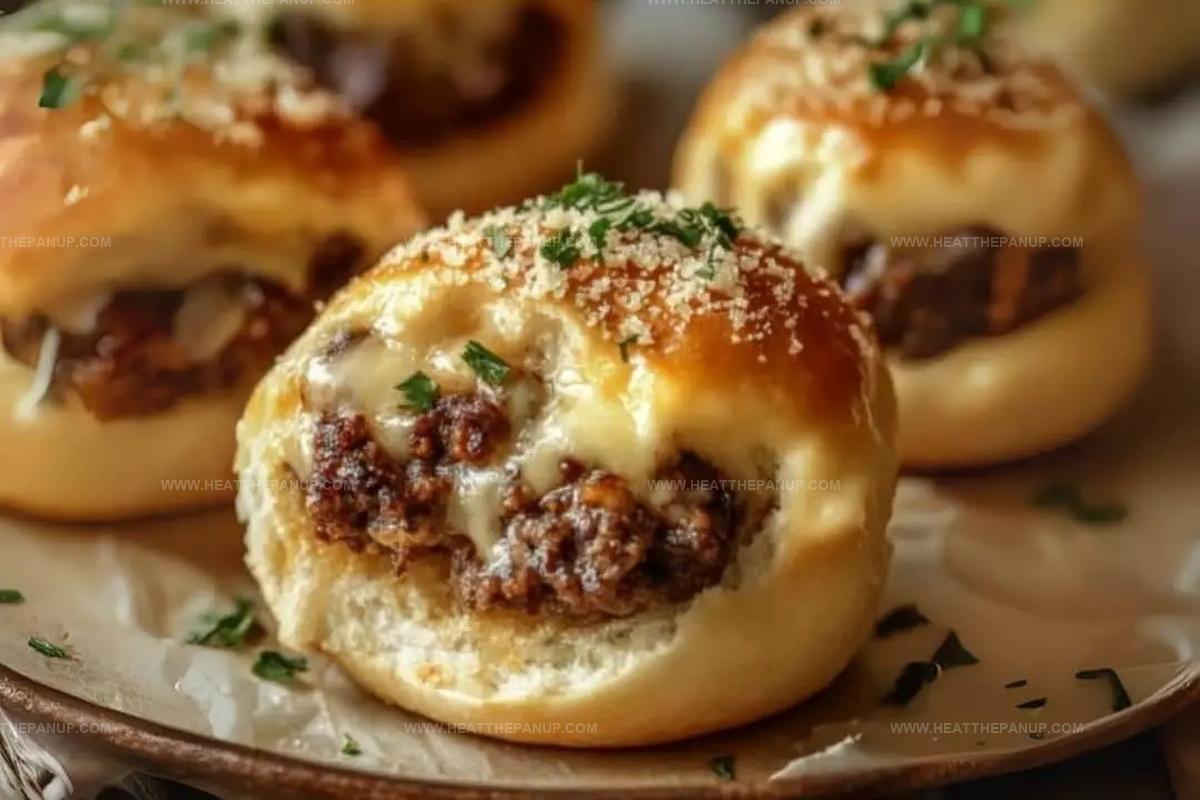
Sizzling Garlic Parmesan Cheeseburger Bombs Recipe for All Ages
Bursting with flavor, these garlic parmesan cheeseburger bombs pack a serious punch of deliciousness.
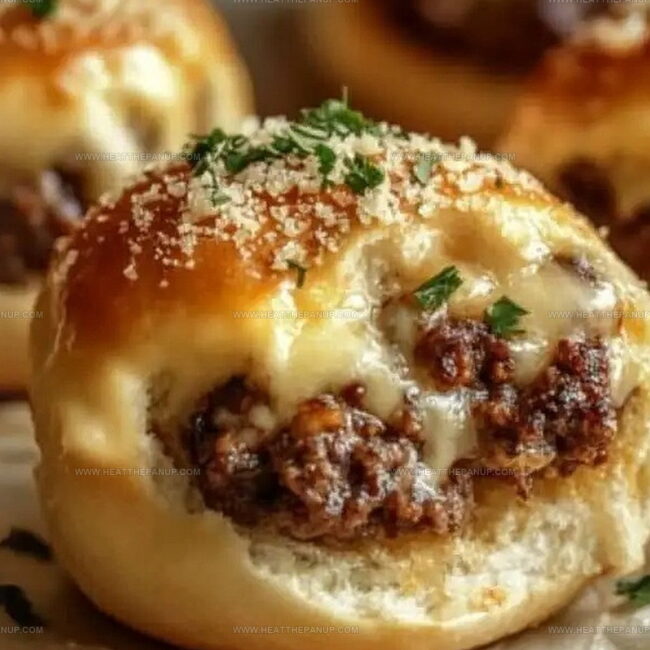
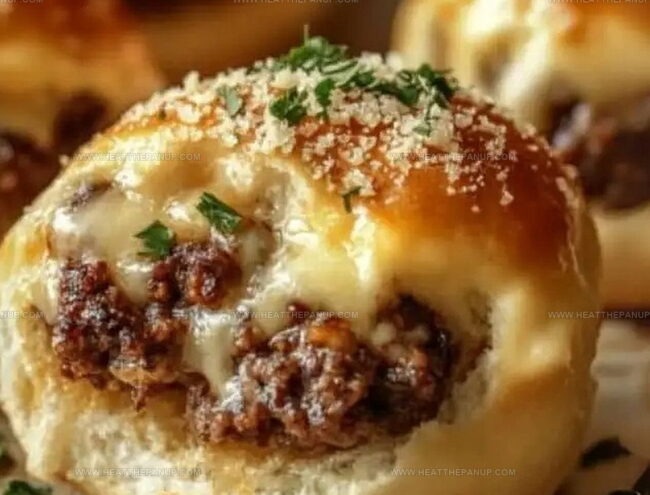
Melted cheese oozes from crispy golden exteriors, creating an irresistible bite that screams comfort food.
Imagine sinking your teeth into a perfectly seasoned burger morsel surrounded by a crunchy, cheesy shell.
Meat lovers will go crazy for this innovative twist on classic burger ingredients.
Each bomb delivers an explosion of savory goodness that makes snack time feel like a gourmet experience.
Quick to prepare and even faster to devour, these little flavor bombs are guaranteed to become your new favorite appetizer.
You won’t be able to stop at just one of these mouthwatering treats that combine all the best elements of a cheeseburger in one irresistible package.
Garlic Parmesan Cheeseburger Bombs Everyone Wants More Of
Cheeseburger Bombs (Garlic Parmesan) Ingredients
Base Ingredients:Cheese and Dairy Ingredients:Seasoning and Flavor Ingredients:Cheeseburger Bombs Assembly Directions
Step 1: Warm Up The Oven
Crank your oven to a toasty 375°F.
Grab a baking sheet and cover it with parchment paper for easy cleanup.
Step 2: Brown The Beef
Toss ground beef into a skillet over medium heat.
Cook until the meat turns a rich, appetizing brown.
Dump out any extra grease.
Step 3: Season The Meat
Sprinkle in these flavor boosters:Stir everything together and let the flavors mingle for 1-2 minutes.
Pull the skillet off the heat and let the mixture cool down slightly.
Step 4: Prepare The Dough Pouches
Take each biscuit dough round and gently flatten it into a 4-inch circle.
Spoon 1-2 tablespoons of beef mixture right in the center.
Toss a handful of shredded cheese on top.
Fold the dough over, creating a sealed ball.
Pinch the edges tight to prevent any filling from escaping.
Step 5: Arrange Dough Parcels
Place these yummy bundles seam-side down on the parchment-lined baking sheet.
Step 6: Create Flavor-Packed Topping
Mix together:Brush this magical mixture generously over each dough ball.
Step 7: Bake To Golden Perfection
Slide the baking sheet into the oven.
Bake for 15-18 minutes until the parcels turn a gorgeous golden brown.
Step 8: Serve And Enjoy
Sprinkle some chopped parsley on top.
Serve these hot and watch everyone’s eyes light up!
Melting Tricks for Garlic Cheeseburger Bombs
Cheeseburger Bombs Leftovers
Tasty Matches for Cheeseburger Bombs
Pair Perfectly with Garlic Parmesan Cheeseburger Bombs:Cheeseburger Bombs Savory Spins
FAQs
These bombs are a delicious treat but not considered a health food. They’re high in calories and contain processed ingredients like biscuit dough and cheese, so they’re best enjoyed in moderation as an occasional indulgence.
Yes, you can prepare the bombs in advance. Assemble them completely, then cover and refrigerate for up to 24 hours before baking. You can also freeze unbaked bombs for up to a month. Just add a few extra minutes to the baking time when cooking from frozen.
Choose ground beef with 80/20 lean-to-fat ratio for the most flavor. This ratio ensures the meat stays juicy and doesn’t dry out during cooking. Avoid extra-lean beef, which can become tough and less flavorful.
Absolutely! While the recipe calls for shredded cheese, you can experiment with cheddar, mozzarella, or pepper jack for different flavor profiles. Just make sure to use a cheese that melts well.
Print
Garlic Parmesan Cheeseburger Bombs Recipe
- Total Time: 30 minutes
- Yield: 8 1x
Description
Garlic parmesan cheeseburger bombs explode with savory goodness, wrapping juicy beef and melted cheese in a golden, crispy exterior. Comfort meets gourmet in this irresistible appetizer that promises to become your new favorite party pleaser.
Ingredients
Meat and Cheese:
- 1 pound (450 grams) ground beef
- 1 cup shredded cheddar cheese (or cubed cheese for gooey centers)
- 1/3 cup grated parmesan cheese
Seasonings and Aromatics:
- 1 small onion, finely diced
- 1 teaspoon garlic powder
- 1/2 teaspoon salt
- 1/4 teaspoon black pepper
- 1 teaspoon Worcestershire sauce
Dough and Topping:
- 1 can (16 ounces) refrigerated biscuit dough (8 biscuits)
- 3 tablespoons unsalted butter, melted
- 1 teaspoon garlic powder
- 1 tablespoon fresh parsley, finely chopped (optional, for garnish)
Instructions
- Heat a skillet over medium temperature and sauté ground beef with diced onions until meat turns completely brown and onions become translucent. Eliminate excess fat from the pan.
- Enhance the meat mixture with garlic powder, Worcestershire sauce, salt, and pepper. Allow the blend to cool momentarily while maintaining its warmth.
- Activate the oven to 375°F and prepare a parchment-lined baking sheet. Gently flatten each refrigerated biscuit into a circular shape approximately 4 inches wide.
- Distribute a generous spoonful of seasoned beef at the center of each dough circle. Position a cheese cube or sprinkle shredded cheese directly atop the meat filling.
- Carefully encase the filling by folding dough edges inward, meticulously sealing the perimeter to prevent leakage. Position each bomb seam-side downward on the prepared baking sheet.
- Craft a butter glaze by combining melted butter with garlic powder. Liberally brush the exterior of each bomb with the aromatic mixture.
- Generously dust the bombs with grated parmesan cheese, ensuring complete coverage for maximum flavor development.
- Transfer the baking sheet to the preheated oven and roast for 12-15 minutes until the biscuit exterior achieves a rich golden-brown complexion.
- Remove from oven and permit bombs to rest for 5 minutes, allowing internal temperatures to stabilize. Optional: Garnish with freshly chopped parsley.
- Serve immediately alongside preferred dipping sauces such as ketchup, ranch, or aioli for an enhanced culinary experience.
Notes
- Customize meat for dietary needs by swapping ground beef with ground turkey, chicken, or plant-based alternatives for a leaner or vegetarian version.
- Seal edges completely to prevent cheese leakage, using a fork to crimp edges or pinching tightly with fingers for a secure closure.
- Experiment with cheese varieties like cheddar, mozzarella, or pepper jack to create different flavor profiles and add exciting taste dimensions.
- Prepare ahead by assembling bombs and refrigerating before baking, which allows flavors to meld and makes meal prep more convenient for busy schedules.
- Prep Time: 15 minutes
- Cook Time: 15 minutes
- Category: Lunch, Dinner, Snacks
- Method: Baking
- Cuisine: American
Nutrition
- Serving Size: 8
- Calories: 380
- Sugar: 1 g
- Sodium: 870 mg
- Fat: 25 g
- Saturated Fat: 11 g
- Unsaturated Fat: 12 g
- Trans Fat: 0 g
- Carbohydrates: 24 g
- Fiber: 1 g
- Protein: 16 g
- Cholesterol: 70 mg


Angelina Wiles
Content Editor & Culinary Enthusiast
Expertise
Food Writing and Editing, Vegetarian and Vegan Cuisine, Baking and Pastry Arts, Sustainable Cooking Practices
Education
Portland Community College
Certificate in Culinary Arts
Focus: Emphasis on sustainable cooking practices, vegetarian cuisine, and food writing.
Oregon Culinary Institute
Diploma in Baking and Pastry Arts
Focus: Specialized training in artisanal baking, pastry techniques, and dessert presentation.
Angelina’s love for cooking started with handwritten family recipes and weekend trips to farmers’ markets around Portland. She followed her passion with a Certificate in Culinary Arts from Portland Community College, then perfected her sweet side with a Diploma in Baking and Pastry Arts at Oregon Culinary Institute.
Angelina believes recipes should feel like a conversation, not a science project. She’s all about helping readers trust themselves in the kitchen with simple steps, fresh ideas, and easy twists on classic meals.
When she’s not editing recipes, she’s baking bread, sipping coffee, or getting inspired by the changing seasons.