Zesty Garlic Dill Pickles Recipe for Homemade Crunch
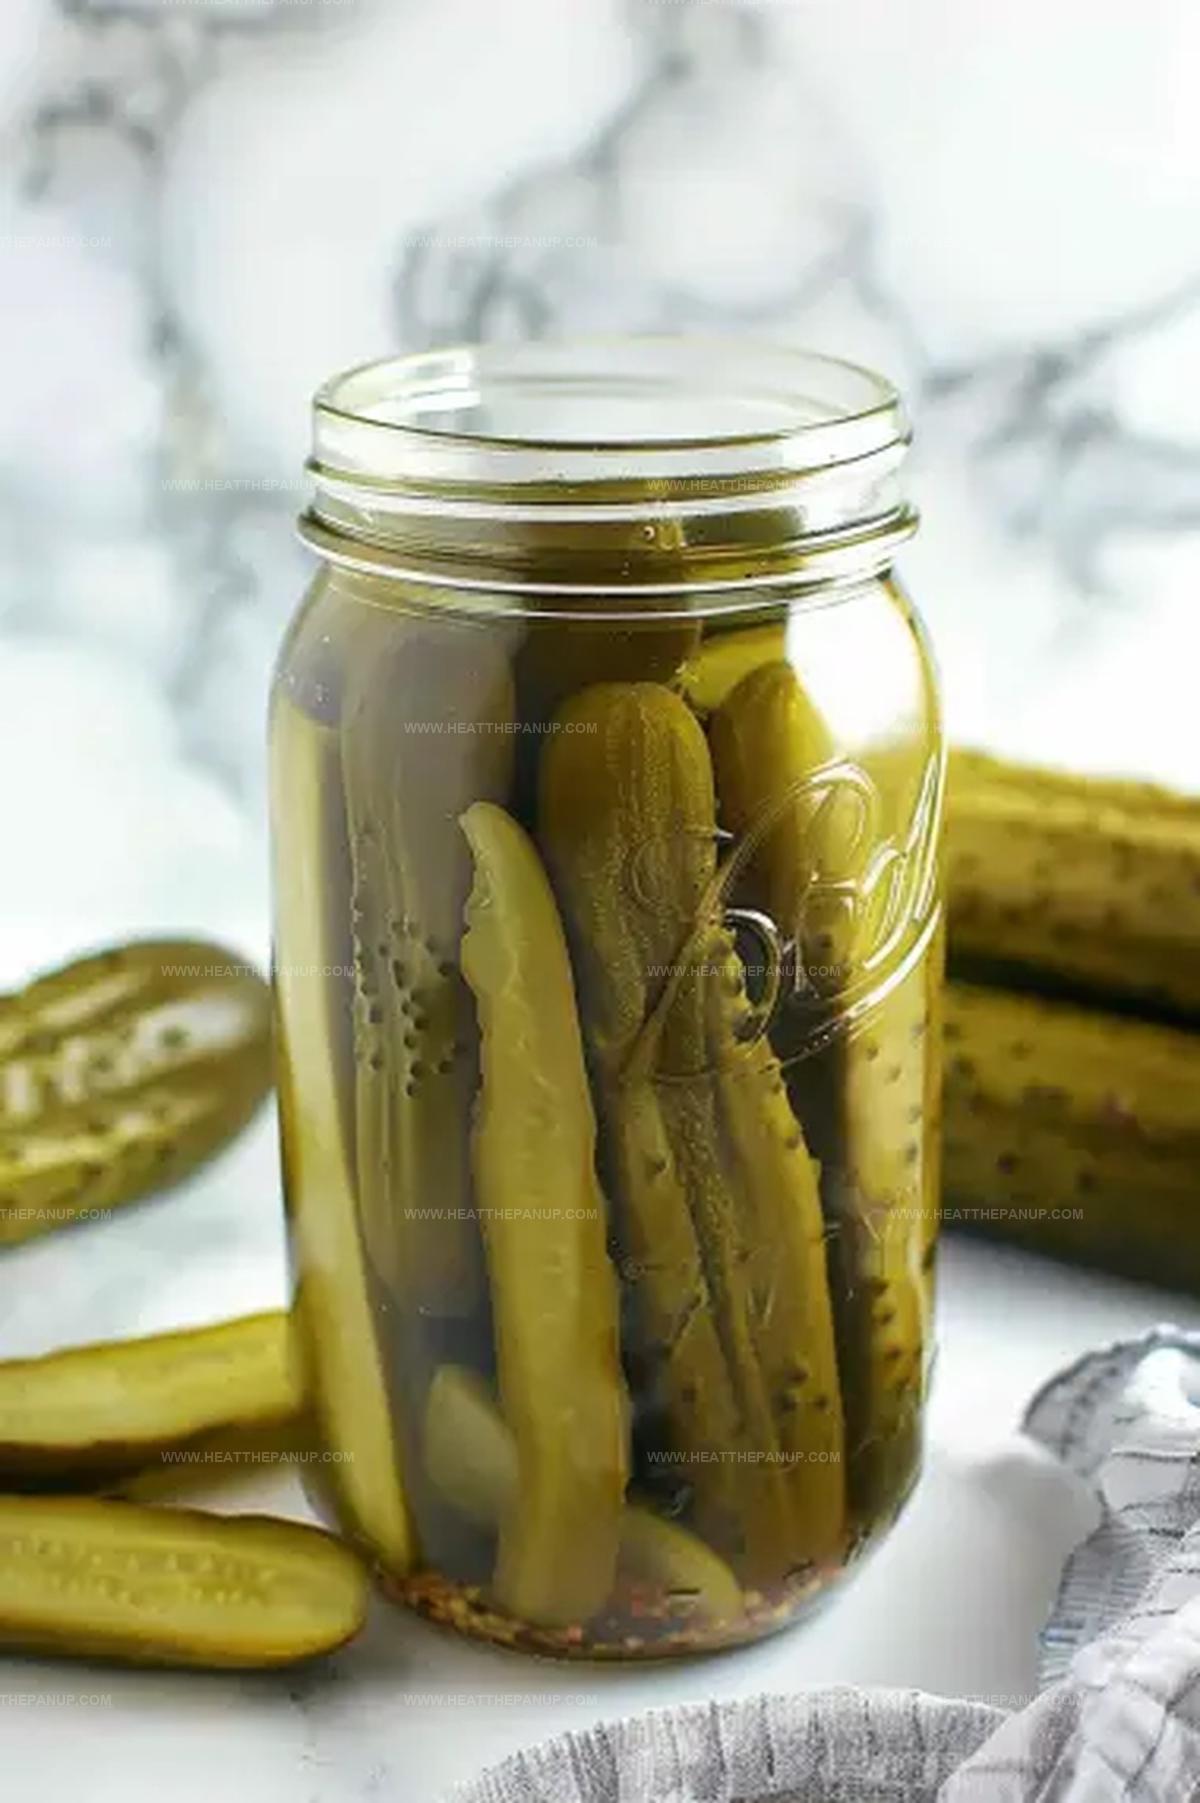
Crisp and tangy homemade garlic dill pickles spark memories of summer afternoons in grandma’s kitchen.
Cucumbers harvested from local gardens become magical when combined with simple ingredients.
Sharp garlic and fragrant dill create a perfect pickle harmony.
Salt and vinegar work their transformative magic on fresh vegetables.
These quick pickles deliver satisfying crunch with minimal effort.
Each bite promises a burst of zesty flavor that connects you to traditional preservation techniques.
You can master this recipe in less than an hour and impress everyone with your culinary skills.
What Makes Garlic Dill Pickles Pop

Garlic Dill Pickles Pantry Ingredients
Main Ingredients:Aromatics and Seasonings:Optional Preparation Components:Garlic Dill Pickles Recipe Directions
Step 1: Prepare Cucumber Spears
Rinse the cucumbers under cool water, scrubbing gently to remove any dirt. Trim the ends and slice the cucumbers into long, uniform spears or round chips depending on your preference. Keep the pieces roughly the same size for even pickling.
Step 2: Create Zesty Pickling Liquid
Grab a medium saucepan and combine:Heat the mixture until it reaches a rolling boil, stirring occasionally to help the salt completely dissolve. The liquid should look clear and have a sharp, tangy aroma.
Step 3: Build Flavor Layers
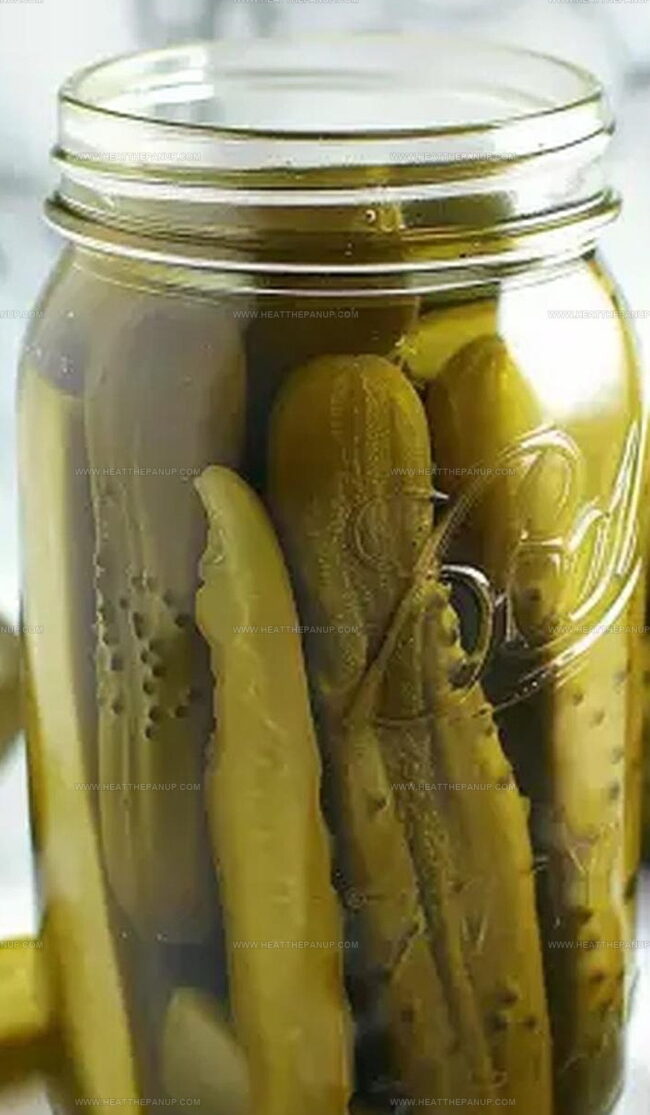
Select a clean, sterilized glass jar. Create a delicious flavor base by adding:Carefully arrange the cucumber spears standing upright or lying flat, nestling them between the aromatic ingredients.
Step 4: Pour Hot Brine
Carefully pour the hot vinegar mixture over the cucumbers, ensuring every piece is completely covered. Leave a small space at the top of the jar to allow for expansion.
Step 5: Cool and Seal
Let the jar sit at room temperature until it cools down completely. Secure the lid tightly and transfer to the refrigerator.
Step 6: Let Flavors Develop
Allow the pickles to marinate in the refrigerator for at least 48 hours. This resting period lets the spices and brine infuse the cucumbers with amazing tangy, garlicky goodness. The pickles will become crunchier and more flavorful with time.
Pickling Tips for Garlic Dill Cucumbers
Garlic Dill Pickles: How To Store Them Right
Dill Pickles What Goes Well With
Pickling Mix Alternatives
FAQs
Yes, you can use Kirby, Persian, or English cucumbers. Avoid using waxed cucumbers as they won’t absorb the brine properly.
These homemade pickles will stay crisp and flavorful for about 2-3 months when stored in an airtight jar in the refrigerator.
Fresh dill is recommended for the best flavor and texture. Dried dill can be used, but it won’t provide the same vibrant taste and aroma as fresh dill.
Absolutely! You can increase or decrease the red pepper flakes to suit your personal spice preference. Start with a small amount and add more if you want more heat.
Print
Garlic Dill Pickles Recipe
- Total Time: 15 minutes (excluding pickling time)
- Yield: 4 1x
Description
Crisp, tangy garlic dill pickles bring summer garden flavors straight to your plate. Homemade pickles deliver a zesty crunch that elevates sandwiches, charcuterie boards, and snack time with minimal effort and maximum flavor.
Ingredients
Main Ingredients:
- 1.5 lbs (680 grams) cucumber, fresh and crisp
- 4 garlic cloves, smashed
Flavoring Ingredients:
- 1 teaspoon dried dill
- 1/2 teaspoon red pepper flakes (optional)
Liquid and Seasoning Ingredients:
- 1 cup apple cider vinegar
- 1 cup water
- 1.5 tablespoons sea salt
Instructions
- Rinse and trim cucumbers, cutting them into uniform spears or crisp rounds for optimal pickling.
- Craft a robust brine by heating apple cider vinegar with water and sea salt in a saucepan, stirring until the salt dissolves completely and the liquid reaches a rolling boil.
- Prepare a sterilized glass jar by creating layers of cucumber pieces alternating with aromatic elements like crushed garlic cloves, fragrant dill sprigs, and fiery red pepper flakes.
- Carefully pour the piping hot vinegar mixture over the layered cucumbers, ensuring every piece is fully submerged in the liquid to guarantee proper preservation.
- Secure the jar’s lid tightly, allowing the contents to cool naturally at room temperature without disturbance.
- Transfer the sealed jar to the refrigerator, enabling the flavors to meld and intensify over the next two days.
- After 48 hours, the pickles will have developed a perfect balance of tangy, herbal, and spicy notes, ready to be enjoyed as a zesty accompaniment or standalone snack.
Notes
- Choose crisp, firm cucumbers like Kirby or Persian varieties for the best pickle texture and crunch.
- Slice cucumbers uniformly to ensure even pickling and consistent flavor absorption throughout each piece.
- Experiment with additional spices like mustard seeds or black peppercorns to customize the pickle’s flavor profile.
- For a low-sodium version, reduce salt content or use a salt substitute while maintaining the essential pickling process.
- Prep Time: 15 minutes
- Cook Time: 0 minutes
- Category: Snacks, Appetizer
- Method: Pickling
- Cuisine: American
Nutrition
- Serving Size: 4
- Calories: 10
- Sugar: 0g
- Sodium: 2800mg
- Fat: 0g
- Saturated Fat: 0g
- Unsaturated Fat: 0g
- Trans Fat: 0g
- Carbohydrates: 2g
- Fiber: 1g
- Protein: 1g
- Cholesterol: 0mg
James Hambly
Founder & Recipe Creator
Expertise
Recipe Development, Culinary Education, Farm-to-Table Cooking, Southern Cuisine
Education
Asheville-Buncombe Technical Community College
Certificate in Culinary Arts
Focus: Hands-on training in professional cooking techniques, emphasizing farm-to-table practices and Southern cuisine.
The Chef’s Academy
Associate Degree in Culinary Arts
Focus: Comprehensive culinary education covering global cuisines, kitchen management, and food safety.
James grew up surrounded by the smells of cast-iron skillets and slow-cooked Southern meals in Asheville, North Carolina.
He sharpened his skills with a Certificate in Culinary Arts from Asheville-Buncombe Technical Community College, and later leveled up with an Associate Degree from The Chef’s Academy.
James’s philosophy is simple: the best meals don’t need fancy tricks, just fresh ingredients, a hot pan, and a little bit of heart. His favorite days are spent testing one-pan wonders, chasing bold flavors, and creating recipes that feel easy, even on a busy night.