
Spooky Embalming Fluid Cocktail Recipe: A Haunting Sip
Wild nights call for unexpected cocktails, and this embalming fluid cocktail delivers shock and surprise in one electrifying glass.
Medical professionals might raise eyebrows, but adventurous drinkers understand pure liquid excitement.
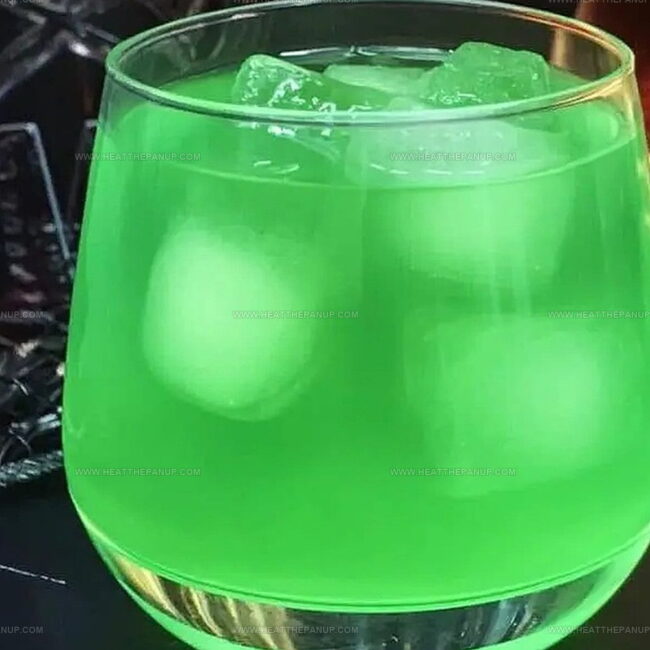
Mixed spirits create an electric blue concoction that challenges conventional beverage boundaries.
Neon colors hint at mysterious ingredients waiting to unleash serious party potential.
Chemical-inspired presentations guarantee conversation starters among cocktail enthusiasts.
Strange name aside, each sip promises an unforgettable drinking experience that pushes traditional mixology limits.
Dare you challenge your taste buds with this unconventional drink?
Embalming Fluid Cocktail and the Spooky Sip Worth Trying
Embalming Fluid Cocktail Ingredients
Liquor Base:Liqueur and Mixer:Finishing Elements:Cocktail Mix Instructions
Step 1: Chill The Cocktail Shaker
Grab your cocktail shaker and fill it completely with ice cubes to create a frosty base for your drink.
Step 2: Combine Liquor Lineup
Pour these spirits into the shaker:Step 3: Shake With Intensity
Seal the shaker tightly and shake vigorously for about 15-20 seconds.
The goal is to blend the flavors and create a super cold mixture.
Step 4: Prepare The Glass
Select a highball or hurricane glass and fill it with fresh ice cubes to keep your drink chilled.
Step 5: Pour And Strain
Carefully strain the mixed cocktail from the shaker into the prepared glass, ensuring no ice chunks slip through.
Step 6: Add Bubbly Excitement
Top the drink with a splash of lemon-lime soda to introduce a light, fizzy element that makes the cocktail dance.
Step 7: Create Visual Drama
Garnish the glass with a citrus wedge – choose between a zesty lemon or tangy lime – to add a final spooky and fresh touch.
Step 8: Serve Immediately
Present the Embalming Fluid Cocktail right away and watch your guests get excited about this unique drink.
Cocktail Tips for Embalming Fluid Mix
Embalming Fluid Cocktail Tips
Snacks and Sips With Embalming Fluid Cocktail
Embalming Fluid Cocktail Unique Mixes
FAQs
The name is a Halloween-themed cocktail reference that sounds edgy and plays on a spooky concept, creating a fun and dramatic drink name that catches people’s attention.
Yes, it contains multiple spirits like vodka, gin, rum, and liqueurs, making it a potent mixed drink with a high alcohol content that packs a significant punch.
You can swap Midori for another melon liqueur, use a different sour mix, or replace triple sec with another orange-flavored liqueur if needed, but try to keep the basic spirit proportions similar.
A highball or hurricane glass is recommended to accommodate the multiple ingredients and provide enough space for ice and the splash of lemon-lime soda, ensuring the drink stays cold and looks visually appealing.
Print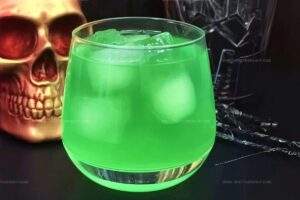
Embalming Fluid Cocktail Recipe
- Total Time: 5 minutes
- Yield: 1 1x
Description
Mysterious mixology meets macabre mixers in this Embalming Fluid cocktail, delivering a shocking twist to traditional bar fare. Bartenders seeking edge will love this provocative blend that challenges standard drink expectations while delighting adventurous palates.
Ingredients
Main Spirits:
- 1 ounce (30 milliliters) vodka
- 1 ounce (30 milliliters) gin
- 1 ounce (30 milliliters) rum
- 1 ounce (30 milliliters) triple sec
Mixers and Juices:
- 2 ounces (60 milliliters) pineapple juice
- 2 ounces (60 milliliters) sweet and sour mix
- Splash of blue curacao
Garnishes:
- Ice
- Lime wedges
- Maraschino cherries (optional)
Instructions
- Chill a cocktail shaker by filling it with ice cubes, creating a frosty base for mixing the potent libation.
- Pour vodka, gin, rum, and triple sec into the shaker, creating a robust foundation of spirits that will deliver a powerful punch.
- Add pineapple juice and sweet and sour mix to balance the alcoholic intensity with a tropical and tangy profile.
- Seal the shaker tightly and vigorously shake the contents for 15-20 seconds, ensuring the ingredients are thoroughly combined and uniformly chilled.
- Prepare a serving glass by filling it with fresh ice, creating a cool receptacle for the soon-to-be-poured cocktail.
- Strain the mixed liquid from the shaker into the prepared glass, allowing a smooth and clean pour that separates the drink from any small ice fragments.
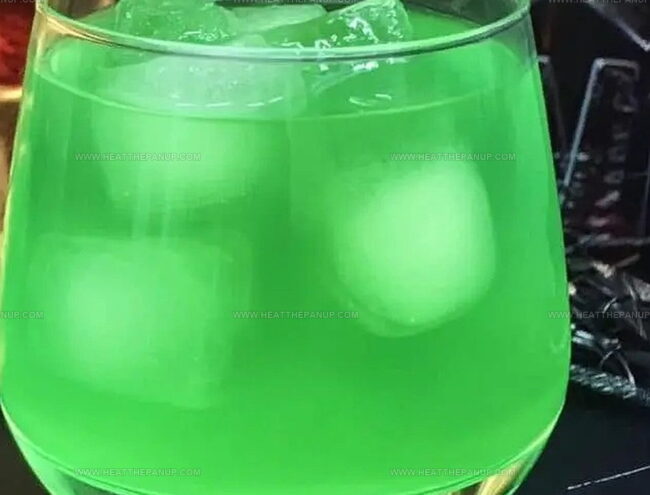
- Introduce a splash of blue curaçao, which will transform the liquid’s appearance into a mesmerizing greenish-blue hue reminiscent of laboratory fluid.
- Embellish the drink with a vibrant lime wedge perched on the glass rim and optionally scatter a few maraschino cherries for additional visual and flavor complexity.
- Serve immediately, presenting a visually striking and potent cocktail that promises an adventurous drinking experience.
Notes
- Balance the alcohol carefully to avoid overpowering the cocktail’s delicate flavor profile.
- Use high-quality, clear spirits to maintain the signature bright green color and clean taste.
- Consider swapping alcohol for mocktail version with non-alcoholic spirits or additional fruit juices for designated drivers or non-drinkers.
- Chill glasses beforehand to keep the cocktail extra cool and refreshing, enhancing overall drinking experience.
- Prep Time: 5 minutes
- Cook Time: 0 minutes
- Category: Cocktails
- Method: Shaking
- Cuisine: American
Nutrition
- Serving Size: 1
- Calories: 300
- Sugar: 20 g
- Sodium: 10 mg
- Fat: 0 g
- Saturated Fat: 0 g
- Unsaturated Fat: 0 g
- Trans Fat: 0 g
- Carbohydrates: 30 g
- Fiber: 0 g
- Protein: 1 g
- Cholesterol: 0 mg
Angelina Wiles
Content Editor & Culinary Enthusiast
Expertise
Food Writing and Editing, Vegetarian and Vegan Cuisine, Baking and Pastry Arts, Sustainable Cooking Practices
Education
Portland Community College
Certificate in Culinary Arts
Focus: Emphasis on sustainable cooking practices, vegetarian cuisine, and food writing.
Oregon Culinary Institute
Diploma in Baking and Pastry Arts
Focus: Specialized training in artisanal baking, pastry techniques, and dessert presentation.
Angelina’s love for cooking started with handwritten family recipes and weekend trips to farmers’ markets around Portland. She followed her passion with a Certificate in Culinary Arts from Portland Community College, then perfected her sweet side with a Diploma in Baking and Pastry Arts at Oregon Culinary Institute.
Angelina believes recipes should feel like a conversation, not a science project. She’s all about helping readers trust themselves in the kitchen with simple steps, fresh ideas, and easy twists on classic meals.
When she’s not editing recipes, she’s baking bread, sipping coffee, or getting inspired by the changing seasons.