Sweet & Tangy 3-Ingredient Orange Candy Recipe Everyone Will Love
Sweet citrus lovers, this easy 3-ingredient orange candy recipe might just become your new favorite kitchen adventure.
Zesty oranges bring magic to simple confectionery crafting.
Homemade treats always taste better when you create them with minimal ingredients.
Minimal effort combines with maximum flavor in this delightful sweet creation.
Professional chefs understand that simplicity often delivers the most spectacular results.
Minimal kitchen skills work perfectly for crafting these bright, tangy candies.
You can whip up this delectable treat in less than thirty minutes and impress everyone with your culinary prowess.
Orange Candy With Just 3 Ingredients That’s Bright and Sweet
Ingredients for 3-Ingredient Orange Candy
Fruit Base:Making 3-Ingredient Orange Candy Quickly
Step 1: Whisk Fresh Ingredients
Grab a medium saucepan and combine these tasty components:Blend everything together until the sugar and cornstarch completely dissolve into the vibrant orange liquid.
Step 2: Transform Liquid into Candy
Place the saucepan on medium heat.
Stir the mixture constantly to prevent any stubborn lumps from forming.
Watch the liquid transform and thicken over 5-7 minutes.
You’ll notice the mixture becoming glossy and syrup-like, signaling it’s ready for the next stage.
Step 3: Pour and Shape
Remove the saucepan from the heat.
Let the mixture cool slightly for a few moments.
Carefully pour the warm candy mixture into a lightly greased rectangular tray or silicone mold.
Make sure the surface is even and smooth.
Step 4: Solidify and Chill
Allow the candy to rest at room temperature for about 30 minutes.
This helps it start setting.
Then transfer the tray to the refrigerator and let it chill for 1-2 hours until completely firm and solid.
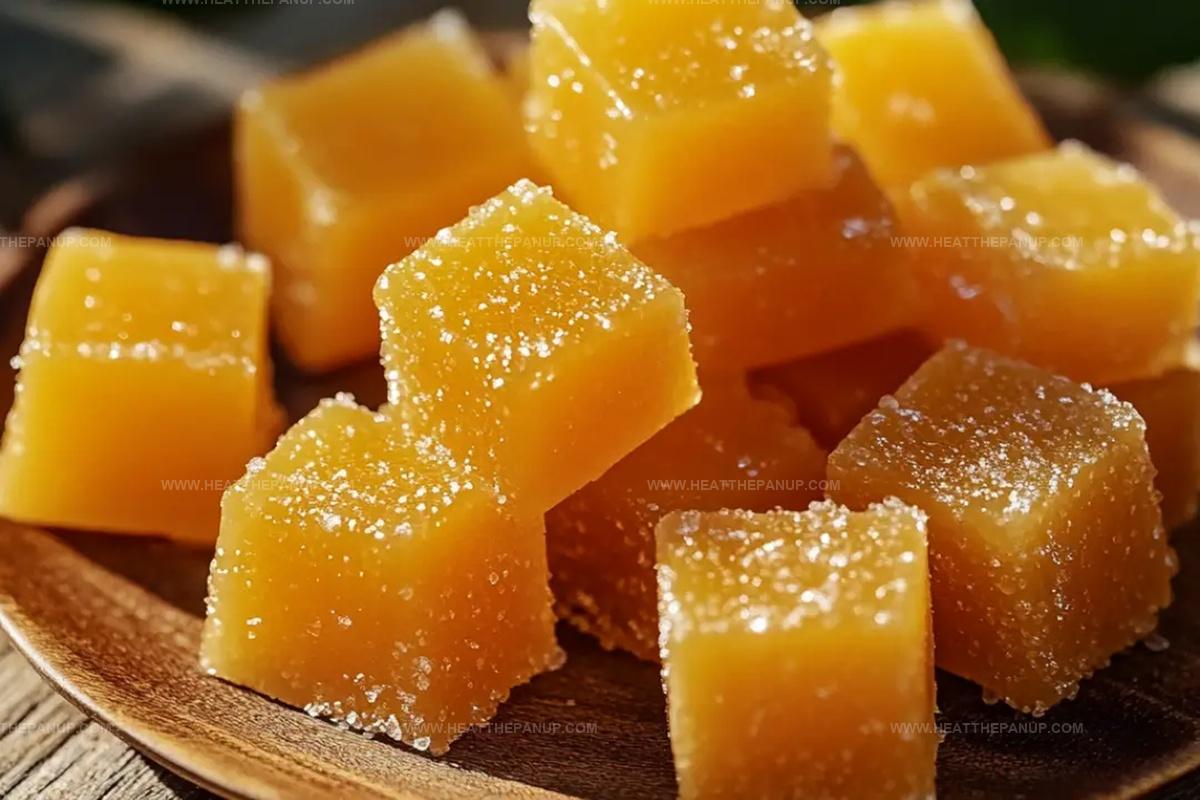
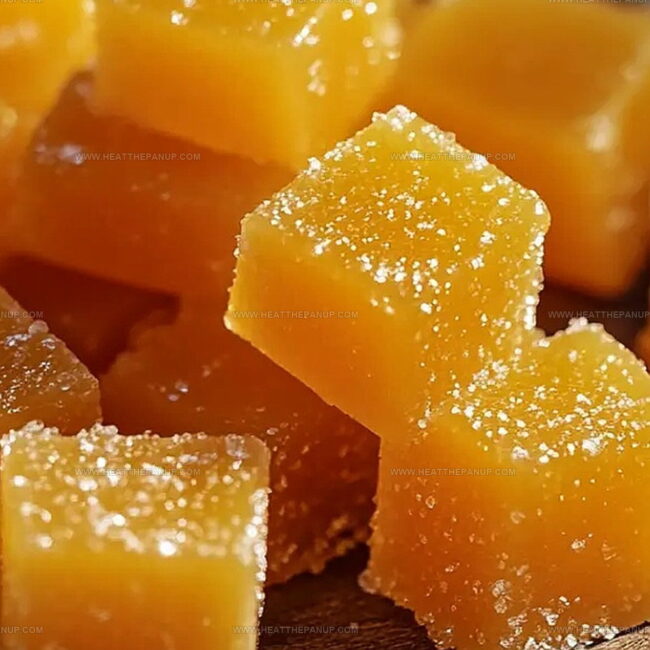
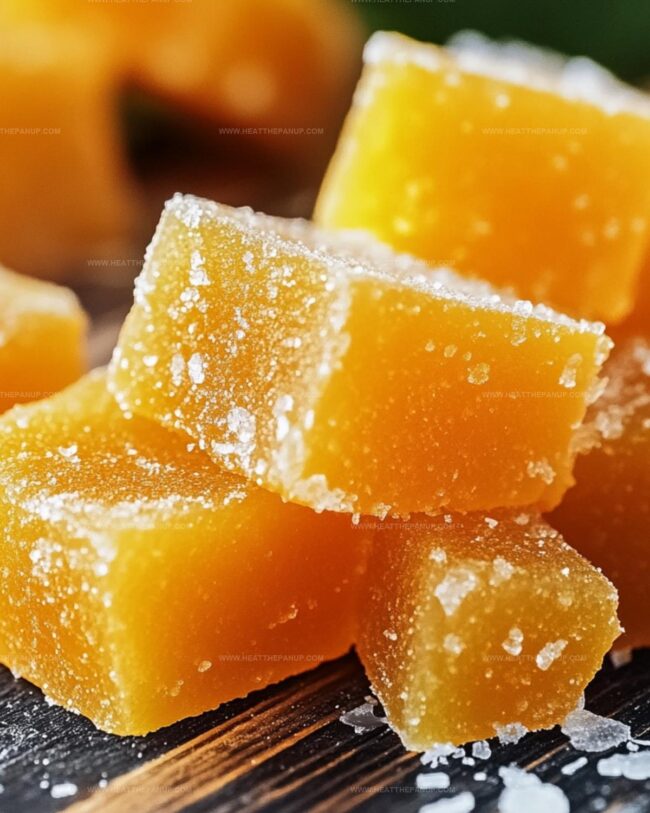
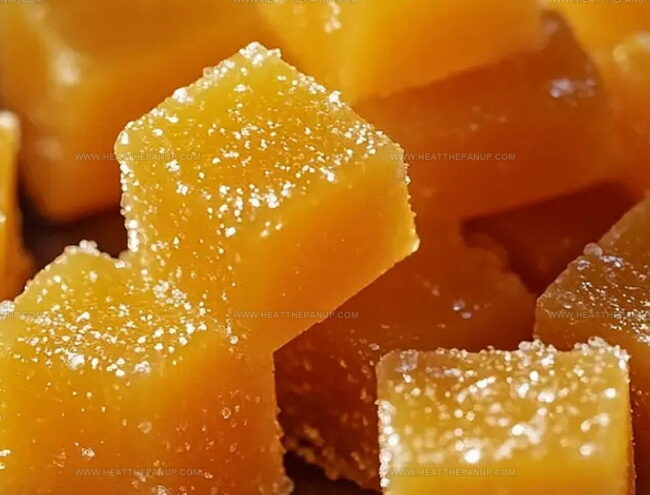
Step 5: Cut and Celebrate
Once the candy is fully set, slice it into small bite-sized squares.
If using a silicone mold, gently pop out the candies.
Your zesty, sweet orange treats are ready to enjoy!
Candy Making Made Easy: Orange Treat Tips in 3 Steps
How to Store Orange Candy
Orange Candy Serving Ideas
Orange Candy with Sweet Flavor Variants
FAQs
Fresh orange juice provides the best flavor, but bottled juice works as a convenient alternative. Just ensure it’s 100% pure orange juice without added sugars.
When stored in an airtight container in the refrigerator, these candies can keep for about 1-2 weeks. Keep them away from direct heat and moisture.
Yes, cornstarch is crucial as it helps thicken the mixture and gives the candy its chewy texture. Without it, the candy won’t set properly and will remain liquid.
Sugar is essential for creating the candy’s structure and sweetness. While alternative sweeteners might work, they could significantly change the texture and final result.
Print
Easy 3-Ingredient Orange Candy Recipe
- Total Time: 15 minutes
- Yield: 4 1x
Description
Sweet citrus magic comes alive in this simple Orange Candy recipe, bringing zesty sunshine to your kitchen. Minimal ingredients and quick preparation ensure delightful homemade treats you’ll savor with pure culinary joy.
Ingredients
Main Ingredients:
- 1 cup fresh orange juice (from about 2 large oranges)
- 1/2 cup sugar
Thickening Agent:
- 2 tablespoons cornstarch
Instructions
- Whisk freshly squeezed orange juice with granulated sugar and cornstarch in a heavy-bottomed saucepan, ensuring all ingredients blend smoothly without any dry powder clumps.
- Position the saucepan over medium heat, stirring constantly as the mixture gradually warms and transforms from liquid to a slightly thickening syrup.
- Continue cooking and stirring, watching the consistency evolve from watery to a glossy, dense texture that coats the back of a spoon, which typically takes 6-8 minutes.
- Once the mixture reaches a jam-like thickness and develops a translucent sheen, immediately remove from heat to prevent scorching.
- Carefully transfer the molten liquid into a lightly greased rectangular pan or silicone mold, tilting gently to create an even surface.
- Allow the candy to rest at ambient temperature for approximately 40 minutes, permitting natural cooling and initial setting.
- Transfer the pan to the refrigerator and chill for 1-2 hours until the candy achieves a firm, sliceable consistency.
- Extract the candy from the mold and slice into bite-sized cubes or geometric shapes using a sharp knife.
- Store the orange candies in an airtight container, separating layers with parchment paper to prevent sticking.
Notes
- Select fresh, high-quality oranges to maximize flavor intensity and natural sweetness in your candy.
- Experiment with different citrus varieties like tangerines or blood oranges for unique taste variations.
- Prevent sugar crystallization by stirring consistently and maintaining steady medium heat during cooking process.
- Use a non-stick saucepan or well-greased surface to ensure easy candy removal and smooth texture.
- Prep Time: 5 minutes
- Cook Time: 10 minutes
- Category: Snacks, Desserts
- Method: Simmering
- Cuisine: American
Nutrition
- Serving Size: 4
- Calories: 170
- Sugar: 25 g
- Sodium: 5 mg
- Fat: 0 g
- Saturated Fat: 0 g
- Unsaturated Fat: 0 g
- Trans Fat: 0 g
- Carbohydrates: 42 g
- Fiber: 0 g
- Protein: 1 g
- Cholesterol: 0 mg
Angelina Wiles
Content Editor & Culinary Enthusiast
Expertise
Food Writing and Editing, Vegetarian and Vegan Cuisine, Baking and Pastry Arts, Sustainable Cooking Practices
Education
Portland Community College
Certificate in Culinary Arts
Focus: Emphasis on sustainable cooking practices, vegetarian cuisine, and food writing.
Oregon Culinary Institute
Diploma in Baking and Pastry Arts
Focus: Specialized training in artisanal baking, pastry techniques, and dessert presentation.
Angelina’s love for cooking started with handwritten family recipes and weekend trips to farmers’ markets around Portland. She followed her passion with a Certificate in Culinary Arts from Portland Community College, then perfected her sweet side with a Diploma in Baking and Pastry Arts at Oregon Culinary Institute.
Angelina believes recipes should feel like a conversation, not a science project. She’s all about helping readers trust themselves in the kitchen with simple steps, fresh ideas, and easy twists on classic meals.
When she’s not editing recipes, she’s baking bread, sipping coffee, or getting inspired by the changing seasons.