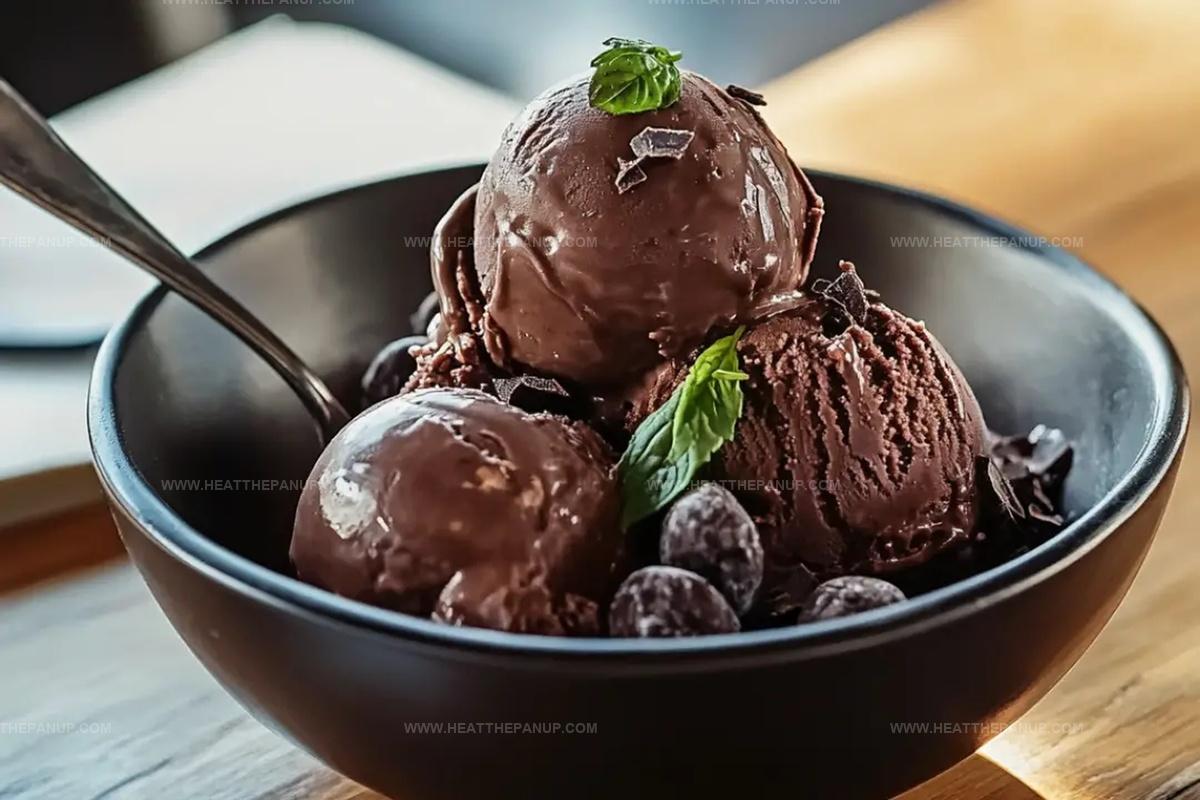
The Dreamiest Double Chocolate Ice Cream Recipe Ever
Crafting a delectable double chocolate ice cream always feels like pure magic in my kitchen.
Sweet cocoa aromas swirl through every mixing moment.
Chocolate lovers understand the deep satisfaction of rich, creamy desserts that melt perfectly on the tongue.
Cold ingredients blend smoothly into a luscious base that promises intense flavor.
Each scoop delivers decadent chocolate layers that dance across your palate.
Homemade frozen treats connect us with childhood memories and comfort.
We can create something extraordinary with simple ingredients and a passion for deliciousness.
Chill those bowls and get ready to experience chocolate bliss like never before!
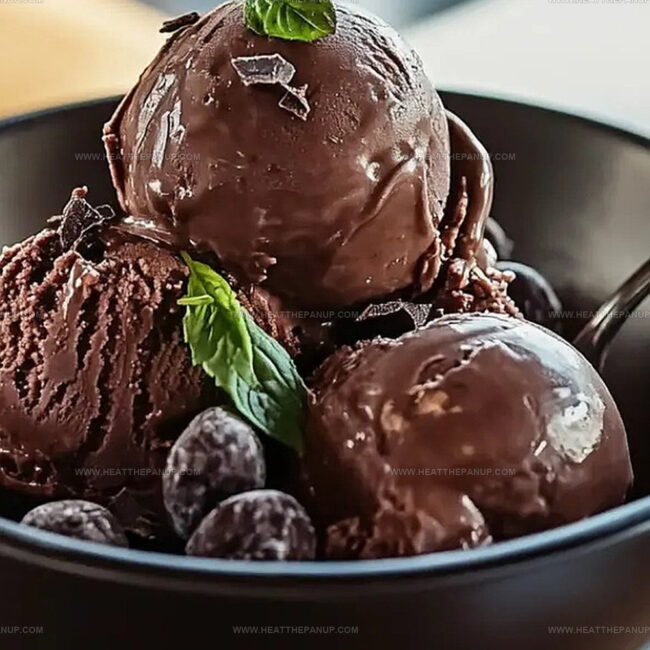
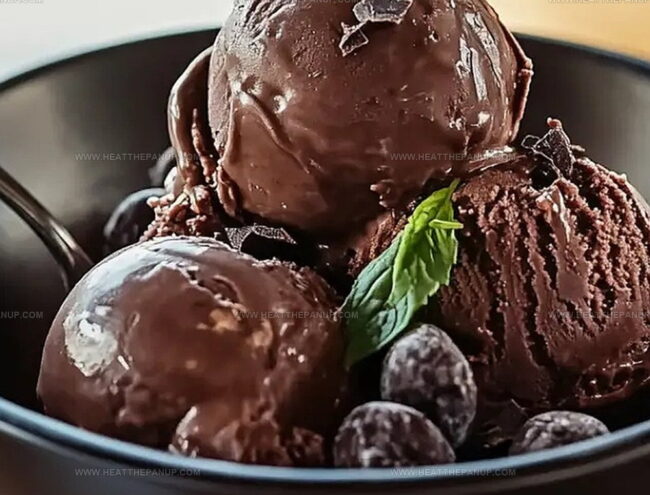
Double Chocolate Ice Cream That’s Deep, Creamy, And Decadent
Double Chocolate Ice Cream Ingredient List
Dairy Base:Chocolate Elements:Flavor Enhancers:Homemade Double Chocolate Ice Cream Steps
Step 1: Blend Chocolate Base
Grab a medium saucepan and whisk together rich ingredients that will create a luxurious chocolate foundation.
Combine:Whisk until all ingredients are smoothly incorporated and no lumps remain.
Step 2: Heat and Develop Flavors
Place the saucepan over medium heat and stir continuously.
Keep whisking the mixture to prevent scorching and ensure even heating.
Watch for the mixture to start bubbling and transform into a silky chocolate liquid.
Step 3: Add Aromatic Vanilla
Remove the saucepan from heat immediately after boiling.
Pour in pure vanilla extract and stir gently, allowing the vanilla to infuse its warm, sweet essence into the chocolate base.
Step 4: Chill and Rest
Let the chocolate mixture cool completely at room temperature.
Once cooled, transfer to the refrigerator and allow it to chill for at least two hours.
This resting period helps intensify the flavors and prepares the base for churning.
Step 5: Churn Into Creamy Goodness
Pour the chilled chocolate mixture into an ice cream maker.
Follow the machine’s specific churning instructions, typically running for 20-25 minutes until the mixture transforms into a soft, velvety texture.
Step 6: Sprinkle Chocolate Surprise
During the final minutes of churning, generously add chocolate chips.
These will create delightful chocolatey bursts throughout the ice cream.
Step 7: Freeze and Solidify
Transfer the freshly churned ice cream into an airtight container.
Place in the freezer and allow it to firm up for a minimum of four hours, or ideally overnight.
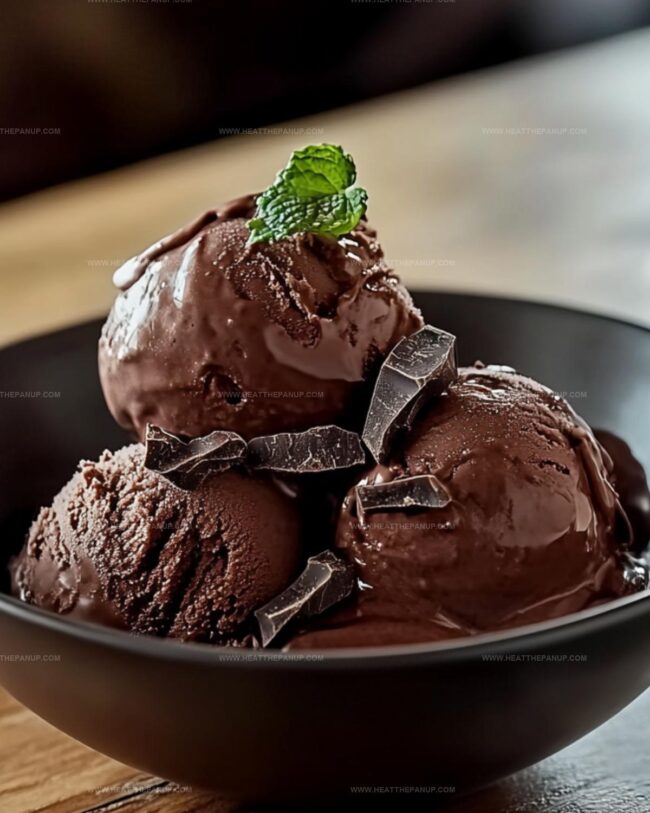
Step 8: Scoop and Savor
Remove the ice cream from the freezer, scoop into bowls, and indulge in your homemade double chocolate masterpiece.
Double Chocolate Ice Cream Tips for Creamy Scoops
Chill Double Chocolate Ice Cream Leftovers
Sweets That Go with Double Chocolate Ice Cream
Double Chocolate Ice Cream Twists to Try
FAQs
An ice cream maker is essential for creating the creamy texture. Without it, the mixture won’t freeze properly and develop the right consistency.
Yes, you can use natural or Dutch-processed cocoa powder. Each will give a slightly different depth of chocolate flavor, but both work well in this recipe.
The homemade ice cream will remain good for about 1-2 weeks when stored in an airtight container in the freezer. After that, it may start to develop ice crystals and lose its smooth texture.
You can substitute the heavy cream and milk with coconut cream or non-dairy alternatives, but the texture and richness might be slightly different from the original recipe.
Print
Double Chocolate Ice Cream Recipe
- Total Time: 25 minutes
- Yield: 4 1x
Description
Creamy double chocolate ice cream promises pure indulgence for chocolate enthusiasts. Rich Belgian chocolate and smooth cocoa blend into a luxurious dessert that brings cool comfort with each delightful spoonful you’ll savor.
Ingredients
Chocolate Base:
- 1/2 cup Dutch-processed cocoa powder (60 grams)
- 1/2 cup unsweetened cocoa powder (50 grams)
- 1 cup granulated sugar (200 grams)
- 1/2 teaspoon salt (3 grams)
Dairy Components:
- 1 cup heavy cream (240 milliliters)
- 1 cup whole milk (240 milliliters)
Additional Flavoring and Mix-ins:
- 1 teaspoon vanilla extract (5 milliliters)
- 1/2 cup chocolate chips (85 grams)
Instructions
- Combine heavy cream, milk, sugar, cocoa powders, and salt in a medium saucepan, whisking thoroughly to create a smooth base mixture.
- Place the saucepan over medium heat, continuously stirring to prevent scorching and ensure even heat distribution.
- Bring the mixture to a gentle boil, watching carefully as the liquid becomes glossy and slightly thickened.
- Immediately remove from heat and incorporate vanilla extract, stirring until fully integrated.
- Allow the chocolate mixture to cool completely at room temperature, preventing skin formation by occasionally stirring.
- Transfer the cooled liquid to the refrigerator and chill for a minimum of two hours to develop rich flavor intensity.
- Prepare the ice cream maker according to manufacturer’s specifications and set up your churning station.
- Pour the chilled chocolate base into the ice cream machine and churn until it reaches a soft, creamy consistency.
- During the final moments of churning, gradually sprinkle chocolate chips to distribute evenly throughout the mixture.
- Carefully transfer the freshly churned ice cream into an airtight container, smoothing the surface for even freezing.
- Place in the freezer and allow to solidify for at least four hours, preferably overnight, to achieve optimal texture and flavor.
- When ready to serve, let the ice cream sit at room temperature for a few minutes to soften slightly before scooping.
Notes
- Dial down the sugar for a less sweet version by reducing the amount or using alternative sweeteners like stevia or monk fruit.
- Swap whole milk with almond or oat milk to create a dairy-free ice cream that’s equally creamy and indulgent.
- Boost chocolate intensity by using a mix of dark and milk chocolate chips for a more complex flavor profile.
- Prevent ice crystals by adding a tablespoon of vodka or corn syrup, which helps maintain a smoother texture during freezing.
- Prep Time: 15 minutes
- Cook Time: 10 minutes
- Category: Desserts, Snacks
- Method: Boiling
- Cuisine: American
Nutrition
- Serving Size: 4
- Calories: 487
- Sugar: 34 g
- Sodium: 73 mg
- Fat: 26 g
- Saturated Fat: 15 g
- Unsaturated Fat: 10 g
- Trans Fat: 0 g
- Carbohydrates: 56 g
- Fiber: 2 g
- Protein: 6 g
- Cholesterol: 83 mg
Angelina Wiles
Content Editor & Culinary Enthusiast
Expertise
Food Writing and Editing, Vegetarian and Vegan Cuisine, Baking and Pastry Arts, Sustainable Cooking Practices
Education
Portland Community College
Certificate in Culinary Arts
Focus: Emphasis on sustainable cooking practices, vegetarian cuisine, and food writing.
Oregon Culinary Institute
Diploma in Baking and Pastry Arts
Focus: Specialized training in artisanal baking, pastry techniques, and dessert presentation.
Angelina’s love for cooking started with handwritten family recipes and weekend trips to farmers’ markets around Portland. She followed her passion with a Certificate in Culinary Arts from Portland Community College, then perfected her sweet side with a Diploma in Baking and Pastry Arts at Oregon Culinary Institute.
Angelina believes recipes should feel like a conversation, not a science project. She’s all about helping readers trust themselves in the kitchen with simple steps, fresh ideas, and easy twists on classic meals.
When she’s not editing recipes, she’s baking bread, sipping coffee, or getting inspired by the changing seasons.