
Crunchy Bliss: The Perfect Crispy Chicken Sandwich Recipe
Crafting the ultimate crispy chicken sandwich at home can revolutionize your meal planning in unexpected ways.
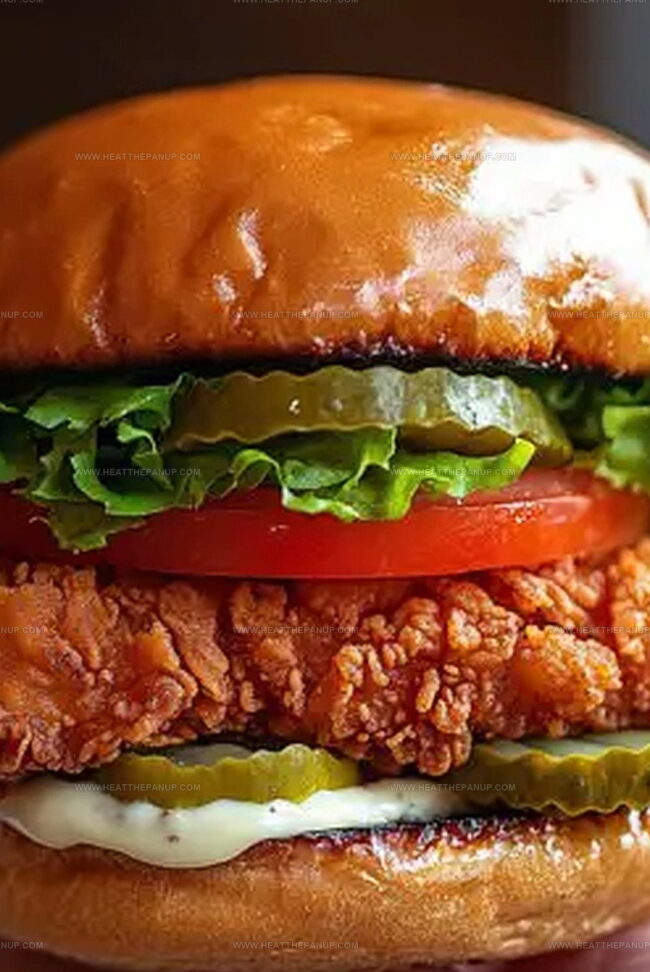
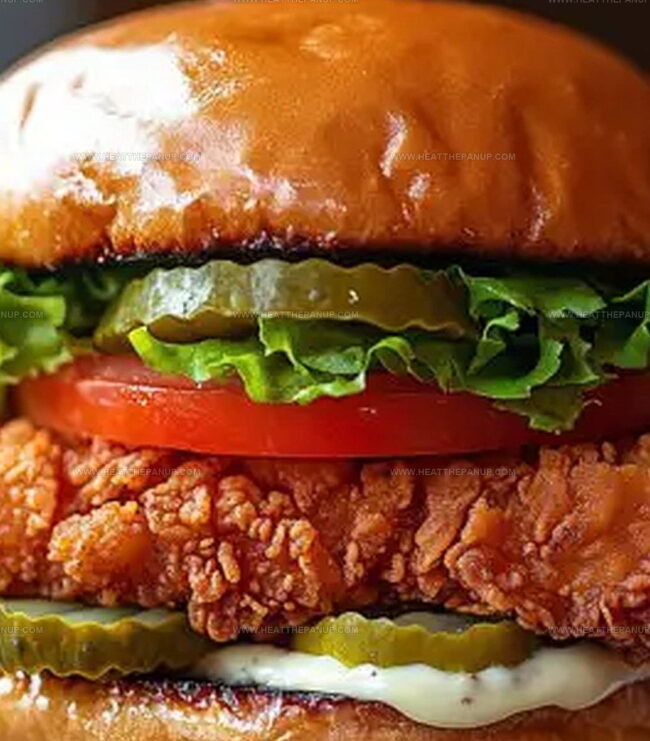
Layers of crunchy goodness await your culinary adventure.
Juicy meat nestled between perfectly toasted bread promises pure satisfaction.
You often struggle to achieve restaurant-quality results, but this method changes everything.
Precise techniques guarantee a golden, crackling exterior that’ll make you forget takeout.
Seasoned professionals and kitchen novices alike can nail this delectable creation with confidence.
What Makes the Crispy Chicken Sandwich So Satisfying
Ingredients for Crispy Chicken Sandwich
Chicken and Marinade:Breading and Seasoning:Frying and Assembly:Optional Toppings:Instructions for Crispy Chicken Sandwich
Step 1: Flatten The Chicken Cutlets
Gently place chicken cutlets between two plastic wrap sheets.
Using a meat mallet or rolling pin, carefully pound the chicken until it reaches an even 1/2-inch thickness.
This technique ensures uniform cooking and tender meat.
Step 2: Create Flavor-Packed Marinade
Combine marinade ingredients in a large mixing bowl.
Whisk thoroughly to blend flavors.
Add chicken pieces, ensuring each is completely coated.
Cover and refrigerate for 2-4 hours or overnight to allow deep flavor penetration.
Step 3: Prepare Crunchy Coating
Mix breading ingredients in a shallow bowl:Remove chicken from marinade, letting excess drip off.
Press chicken into flour mixture, ensuring a thick, even coating.
Place coated chicken on a wire rack.
Step 4: Set Up Frying Station
Heat oil in a deep pot to 350°F.
Just before frying, dip chicken into seasoned flour again for an extra crispy exterior.
This double-dredging creates a deliciously crunchy crust.
Step 5: Perfectly Fry Chicken
Carefully place chicken pieces into hot oil, two at a time to maintain oil temperature.
Adjust flame to keep oil between 300-325°F.
Fry first side for 3-4 minutes until golden brown.
Flip and cook opposite side for 2-3 minutes until chicken is completely crisp and cooked through.
Step 6: Rest And Drain
Transfer fried chicken to a wire rack set over a baking sheet.
Allow chicken to rest, which helps internal temperature reach 165°F and ensures juicy meat.
Step 7: Assemble Delicious Sandwich
Lightly butter and toast bun halves.
Build sandwich with crispy chicken and your favorite toppings like lettuce, tomato, pickles, or special sauce.
Pro Tips for Crunchy and Juicy Chicken Sandwiches
Store and Reheat Crispy Chicken Sandwiches
Best Sides for Crispy Chicken Sandwiches
Ways to Switch Up the Crispy Chicken Sandwich
FAQs
Marinating helps tenderize the meat, infuse flavors deep into the chicken, and create a more juicy and flavorful sandwich.
Vegetable, canola, or peanut oil work best for frying because they have high smoke points and neutral flavors that won’t overpower the chicken.
Use a digital thermometer to check that the oil is between 350˚F for initial heating, then maintain 300-325˚F during cooking. If you don’t have a thermometer, drop a small piece of bread in the oil – it should sizzle and brown slowly, not burn instantly.
Double-dipping creates a thicker, crispier breading that gives the sandwich its signature crunchy exterior and helps the coating adhere better during frying.
Print
Crispy Chicken Sandwich Recipe
- Total Time: 4 hours 8 minutes
- Yield: 6 1x
Description
Mouthwatering crispy chicken sandwich promises pure culinary delight with golden-brown perfection. Crunchy layers of seasoned chicken nestled between pillowy bread create an irresistible meal you’ll savor with pure satisfaction.
Ingredients
Main Ingredients:
- 3 chicken breasts, boneless, skinless, halved into 6 cutlets
- 1.5 cups (360 milliliters) low-fat buttermilk
Seasoning:
- 1 tablespoon hot sauce (Franks Red Hot brand)
- 1 teaspoon salt
- 1 teaspoon black pepper
- 1 teaspoon onion powder
- 1 teaspoon garlic powder
Instructions
- Gently tenderize chicken cutlets between parchment paper, creating an even 1/2″ thickness to ensure uniform cooking and optimal texture.
- Craft a flavorful marinade in a spacious mixing vessel, thoroughly coating chicken pieces and allowing them to luxuriate in the liquid for 2-4 hours or overnight in the refrigerator.
- Prepare a seasoned coating mixture by combining dry ingredients in a shallow dish, creating a complex flavor profile with multiple spices and enhancing the future crunch.
- Extract chicken from marinade, allowing excess liquid to drip away, then meticulously dredge each piece in the seasoned flour mixture, pressing firmly to create a substantial, textured exterior.
- Carefully heat oil in a deep, heavy-bottomed pot to precisely 350˚F, maintaining a consistent temperature for optimal frying conditions.
- Perform a second flour coating just before frying to develop an extra-crispy, irregular surface that will provide maximum crunchiness.
- Gently lower chicken pieces into hot oil, cooking in small batches to maintain oil temperature, and fry until golden brown and perfectly crisp, approximately 3-4 minutes per side.
- Rest fried chicken on a wire rack, allowing excess oil to drain and internal temperature to stabilize, ensuring the meat reaches a safe 165˚F.
- Lightly toast bun surfaces with a touch of butter, then assemble sandwiches with preferred condiments and garnishes for a complete culinary experience.
Notes
- Achieve even cooking by pounding chicken cutlets to a consistent 1/2-inch thickness, ensuring uniform heat distribution and tender meat.
- Marinate chicken for at least 2 hours or overnight to enhance flavor penetration and create a more juicy, succulent texture.
- Use double-dredging technique by coating chicken in seasoned flour twice, creating an extra crispy, textured exterior that stays crunchy longer.
- Maintain precise oil temperature between 300-325°F to prevent soggy breading and ensure a golden, crisp coating without burning.
- Gluten-free option: Replace wheat flour with gluten-free flour blend or almond flour for those with dietary restrictions.
- For a lighter version, consider baking the breaded chicken at 425°F for 20-25 minutes, turning once halfway through cooking.
- Prep Time: 4 hours
- Cook Time: 8 minutes
- Category: Lunch, Dinner, Snacks
- Method: Frying
- Cuisine: American
Nutrition
- Serving Size: 6
- Calories: 270
- Sugar: 1 g
- Sodium: 620 mg
- Fat: 6 g
- Saturated Fat: 2 g
- Unsaturated Fat: 4 g
- Trans Fat: 0 g
- Carbohydrates: 25 g
- Fiber: 0 g
- Protein: 30 g
- Cholesterol: 75 mg
Angelina Wiles
Content Editor & Culinary Enthusiast
Expertise
Food Writing and Editing, Vegetarian and Vegan Cuisine, Baking and Pastry Arts, Sustainable Cooking Practices
Education
Portland Community College
Certificate in Culinary Arts
Focus: Emphasis on sustainable cooking practices, vegetarian cuisine, and food writing.
Oregon Culinary Institute
Diploma in Baking and Pastry Arts
Focus: Specialized training in artisanal baking, pastry techniques, and dessert presentation.
Angelina’s love for cooking started with handwritten family recipes and weekend trips to farmers’ markets around Portland. She followed her passion with a Certificate in Culinary Arts from Portland Community College, then perfected her sweet side with a Diploma in Baking and Pastry Arts at Oregon Culinary Institute.
Angelina believes recipes should feel like a conversation, not a science project. She’s all about helping readers trust themselves in the kitchen with simple steps, fresh ideas, and easy twists on classic meals.
When she’s not editing recipes, she’s baking bread, sipping coffee, or getting inspired by the changing seasons.