The Dreamiest Cream Puff Cake Recipe for Sweet Tooth Joy
Baking a delightful cream puff cake always sparks culinary excitement in my kitchen.
Sweet memories flood back from childhood gatherings where this elegant dessert took center stage.
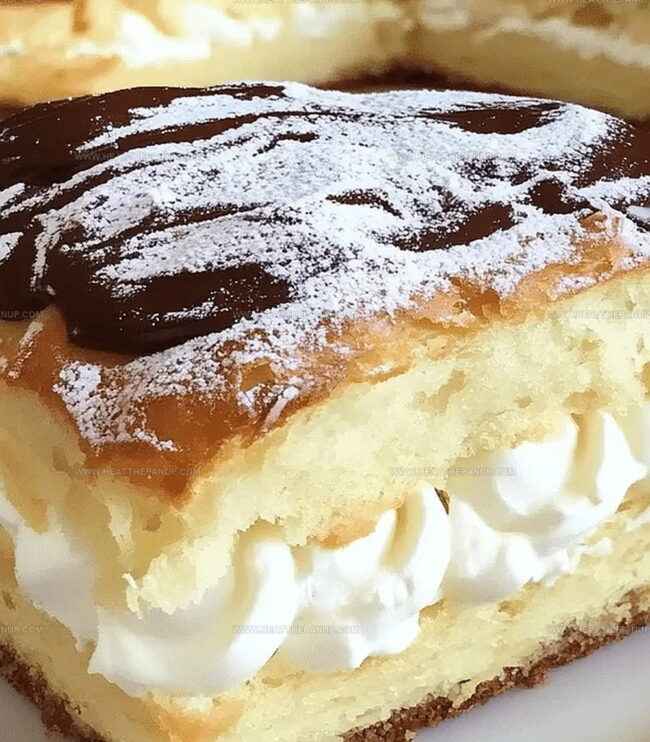
Layers of delicate pastry embrace rich, silky cream in a dance of textures.
Crisp golden shells contrast beautifully with smooth, decadent filling that melts on your tongue.
Simple ingredients combine to create something truly magical and impressive.
Pastry chefs might make this look complicated, but you can master this recipe with confidence.
Let this cream puff cake become your next showstopping dessert that will have everyone asking for seconds.
What Makes Cream Puff Cake So Delightful
What Goes Into a Cream Puff Cake
Pastry Base:Cream Filling:Topping:How to Make a Fluffy Cream Puff Cake
Step 1: Prepare the Oven and Pan
Warm up your oven to a toasty 450°F.
Grab a 9×13-inch baking pan and give it a generous coating of grease to prevent sticking.
Step 2: Create the Dough Base
In a saucepan, bring to a boil:Remove from heat and transfer the mixture to a mixing bowl.
Step 3: Incorporate the Flour
Add flour to the warm liquid mixture.
Beat vigorously by hand or use an electric mixer until the ingredients form a smooth, cohesive ball.
The mixture should look uniform and well-combined.
Step 4: Cool and Rest the Dough
Let the dough cool down for 10 minutes.
This resting period helps stabilize the mixture.
Step 5: Add Eggs and Develop Texture
Introduce eggs to the dough.
Beat thoroughly until the mixture becomes thick and develops a beautiful satin-like sheen.
The texture should be smooth and silky.
Step 6: Rest Again
Allow the dough to cool for an additional 5 minutes to set up properly.
Step 7: Bake the Base
Spread the dough evenly into the prepared greased pan, pressing it out to create a flat surface.
Bake at 450°F for 15 minutes until it begins to puff up.
Step 8: Release Air and Continue Baking
Using a knife, poke about 15 holes in the center of the puffed dough to release trapped air.
Lower the oven temperature to 350°F and continue baking for 20 more minutes.
Step 9: Cool the Base
Remove from the oven and let the pan and dough cool completely for 30-45 minutes.
Step 10: Prepare the Cream Filling
In a mixing bowl, beat softened cream cheese until smooth.
Step 11: Create the Filling Mixture
In a separate bowl, whisk together:Mix thoroughly, then gently incorporate into the cream cheese.
Start mixing slowly, then beat well until fully combined.
Step 12: Assemble and Finish
Pour the cream filling over the cooled cake base.
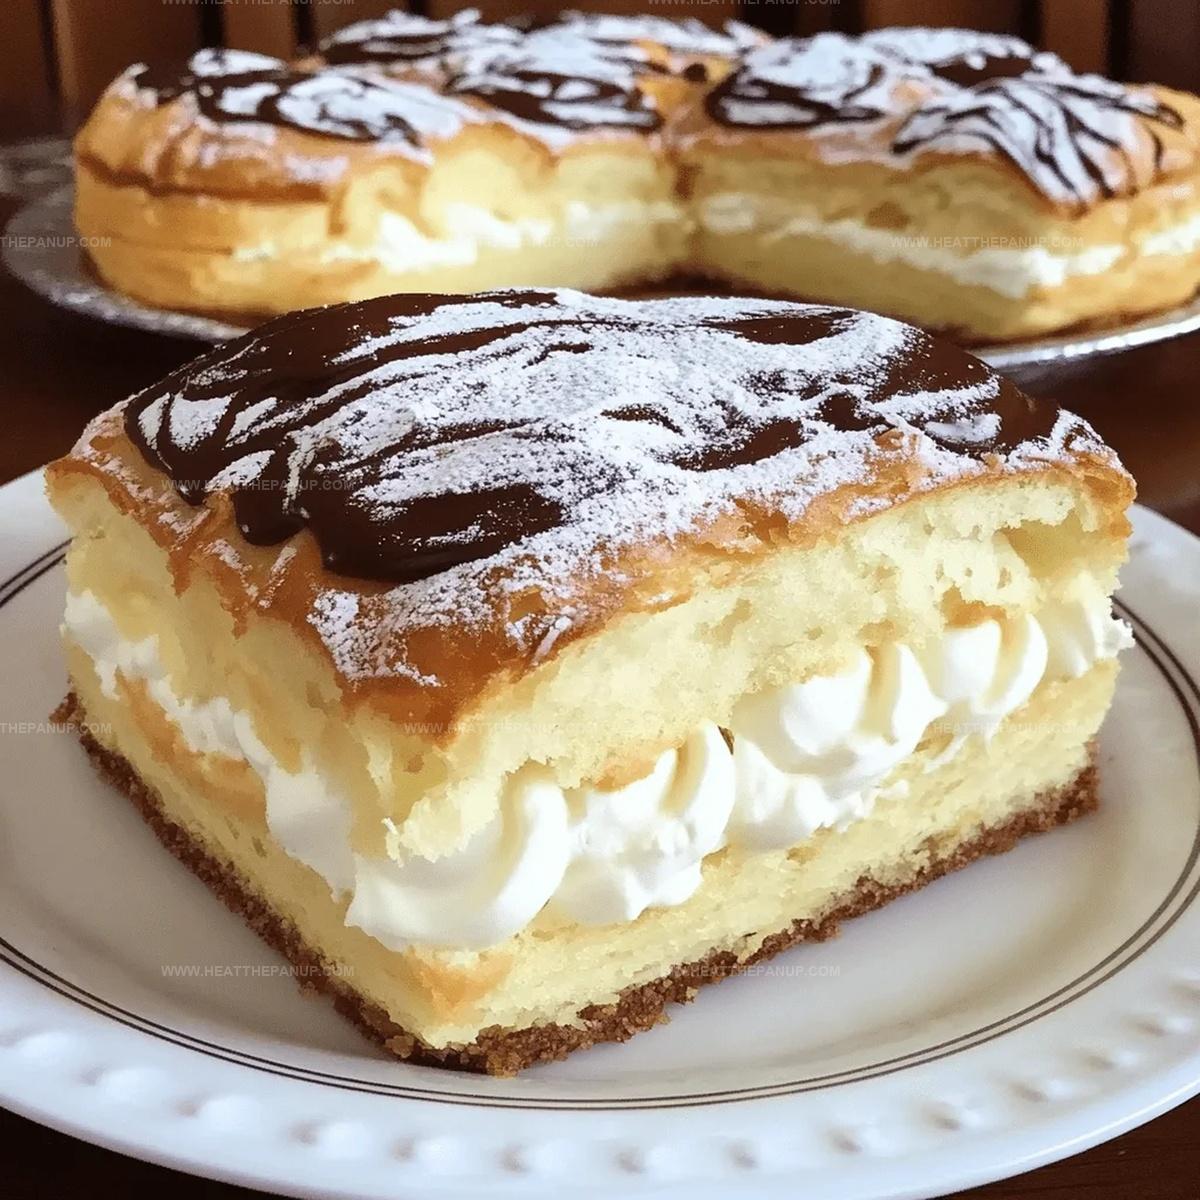
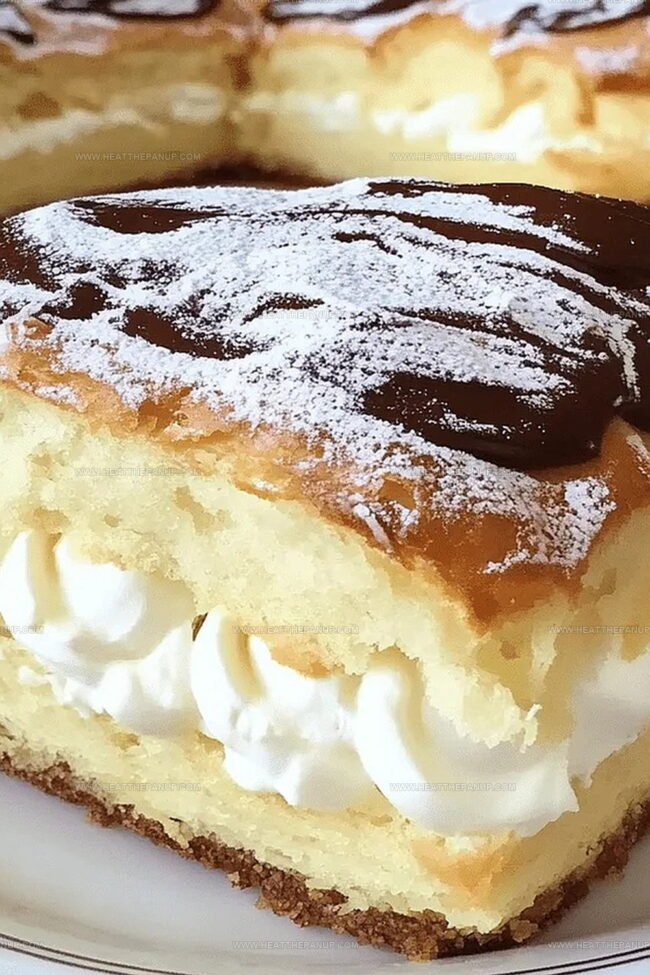
Top with a layer of Cool Whip and drizzle with chocolate syrup for extra decadence.
Step 13: Chill and Serve
Refrigerate the cake until ready to serve.
The cool temperature will help the filling set and enhance the flavors.
Smart Tips for Baking a Cream Puff Cake
Saving and Serving Cream Puff Cake Again
Pairing Ideas for Cream Puff Cake Desserts
Fun Variations for Cream Puff Cake
FAQs
The cream puff base uses a unique choux pastry technique where water, butter, and flour are boiled and mixed, creating a rich, puffed base that rises dramatically during baking.
Pricking the center allows trapped steam to escape, preventing the base from becoming too soggy and helping maintain a light, airy texture during the second baking phase.
Yes, this cream puff cake can be prepared in advance and stored in the refrigerator, making it perfect for planning ahead for gatherings or parties.
While it involves multiple steps, the recipe is quite manageable for someone with basic baking skills and follows straightforward instructions with clear techniques.
Print
Cream Puff Cake Recipe
- Total Time: 50 minutes
- Yield: 12 1x
Description
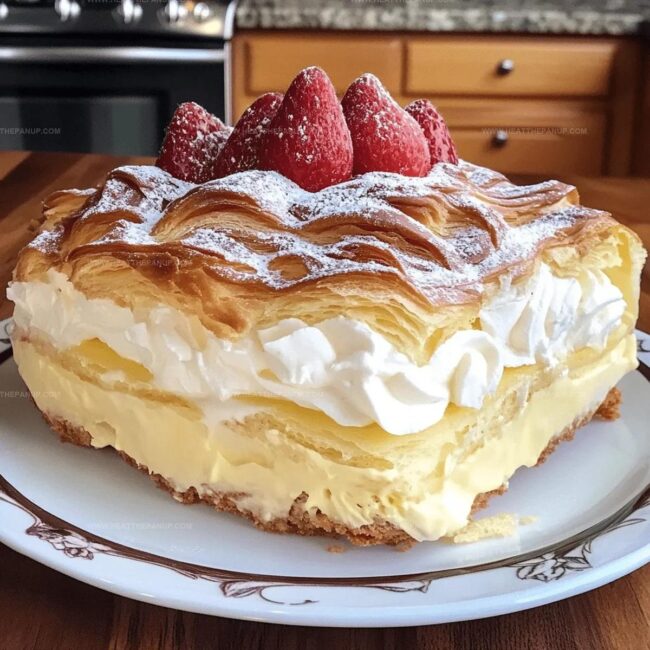
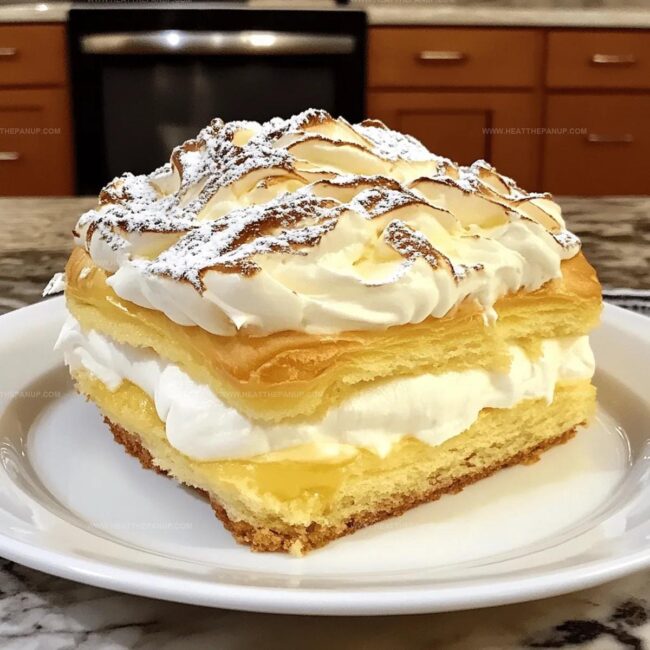
Cream Puff Cake blends French pastry elegance with comforting dessert magic, creating a dreamy landscape of delicate choux pastry and silky custard. Pure indulgence awaits when you slice into this heavenly multilayered confection that promises pure culinary bliss.
Ingredients
Main Ingredients:
- 1 cup water
- 1/2 cup butter
- 1 cup all-purpose flour
- 4 eggs
- 2 packages (3.9 ounces each) instant vanilla pudding
- 8 ounces cream cheese
- 3 1/2 cups milk
Dairy and Cream Ingredients:
- 8 ounces whipped topping
Finishing Ingredient:
- 1/4 cup chocolate syrup
Seasoning:
- 1/4 teaspoon salt
Instructions
- Prepare a 9×13″ baking pan by lightly coating with cooking spray or butter.
- In a medium saucepan, combine water, butter, and salt, bringing the mixture to a rolling boil.
- Remove the hot liquid from heat and transfer to a mixing bowl, then vigorously incorporate flour until a cohesive dough ball forms.
- Allow the dough to rest and cool for approximately 10 minutes to stabilize its temperature.
- Incorporate eggs into the cooled dough, mixing thoroughly until the texture becomes silky and develops a glossy, satin-like appearance.
- Let the mixture rest again for an additional 5 minutes to ensure proper integration.
- Spread the dough evenly across the prepared baking pan, pressing it flat with gentle, consistent pressure.
- Place in a preheated oven at 450°F and bake for 15 minutes until the surface begins to puff and turn golden.
- Using a sharp knife, create approximately 15 small punctures across the raised center to release trapped steam.
- Reduce oven temperature to 350°F and continue baking for an additional 20 minutes.
- Remove from oven and allow the pastry base to cool completely for 30-45 minutes.
- In a separate bowl, thoroughly blend softened cream cheese until smooth and creamy.
- Whisk pudding mix with milk until fully incorporated, then gently fold into the cream cheese mixture.
- Spread the cream filling evenly across the cooled pastry base.
- Top with a layer of whipped topping and drizzle chocolate syrup in an artistic pattern.
- Refrigerate for at least one hour before serving to allow flavors to meld and filling to set.
Notes
- Ensure water and butter are precisely measured for the perfect dough consistency, as even slight variations can affect the pastry’s texture.
- Egg temperature matters: use room temperature eggs to help them incorporate smoothly into the dough, creating a silky, uniform mixture.
- Pricking the puffed center prevents soggy bottoms by allowing steam to escape, ensuring a crisp and light base for your cream filling.
- For a gluten-free version, substitute all-purpose flour with a 1:1 gluten-free baking blend, keeping the rest of the recipe unchanged.
- Prep Time: 15 minutes
- Cook Time: 35 minutes
- Category: Desserts
- Method: Baking
- Cuisine: French
Nutrition
- Serving Size: 12
- Calories: 250
- Sugar: 8g
- Sodium: 150mg
- Fat: 15g
- Saturated Fat: 9g
- Unsaturated Fat: 4g
- Trans Fat: 0g
- Carbohydrates: 29g
- Fiber: 0g
- Protein: 4g
- Cholesterol: 55mg
James Hambly
Founder & Recipe Creator
Expertise
Recipe Development, Culinary Education, Farm-to-Table Cooking, Southern Cuisine
Education
Asheville-Buncombe Technical Community College
Certificate in Culinary Arts
Focus: Hands-on training in professional cooking techniques, emphasizing farm-to-table practices and Southern cuisine.
The Chef’s Academy
Associate Degree in Culinary Arts
Focus: Comprehensive culinary education covering global cuisines, kitchen management, and food safety.
James grew up surrounded by the smells of cast-iron skillets and slow-cooked Southern meals in Asheville, North Carolina.
He sharpened his skills with a Certificate in Culinary Arts from Asheville-Buncombe Technical Community College, and later leveled up with an Associate Degree from The Chef’s Academy.
James’s philosophy is simple: the best meals don’t need fancy tricks, just fresh ingredients, a hot pan, and a little bit of heart. His favorite days are spent testing one-pan wonders, chasing bold flavors, and creating recipes that feel easy, even on a busy night.