
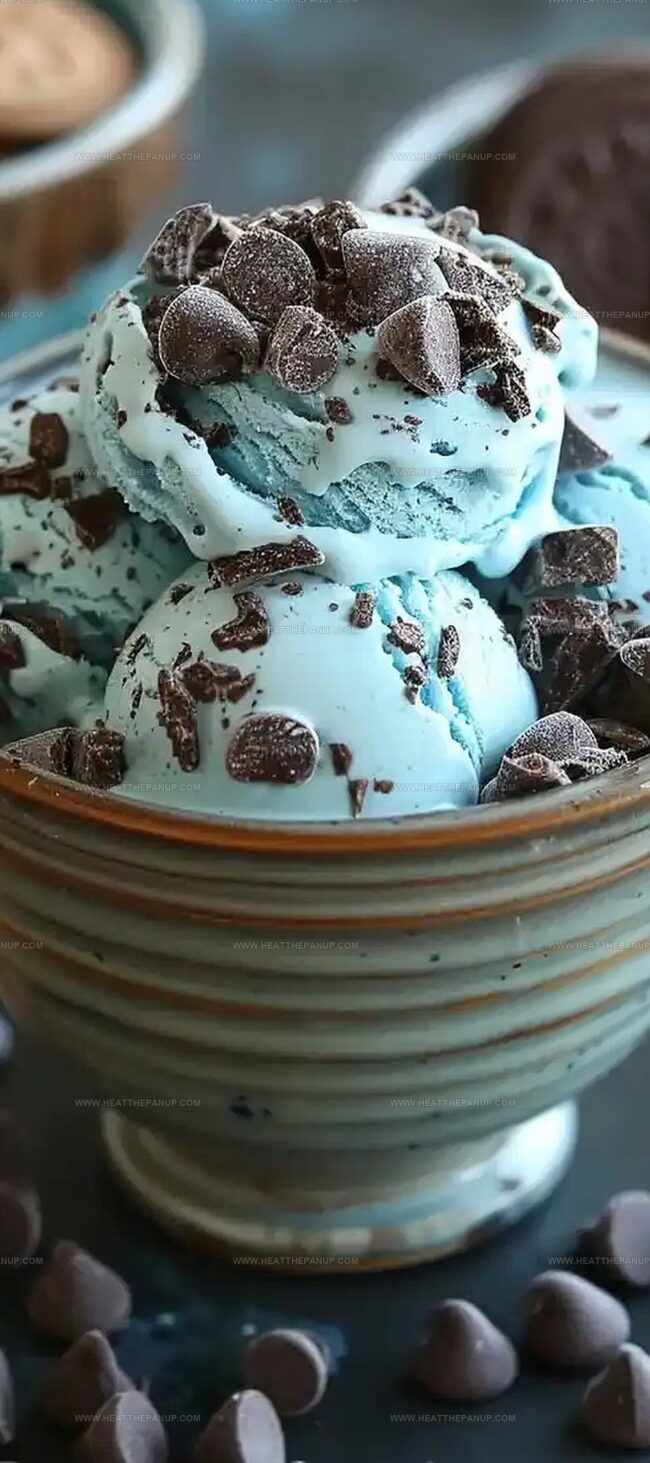
Magical Cookie Monster Ice Cream Recipe: Blue, Sweet & Fun
Delightful cookie monster ice cream brings childhood whimsy right to your dessert table.
Creamy blue-tinted treats spark instant memories of beloved sesame street characters.
Wild swirls of chocolate chip cookies dance through this playful frozen delight.
Unexpected bursts of colorful sprinkles add magical excitement to each scoop.
Homemade magic happens when simple ingredients transform into something extraordinary.
Silly and sweet, this recipe promises pure joy in every delicious bite.
Break out your mixer and get ready to create something spectacular that will make everyone smile.
What Makes Cookie Monster Ice Cream So Playful
Cookie Monster Ice Cream: What You’ll Need
Main Ingredients:
Dairy Base:Coloring and Flavor:Garnish:Cookie Monster Ice Cream Freezing Guide
Step 1: Whip Up Blue Creamy Base
In a large mixing bowl, blend together:Whisk everything until sugar completely dissolves. Gradually add blue food coloring, stirring until you achieve a vibrant Cookie Monster blue shade.
Step 2: Churn Magical Ice Cream Mixture
Pour the blue mixture into your ice cream maker. Churn according to manufacturer’s instructions until the consistency becomes soft and creamy like gelato.
Step 3: Sprinkle Cookie Crunch
When the ice cream is almost done churning, toss in:Let the machine mix these delightful cookie pieces throughout the ice cream.
Step 4: Freeze and Decorate
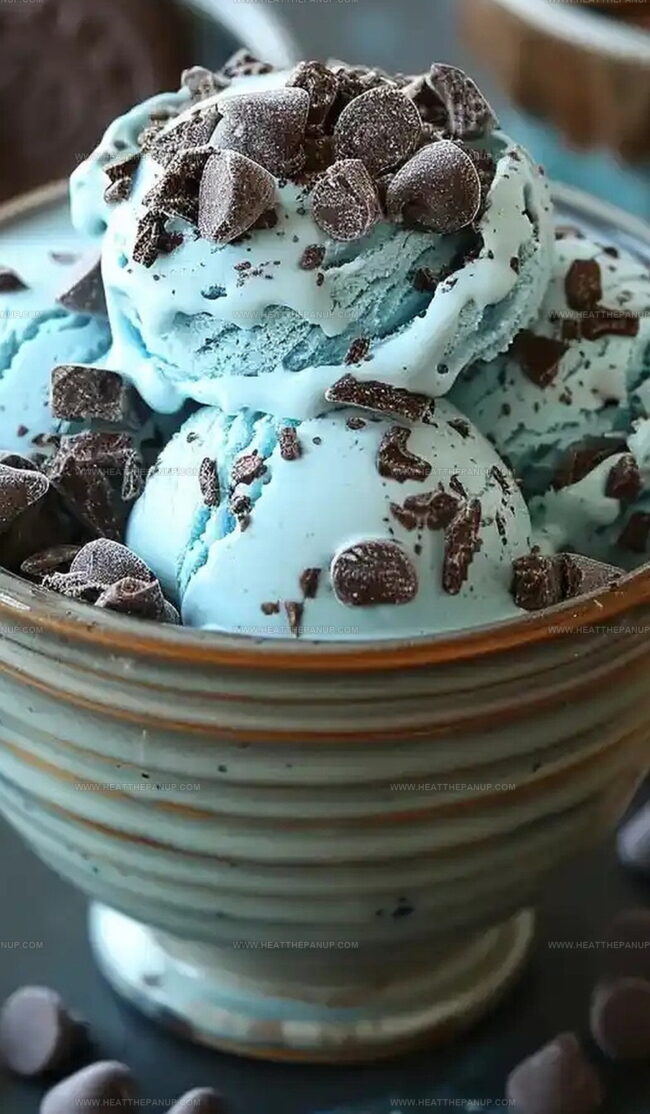
Transfer the churned ice cream into an airtight container. Smooth the top with a spatula. Sprinkle mini chocolate chip cookies on top for extra crunch. Cover and place in freezer for 4-6 hours until firm.
Step 5: Serve and Celebrate
Scoop the Cookie Monster ice cream into bowls or cones. Enjoy the creamy, cookie-packed frozen treat that brings childhood joy to every bite!
Ice Cream Tips for Cookie Monster Blend
Tips For Keeping Cookie Monster Ice Cream Creamy
Cookie Monster Ice Cream Pairings
Cookie Monster Ice Cream Mix-Ins
FAQs
This blue ice cream is totally kid-friendly and fun! Made with simple ingredients like cream, milk, and cookies, it’s a playful dessert that children will absolutely love.
While an ice cream maker gives the best texture, you can use a no-churn method by whipping heavy cream and condensed milk together, then freezing with the same mix-ins.
The blue food coloring typically remains vibrant throughout the ice cream’s freezing process, maintaining that signature Cookie Monster look for several days.
Yes! The crushed Oreo and chocolate chip cookies are added during the last few minutes of churning, ensuring they’re evenly distributed for a crunchy, delicious texture in every bite.
Print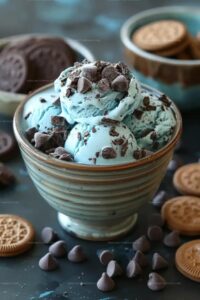
Cookie Monster Ice Cream Recipe
- Total Time: 6 hours 20 minutes
- Yield: 6 1x
Description
Indulgent Cookie Monster ice cream brings childhood whimsy to dessert lovers with its playful blue hue and creamy texture. Chocolate chip cookies folded into rich vanilla base create a nostalgic treat that delights guests and satisfies sweet cravings completely.
Ingredients
Primary Ingredients:
- 2 cups heavy cream
- 1 cup whole milk
- 3/4 cup granulated sugar
Flavor and Color Ingredients:
- 1 tablespoon vanilla extract
- Blue food coloring (gel type)
Cookie Mix-ins:
- 1 cup crushed chocolate chip cookies
- 1/2 cup crushed Oreo cookies
- Mini chocolate chip cookies for garnish
Instructions
- Combine cream, milk, sugar, and vanilla in a spacious mixing vessel, whisking thoroughly until sugar completely dissolves into the liquid mixture.
- Gradually incorporate blue food coloring, stirring consistently to create a vibrant, electric blue hue reminiscent of the beloved Cookie Monster’s signature shade.
- Pour the azure-tinted base into an ice cream churning apparatus, processing according to device specifications until achieving a soft, creamy consistency.
- During the final moments of churning, gently fold crushed chocolate chip and Oreo cookies into the developing frozen dessert, ensuring even distribution throughout the mixture.
- Transfer the cookie-studded ice cream into a sealed container, using a spatula to smooth the surface and create an even layer.
- Artfully arrange miniature chocolate chip cookies atop the surface as a decorative garnish.
- Seal the container and place in the freezer, allowing the treat to solidify and develop its rich, creamy texture for 4-6 hours.
- Once fully set, scoop the whimsical blue ice cream into serving vessels, ready to delight cookie and dessert enthusiasts with its playful appearance and indulgent flavor profile.
Notes
- Adjust the blue food coloring gradually to control the intensity of the Cookie Monster-blue shade, ensuring a vibrant yet natural-looking hue.
- Crush cookies roughly to maintain texture and prevent them from turning into a fine powder, giving the ice cream delightful cookie chunks.
- For a gluten-free version, swap regular Oreos and chocolate chip cookies with gluten-free alternatives like gluten-free sandwich cookies and certified gluten-free chocolate chip cookies.
- Chill the mixing bowl and whisk before preparing the base to help the cream whip faster and create a smoother, more aerated ice cream texture.
- Prep Time: 20 minutes
- Cook Time: 6 hours
- Category: Desserts, Snacks
- Method: Churning
- Cuisine: American
Nutrition
- Serving Size: 6
- Calories: 390
- Sugar: 32 g
- Sodium: 50 mg
- Fat: 30 g
- Saturated Fat: 18 g
- Unsaturated Fat: 12 g
- Trans Fat: 0 g
- Carbohydrates: 36 g
- Fiber: 1 g
- Protein: 4 g
- Cholesterol: 110 mg
James Hambly
Founder & Recipe Creator
Expertise
Recipe Development, Culinary Education, Farm-to-Table Cooking, Southern Cuisine
Education
Asheville-Buncombe Technical Community College
Certificate in Culinary Arts
Focus: Hands-on training in professional cooking techniques, emphasizing farm-to-table practices and Southern cuisine.
The Chef’s Academy
Associate Degree in Culinary Arts
Focus: Comprehensive culinary education covering global cuisines, kitchen management, and food safety.
James grew up surrounded by the smells of cast-iron skillets and slow-cooked Southern meals in Asheville, North Carolina.
He sharpened his skills with a Certificate in Culinary Arts from Asheville-Buncombe Technical Community College, and later leveled up with an Associate Degree from The Chef’s Academy.
James’s philosophy is simple: the best meals don’t need fancy tricks, just fresh ingredients, a hot pan, and a little bit of heart. His favorite days are spent testing one-pan wonders, chasing bold flavors, and creating recipes that feel easy, even on a busy night.