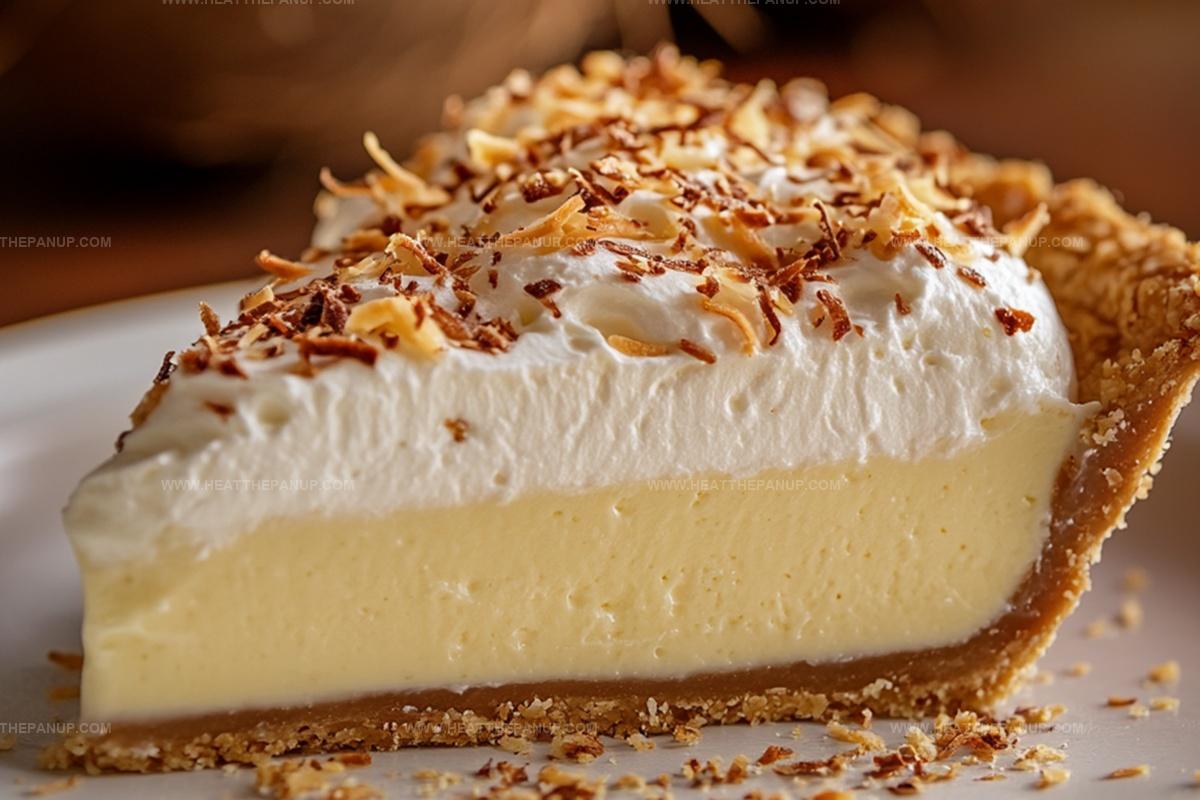
The Dreamiest Coconut Cream Pie Recipe for Sweet Tooths
Memories of grandma’s kitchen often swirl around her legendary coconut cream pie that brought everyone together.
Sweet nostalgia dances through creamy layers of silky filling.
Coconut’s delicate flavor promises a dessert beyond ordinary expectations.
Rich custard nestled between flaky pastry creates pure comfort.
Whispers of tropical essence drift through each perfectly crafted slice.
Delightful textures and subtle sweetness invite you to indulge in this classic treat.
Baking this pie connects you with generations of culinary love and warmth.
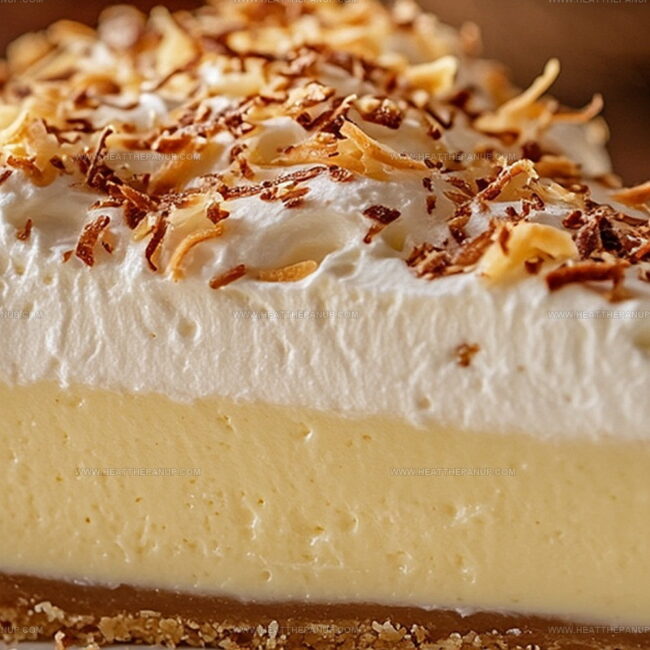
Coconut Cream Pie That’s Light and Luscious
Coconut Cream Pie Ingredient Set
Pie Base:Filling Ingredients:Topping Ingredients:Classic Coconut Cream Pie in Easy Steps
Step 1: Whip Up The Creamy Base
In a microwave-safe bowl, combine these ingredients:Zap the mixture in the microwave for 4 minutes, creating a smooth and silky foundation for your delectable coconut cream pie.
Step 2: Fold In Tropical Goodness
Remove the bowl from the microwave and vigorously whisk the mixture until completely blended.
Gently stir in the shredded coconut, distributing the tropical flavor throughout the creamy base.
Step 3: Continue Cooking
Return the coconut-infused mixture to the microwave and cook for an additional 3-4 minutes.
This extra heating helps thicken the filling and intensify the flavors.
Step 4: Check Texture And Fill Crusts
Stir the mixture once more, ensuring a rich and creamy consistency.
When the filling reaches your desired thickness, carefully pour it into two pre-baked pie crusts, creating a smooth and even layer.
Step 5: Crown With Fluffy Meringue
Prepare a light and airy meringue topping.
Spread the meringue evenly across the pies, creating beautiful peaks and swirls.
Sprinkle a handful of coconut over the top for an extra burst of tropical flavor and visual appeal.
Step 6: Bake To Golden Perfection
Place the pies in a preheated oven at 375°F.
Bake until the meringue transforms into a gorgeous golden-brown color, ensuring a fully cooked and lightly caramelized topping that adds a delightful crunch to your coconut cream pie.
Coconut Cream Pie Tips for Silky Sweet Slices
Store Coconut Cream Pie
Coconut Cream Pie Dessert Complements
Coconut Cream Pie Variants
FAQs
The microwave helps quickly cook the filling ingredients, reducing overall preparation time and creating a smooth, consistent texture without constant stirring on the stovetop.
Shredded coconut works best, whether it’s fresh or dried. Just ensure the coconut is finely shredded to blend well with the creamy filling.
The meringue browns when exposed to high heat in the oven at 375°F. The sugar in the egg whites caramelizes, creating a beautiful golden color and slightly crisp exterior.
Yes, this microwave method is actually quite forgiving and easier than traditional stovetop custard methods. The steps are straightforward, and the microwave helps prevent burning or scorching the filling.
Print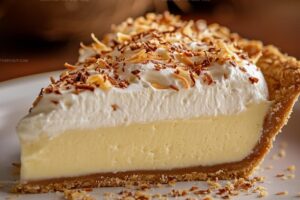
Coconut Cream Pie Recipe
- Total Time: 30 minutes
- Yield: 8 1x
Description
Creamy coconut cream pie delivers a tropical paradise of sweet, silky indulgence. Rich custard nestled in a buttery crust celebrates classic dessert comfort with elegant simplicity.
Ingredients
Main Filling Ingredients:
- 2 cups sugar
- 4 egg yolks
- 1 3/4 cups shredded coconut
- 12 ounces (340 grams) evaporated milk
- 12 ounces (340 grams) water
Thickening and Flavoring Ingredients:
- 1/2 cup all-purpose flour
- 1/2 teaspoon vanilla extract
Finishing Ingredient:
- 2 tablespoons butter
Instructions
- Craft a smooth, creamy custard base by whisking together flour, sugar, egg yolks, evaporated milk, water, vanilla, and butter in a microwave-safe bowl.
- Microwave the mixture for 4 minutes, carefully removing and vigorously stirring to prevent any lumps from forming.
- Gently fold shredded coconut into the warm custard, ensuring even distribution throughout the creamy mixture.
- Return the coconut-infused custard to the microwave and cook for an additional 3-4 minutes, stirring intermittently to maintain a consistent texture.
- Check the custard’s thickness by running a spoon through the mixture; it should coat the back of the utensil with a thick, luxurious consistency.
- Carefully pour the coconut custard into two pre-baked pie crusts, spreading evenly to create a smooth surface.
- Whip up a fluffy meringue, ensuring peaks are stiff and glossy, then generously spread over the custard-filled pies.
- Sprinkle a handful of additional coconut over the meringue topping for a delightful textural contrast and enhanced flavor.
- Bake the pies in a preheated oven at 375°F, watching carefully until the meringue turns a golden brown and develops a delicate, crisp exterior.
Notes
- Achieve ultra-smooth filling by whisking vigorously after each microwave interval to prevent lumps and ensure creamy texture.
- For gluten-free version, substitute wheat flour with coconut or almond flour, maintaining same measurement proportions.
- Control meringue stability by ensuring egg whites are room temperature and use clean, grease-free whipping equipment for maximum volume.
- Toast additional coconut topping beforehand to enhance nutty flavor and create delightful golden-brown visual appeal on pie surface.
- Prep Time: 15 minutes
- Cook Time: 15 minutes
- Category: Desserts
- Method: Baking
- Cuisine: American
Nutrition
- Serving Size: 8
- Calories: 372
- Sugar: 25 g
- Sodium: 80 mg
- Fat: 15 g
- Saturated Fat: 10 g
- Unsaturated Fat: 3 g
- Trans Fat: 0 g
- Carbohydrates: 54 g
- Fiber: 2 g
- Protein: 6 g
- Cholesterol: 119 mg
Angelina Wiles
Content Editor & Culinary Enthusiast
Expertise
Food Writing and Editing, Vegetarian and Vegan Cuisine, Baking and Pastry Arts, Sustainable Cooking Practices
Education
Portland Community College
Certificate in Culinary Arts
Focus: Emphasis on sustainable cooking practices, vegetarian cuisine, and food writing.
Oregon Culinary Institute
Diploma in Baking and Pastry Arts
Focus: Specialized training in artisanal baking, pastry techniques, and dessert presentation.
Angelina’s love for cooking started with handwritten family recipes and weekend trips to farmers’ markets around Portland. She followed her passion with a Certificate in Culinary Arts from Portland Community College, then perfected her sweet side with a Diploma in Baking and Pastry Arts at Oregon Culinary Institute.
Angelina believes recipes should feel like a conversation, not a science project. She’s all about helping readers trust themselves in the kitchen with simple steps, fresh ideas, and easy twists on classic meals.
When she’s not editing recipes, she’s baking bread, sipping coffee, or getting inspired by the changing seasons.