
Create Jolly Christmas Sugar Cookie Bars Recipe Everyone Loves
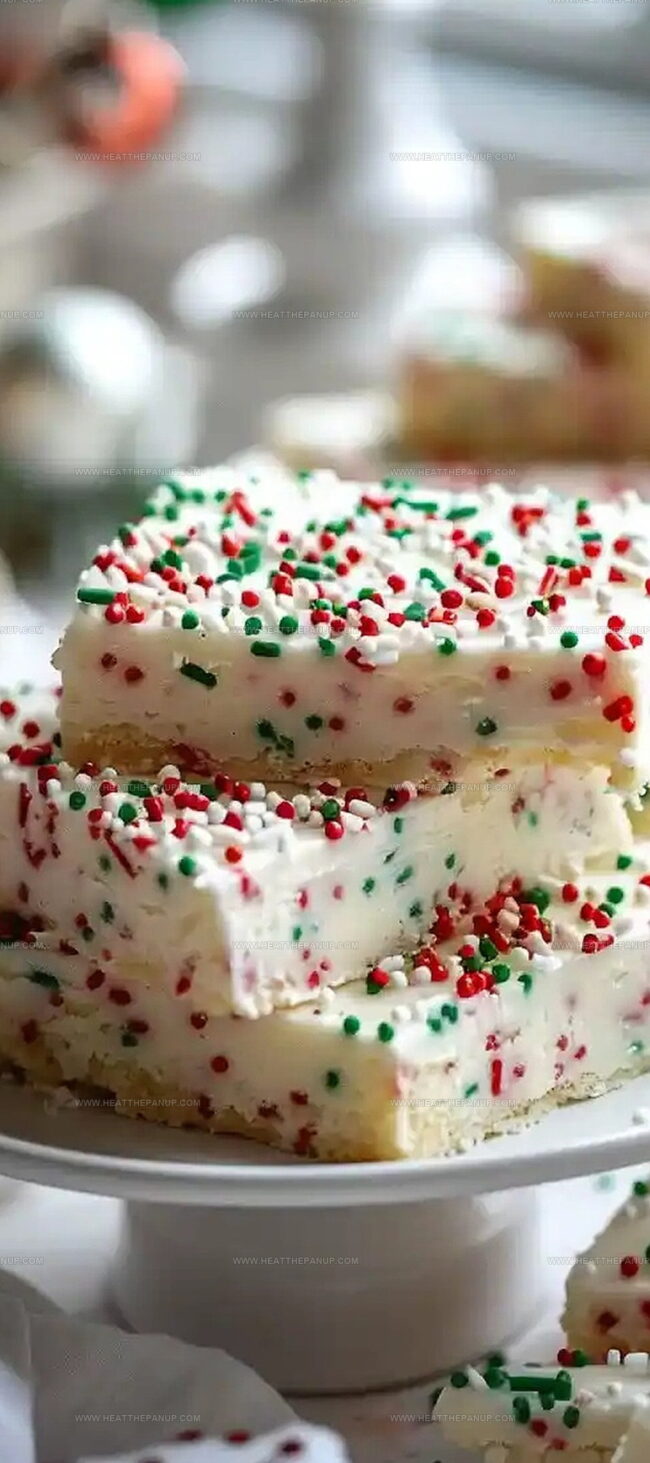
Sweet memories flood back when I bite into these irresistible christmas sugar cookie bars that melt like clouds of sugary happiness.
Childhood winters whisper through every soft, buttery square.
Grandma’s kitchen always smelled magical during holiday baking sessions.
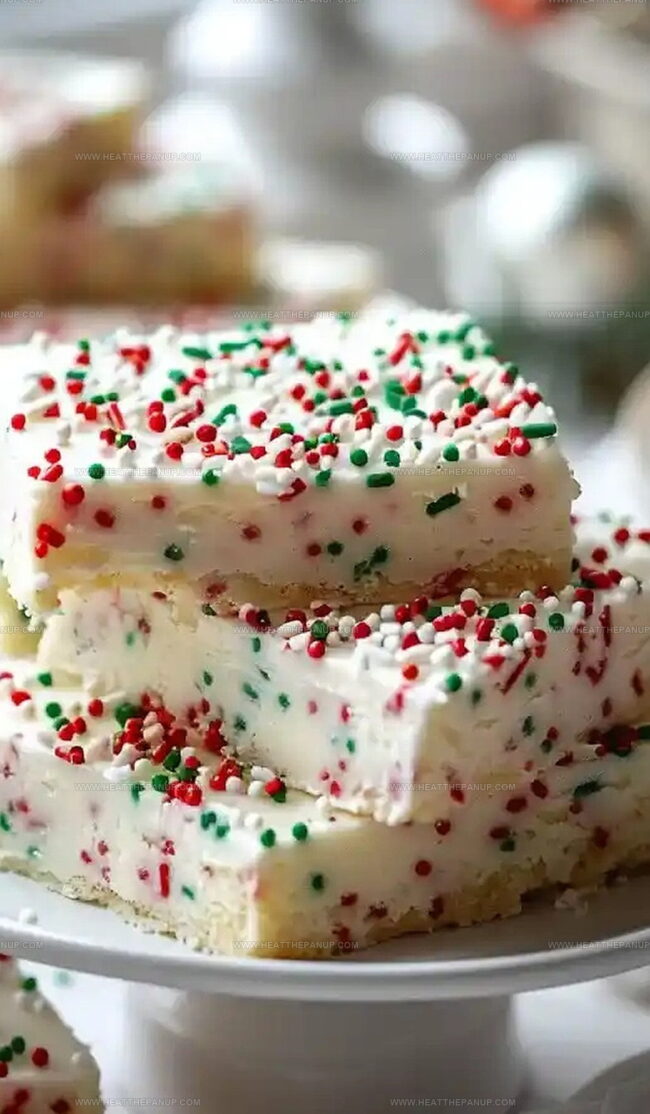
Soft edges and creamy frosting create an instant celebration on your plate.
Delicate sprinkles add sparkle to each delectable treat that feels like pure joy.
Holiday cheer comes packaged in these simple yet spectacular bars.
You cannot resist their charm – so let’s start mixing and creating deliciousness!
Things to Like About Christmas Sugar Cookie Bars
Christmas Sugar Cookie Bars: What You’ll Need
Dry Ingredients:Wet Ingredients:Decorative and Frosting Ingredients:Holiday Sugar Cookie Bars Assembly
Step 1: Warm Up the Oven
Crank your oven to a cozy 350°F. Line a 9×13 inch baking pan with parchment paper, creating a non-stick magic carpet for your delightful cookie bars.
Step 2: Mix Dry Ingredients
Grab a medium bowl and whisk together your dry ingredients:Blend these until they’re perfectly combined and smooth.
Step 3: Create Creamy Base
In a large bowl, whip the butter and sugar together until they transform into a fluffy cloud-like mixture. Add in the egg and vanilla, beating until everything dances together harmoniously.
Step 4: Combine Wet and Dry
Gradually fold the dry ingredients into the wet mixture. Mix gently until just combined. Sprinkle in festive holiday sprinkles, stirring them through the dough.
Step 5: Bake to Golden Perfection
Press the dough evenly into the prepared pan. Slide into the preheated oven and bake for 20-25 minutes. Look for golden edges as your signal that these treats are ready.
Step 6: Craft Dreamy Frosting
Whip up a creamy frosting by beating together:Blend until smooth and irresistibly creamy.
Step 7: Decorate with Delight
Once the bars are completely cool, spread the frosting generously across the top. Sprinkle additional holiday sprinkles for that festive finishing touch.
Step 8: Slice and Serve
Cut into beautiful bars and watch everyone’s eyes light up with joy!
Baking Help for Sugar Cookie Bars
Best Way To Store Christmas Sugar Cookie Bars
Christmas Sugar Bars Perfect Matches
Sugar Cookie Bar Additions for Christmas
FAQs
Holiday sprinkles add festive color and a fun, celebratory touch to the sugar cookie bars, making them look more Christmas-themed and visually appealing.
Yes, you can prepare these bars 1-2 days in advance. Store them in an airtight container in the refrigerator and bring to room temperature before serving.
Look for lightly golden edges and a set center. The bars should not appear wet or jiggly in the middle when gently shaken. A toothpick inserted in the center should come out with a few moist crumbs.
Parchment paper makes removal easier and prevents sticking. If you don’t have parchment paper, generously grease the pan with butter or cooking spray to ensure easy removal.
Print
Christmas Sugar Cookie Bars Recipe
- Total Time: 40 minutes
- Yield: 16 1x
Description
Sweet holiday magic emerges in these Christmas sugar cookie bars, blending festive cheer with buttery richness. Rich vanilla notes and colorful sprinkles create a nostalgic dessert that brings warmth and joy to family gatherings.
Ingredients
Main Ingredients:
- 1 cup unsalted butter, softened
- 1 cup granulated sugar
- 1 egg
- 2 1/2 cups all-purpose flour
Dry Ingredients:
- 1/2 teaspoon baking powder
- 1/2 teaspoon salt
Flavor and Decoration:
- 1 tablespoon vanilla extract
- 1/2 cup holiday sprinkles (plus extra for topping)
Instructions
- Prepare the oven environment by heating to 350°F and positioning a parchment paper liner in a 9×13 inch baking pan for seamless bar extraction.
- Combine flour, baking powder, and salt in a mixing vessel, whisking thoroughly to ensure uniform distribution of dry ingredients.
- Utilize a separate mixing bowl to cream butter and sugar until the mixture transforms into a light, airy texture with enhanced volume.
- Incorporate egg and vanilla extract into the butter-sugar mixture, blending until the ingredients merge harmoniously.
- Gently fold the dry ingredient mixture into the wet ingredients, stirring carefully to maintain a soft, cohesive dough consistency.
- Delicately integrate holiday sprinkles throughout the cookie dough, distributing them evenly for festive visual appeal.
- Transfer the prepared dough into the parchment-lined pan, using gentle pressure to create an uniform layer across the surface.
- Position the pan in the preheated oven and bake for 20-25 minutes, monitoring until edges acquire a delicate golden hue.
- Remove from oven and allow the cookie bars to cool completely, enabling structural stabilization.
- Prepare frosting by combining butter, cream cheese, powdered sugar, vanilla, and salt, whipping until achieving a silky, smooth texture.
- Generously spread the prepared frosting across the cooled cookie surface, ensuring comprehensive coverage.
- Garnish the frosted bars with additional holiday sprinkles for festive decoration.
- Slice into individual bars and serve at room temperature.
Notes
- Customize sprinkles based on the holiday season, using red and green for Christmas or pastel colors for Easter.
- Soften butter and cream cheese at room temperature for smoother, lump-free mixing and better texture.
- Substitute gluten-free flour blend for a celiac-friendly version, ensuring the same delightful taste and texture.
- Reduce sugar by 25% if you prefer less sweetness, maintaining the cookie bar’s delicate structure.
- Prep Time: 15 minutes
- Cook Time: 25 minutes
- Category: Desserts, Snacks
- Method: Baking
- Cuisine: American
Nutrition
- Serving Size: 16
- Calories: 210
- Sugar: 10 g
- Sodium: 70 mg
- Fat: 12 g
- Saturated Fat: 7 g
- Unsaturated Fat: 4 g
- Trans Fat: 0 g
- Carbohydrates: 26 g
- Fiber: 0 g
- Protein: 2 g
- Cholesterol: 30 mg
James Hambly
Founder & Recipe Creator
Expertise
Recipe Development, Culinary Education, Farm-to-Table Cooking, Southern Cuisine
Education
Asheville-Buncombe Technical Community College
Certificate in Culinary Arts
Focus: Hands-on training in professional cooking techniques, emphasizing farm-to-table practices and Southern cuisine.
The Chef’s Academy
Associate Degree in Culinary Arts
Focus: Comprehensive culinary education covering global cuisines, kitchen management, and food safety.
James grew up surrounded by the smells of cast-iron skillets and slow-cooked Southern meals in Asheville, North Carolina.
He sharpened his skills with a Certificate in Culinary Arts from Asheville-Buncombe Technical Community College, and later leveled up with an Associate Degree from The Chef’s Academy.
James’s philosophy is simple: the best meals don’t need fancy tricks, just fresh ingredients, a hot pan, and a little bit of heart. His favorite days are spent testing one-pan wonders, chasing bold flavors, and creating recipes that feel easy, even on a busy night.