
The Ultimate Chocolate Peanut Butter Volcano Cake Recipe
My latest chocolate peanut butter volcano cake experiment blew my taste buds into another dimension.
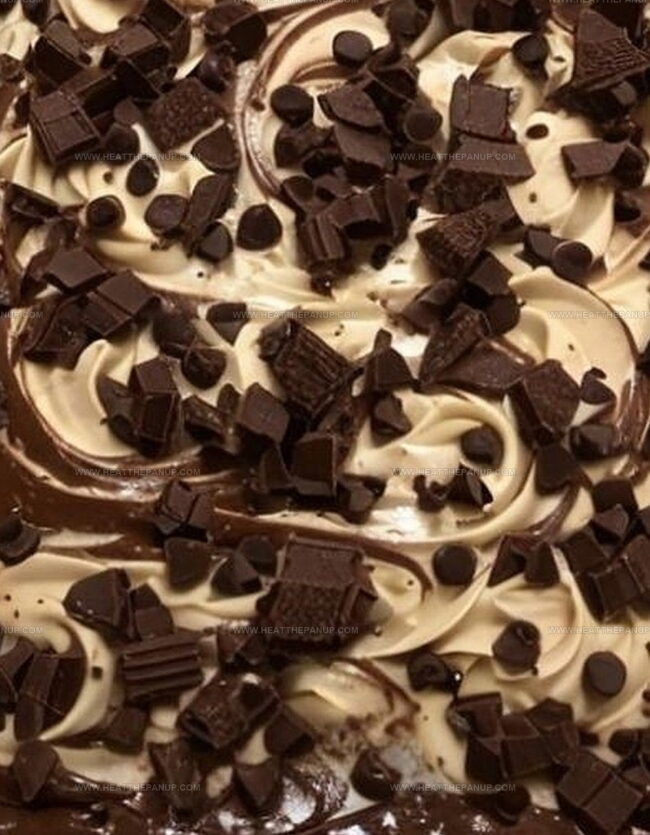
Sweet cascades of molten chocolate hint at the decadent surprise waiting inside.
Unexpected layers create dramatic moments when you slice through the rich, dark exterior.
Chocolate and peanut butter dance together in a delightful culinary romance.
Creamy centers promise an indulgent experience that breaks traditional dessert boundaries.
Passionate bakers understand how such a dramatic cake can turn an ordinary evening magical.
Each forkful promises a mouthwatering adventure you won’t soon forget.
Why Chocolate Peanut Butter Volcano Cake Wows
Chocolate Peanut Butter Volcano Cake Must-Haves
Cake Base:Peanut Butter Filling:Toppings:Steps To Make Volcano Cake With Peanut Butter

Step 1: Fire Up the Oven
Crank the oven to a toasty 350°F.
Grab your 9×13 inch baking dish and give it a quick spray of cooking oil to prevent any sticky situations.
Step 2: Create Chocolate Base
Whip up the chocolate cake mix following the package directions.
Pour the rich, chocolatey batter into your prepared baking dish, creating a smooth foundation for our delicious creation.
Step 3: Craft Peanut Butter Magic
In a mixing bowl, blend together:Stir until the mixture becomes silky smooth and dreamy.
Step 4: Drop Peanut Butter Bombs
Randomly drop spoonfuls of the peanut butter mixture across the chocolate cake batter.
Let them sit like delicious little islands waiting to erupt.
Step 5: Sprinkle Chocolate Madness
Scatter these tasty toppings over the cake:Make sure they’re distributed evenly for maximum flavor explosion.
Step 6: Bake to Perfection
Slide the baking dish into the preheated oven.
Bake for 35-40 minutes until the cake looks set and the top becomes bubbly and irresistible.
Step 7: Cool and Serve
Allow the cake to cool down slightly.
This helps the flavors meld and makes cutting easier.
The result will look like a delicious chocolate earthquake with peanut butter lava flowing through.
Advice For Chocolate Peanut Butter Volcano Cake
Reheat Chocolate Peanut Butter Volcano Cake
Top Pairings For Volcano Cake Treat
Pair Chocolatey Indulgence with Creamy Sips
Volcano Cake Recipe Tweaks And Combos
FAQs
Yes, you can use a homemade chocolate cake batter. Just ensure the consistency is similar to the boxed mix for best results.
The mixture should be smooth and spreadable, not too runny or too thick. If it’s too thick, add a little more milk; if too thin, add more powdered sugar.
Drop the peanut butter mixture in small spoonfuls and avoid stirring. The cake batter will naturally bake around the peanut butter dollops.
You can prepare the cake a day ahead and store it at room temperature. The flavors actually develop and become more rich overnight.
Print
Chocolate Peanut Butter Volcano Cake Recipe
- Total Time: 1 hour
- Yield: 12 1x
Description
Molten chocolate peanut butter volcano cake erupts with rich, decadent flavors that promise pure indulgence. Layers of moist chocolate and creamy peanut butter create a delightful dessert experience you won’t forget.
Ingredients
Main Ingredients:
- 1 box chocolate cake mix (and ingredients called for on the box)
- 1 cup peanut butter
- 2 cups chopped Reeses Peanut Butter Cups
- 1 cup semi-sweet chocolate chips
Sweeteners and Binding Ingredients:
- 1 cup powdered sugar
- 1/2 cup butter, softened
- 1 teaspoon vanilla extract
Liquid Ingredients:
- 1/2 cup milk
Instructions
- Prepare the oven environment by heating to 350°F (175°C) and coating a 9×13 inch baking dish with a light layer of grease.
- Craft the chocolate cake base by thoroughly mixing the cake ingredients according to package guidelines, then carefully transfer the batter into the prepared baking dish.
- Create a decadent peanut butter filling by whisking together peanut butter, powdered sugar, milk, softened butter, and vanilla extract until achieving a silky, uniform consistency.
- Strategically dollop spoonfuls of the peanut butter mixture across the surface of the cake batter, ensuring even distribution.
- Enhance the dessert’s texture and flavor profile by generously scattering chopped Reese’s Peanut Butter Cups and chocolate chips over the entire cake surface.
- Place the baking dish into the preheated oven and allow the cake to bake for 35-40 minutes, monitoring until the cake sets completely and develops a bubbly, molten-like top.
- Remove from the oven and allow the cake to cool and stabilize, which will help develop its signature volcanic appearance with enticing gooey pockets of peanut butter and chocolate.
Notes
- Softening peanut butter mixture beforehand helps create smoother, more evenly distributed layers throughout the cake.
- Experiment with different chocolate cake mix brands to find the richest, most decadent flavor profile that suits your taste preferences.
- Adjust the milk quantity in the peanut butter mixture to control the consistency – less milk creates a thicker, more structured filling while more milk results in a gooier center.
- For gluten-free options, substitute the regular cake mix with a gluten-free chocolate cake mix and ensure all additional ingredients are certified gluten-free.
- Prep Time: 20 minutes
- Cook Time: 35-40 minutes
- Category: Desserts
- Method: Baking
- Cuisine: American
Nutrition
- Serving Size: 12
- Calories: 400
- Sugar: 30 g
- Sodium: 250 mg
- Fat: 24 g
- Saturated Fat: 10 g
- Unsaturated Fat: 14 g
- Trans Fat: 0 g
- Carbohydrates: 45 g
- Fiber: 2 g
- Protein: 6 g
- Cholesterol: 30 mg
Angelina Wiles
Content Editor & Culinary Enthusiast
Expertise
Food Writing and Editing, Vegetarian and Vegan Cuisine, Baking and Pastry Arts, Sustainable Cooking Practices
Education
Portland Community College
Certificate in Culinary Arts
Focus: Emphasis on sustainable cooking practices, vegetarian cuisine, and food writing.
Oregon Culinary Institute
Diploma in Baking and Pastry Arts
Focus: Specialized training in artisanal baking, pastry techniques, and dessert presentation.
Angelina’s love for cooking started with handwritten family recipes and weekend trips to farmers’ markets around Portland. She followed her passion with a Certificate in Culinary Arts from Portland Community College, then perfected her sweet side with a Diploma in Baking and Pastry Arts at Oregon Culinary Institute.
Angelina believes recipes should feel like a conversation, not a science project. She’s all about helping readers trust themselves in the kitchen with simple steps, fresh ideas, and easy twists on classic meals.
When she’s not editing recipes, she’s baking bread, sipping coffee, or getting inspired by the changing seasons.