Dreamy Chocolate Peanut Butter Rice Krispie Cups Recipe
Crafting delectable chocolate peanut butter rice krispie cups can spark joy in any kitchen adventure.
Sweet memories often emerge from simple ingredients combined with creativity.
Childhood nostalgia meets gourmet indulgence through this delightful treat.
Crispy, chewy textures mingle with rich chocolate and smooth peanut butter layers.
Minimal effort yields maximum satisfaction in these irresistible bite-sized delights.
Snacking enthusiasts and dessert lovers will find themselves drawn to these tempting morsels.
You won’t be able to resist making these again and again!
Why You’ll Crave PB Rice Krispie Cups
PB Rice Krispie Cups Ingredients
Base Ingredients:Chocolate Components:Seasoning:Preparation Extras:Making PB Rice Krispie Cups
Step 1: Prepare the Muffin Tray
Get your muffin tray ready by lining each cup with paper or silicone liners.
This will make removing the treats super easy later.
Step 2: Create Peanut Butter Base
In a medium saucepan over low heat, start melting your ingredients for the base:Stir the mixture continuously until everything blends smoothly and looks glossy, which should take about 3-5 minutes.
Step 3: Mix in Crispy Goodness
Take the saucepan off the heat and fold in Rice Krispies cereal.
Stir until every single piece of cereal gets coated with the delicious peanut butter mixture.
Step 4: Shape the Treats
Spoon the mixture into your lined muffin tray.
Use your fingers or the back of a spoon to press down firmly, creating perfect cup shapes.
Make sure each cup is packed tightly.
Step 5: Melt Chocolate Topping
Using another saucepan or microwave, melt chocolate chips.
If using a microwave, heat in 30-second bursts, stirring between each interval to prevent burning.
Step 6: Top with Chocolate
Generously pour melted chocolate over each peanut butter Rice Krispie base, filling each cup to the brim.
Step 7: Chill and Set
Pop the muffin tray into the refrigerator for an hour or freezer for 30 minutes.
Wait until the chocolate hardens completely.
Step 8: Serve and Store
Carefully remove the cups from the tray, peel off liners, and get ready to enjoy!
Store any remaining treats in an airtight container in the refrigerator.
Tips for PB Rice Krispie Cups
Save & Reheat PB Rice Krispie Cups
Serve PB Rice Krispie Cups With These
Fun Styles of PB Rice Krispie Cups
FAQs
No, these chocolate peanut butter cups are super easy! With just a few simple ingredients and basic steps, anyone can create these delicious treats quickly and easily.
You’ll only need a muffin tin, paper or silicone liners, and two saucepans. A spatula and measuring cups are helpful but not mandatory.
Absolutely! Smooth or chunky peanut butter both work great. Just make sure it’s a creamy variety that melts well and isn’t too dry or separated.
Stir continuously and remove from heat when the chocolate looks smooth and glossy with no lumps. If using microwave, stop and stir every 30 seconds to prevent burning.
Print
Chocolate Peanut Butter Rice Krispie Cups Recipe
- Total Time: 1 hour 15 minutes
- Yield: 12 1x
Description
Scrumptious chocolate peanut butter rice krispie cups combine creamy indulgence with crispy texture, delivering a delightful dessert experience. Layers of rich chocolate and smooth peanut butter melt together, creating irresistible bites you won’t be able to resist.
Ingredients
Main Ingredients:
- 1.5 cups chocolate chips (vegan chocolate chips can be used)
- 1 cup chunky peanut butter
- 3 cups Rice Krispies cereal
Binding Ingredients:
- 6 tablespoons honey
Seasoning:
- 1/8 teaspoon salt
Instructions
- Create a workspace with a muffin tin and paper or silicone liners, ensuring easy removal of the finished treats.
- In a medium saucepan, gently warm chunky peanut butter, honey, and salt, stirring continuously until the mixture transforms into a smooth, glossy consistency.
- Remove the peanut butter blend from heat and fold in Rice Krispies cereal, ensuring each crispy morsel is thoroughly coated with the rich, sweet mixture.
- Carefully distribute the peanut butter-coated cereal into the prepared muffin tin, using firm pressure to compact each cup and create a stable base.
- Create a separate chocolate layer by melting chocolate chips slowly over low heat, stirring attentively to prevent burning and achieve a silky-smooth texture.
- Generously pour the molten chocolate over each peanut butter cereal base, filling the cups to their brims and creating an enticing layered effect.
- Transfer the muffin tin to the refrigerator, allowing the chocolate cups to solidify for approximately one hour or expedite the process by placing them in the freezer for 30 minutes.
- Once completely set, carefully extract the cups from the muffin tin, delicately peeling away the liners to reveal the decadent chocolate peanut butter treats.
- Preserve any remaining cups in a sealed container within the refrigerator to maintain their perfect texture and flavor.
Notes
- Swap peanut butter with almond or sunflower seed butter for nut-free alternative, ensuring safe enjoyment for those with allergies.
- Opt for dark chocolate chips to reduce sugar content and add sophisticated flavor complexity to the dessert.
- Use gluten-free Rice Krispies or rice cereal to make the recipe completely gluten-free and accessible for sensitive diets.
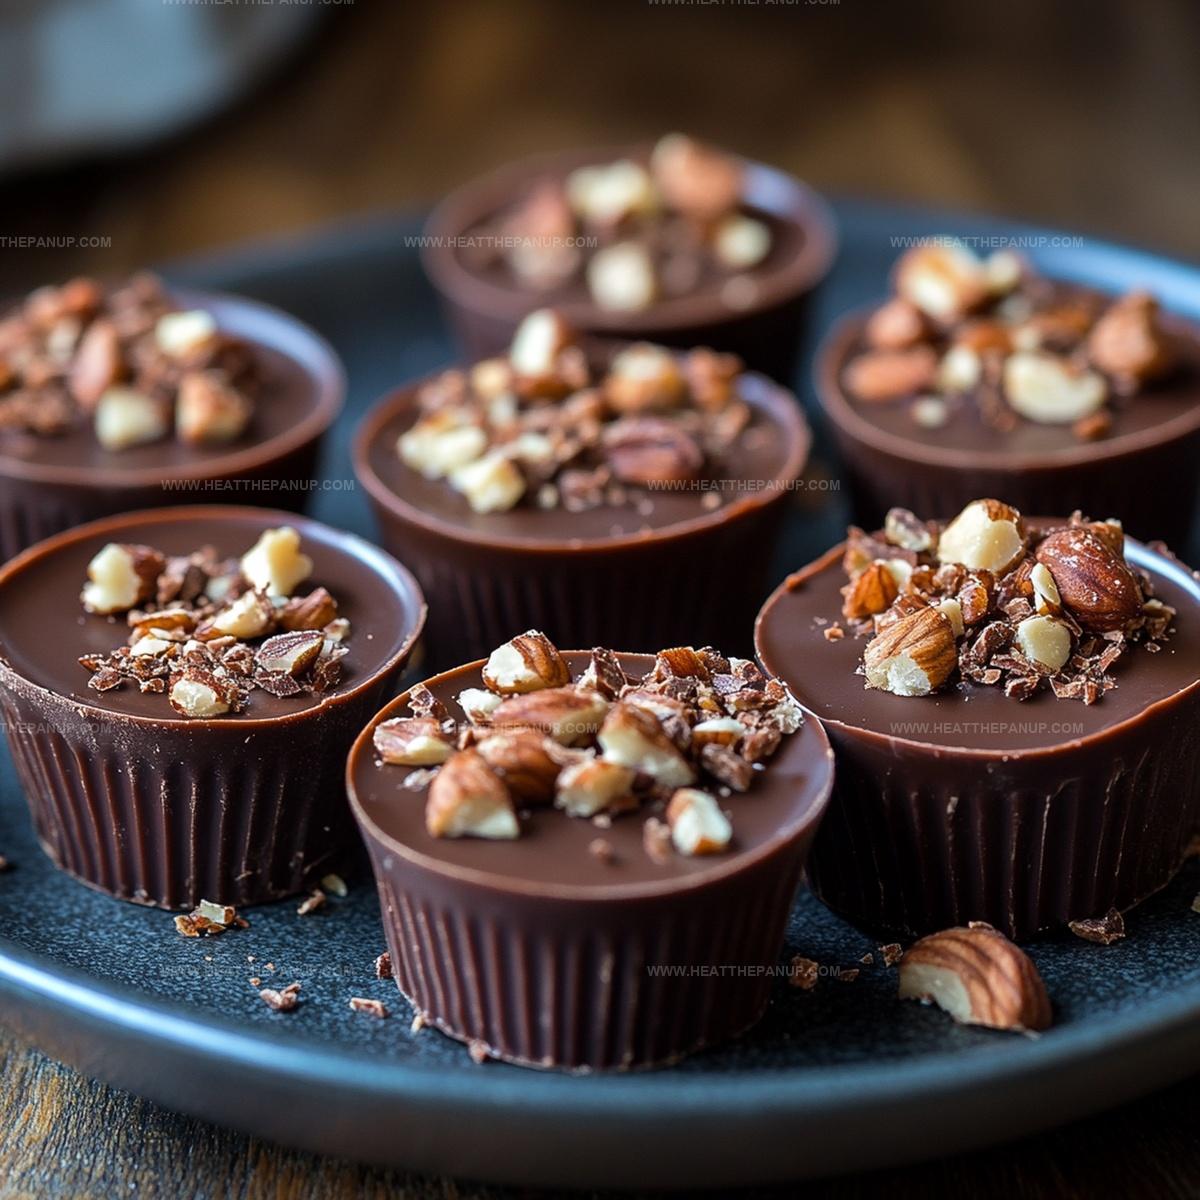
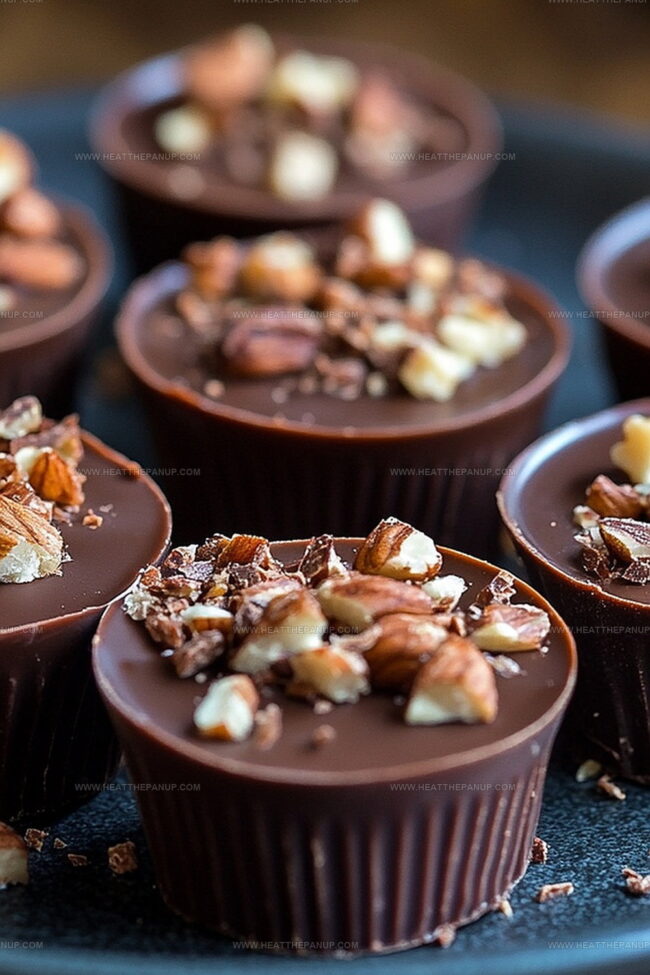
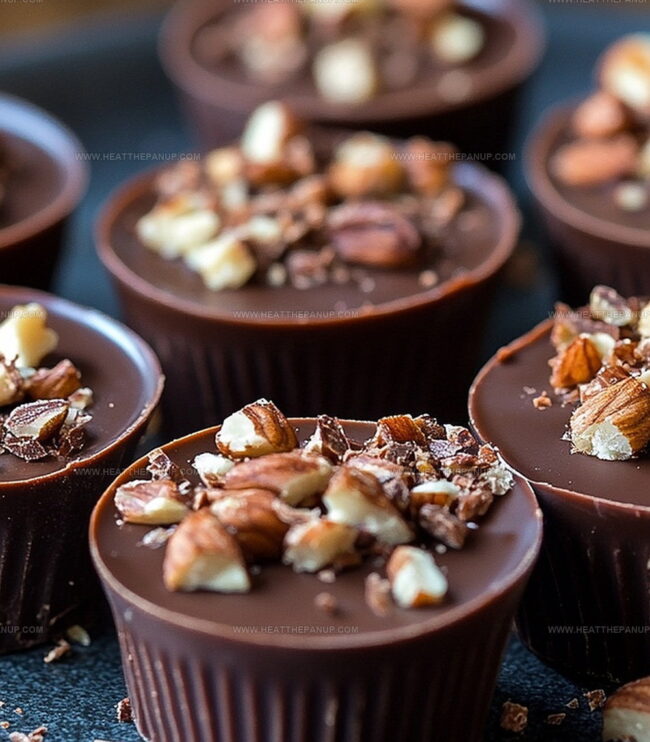
- Sprinkle sea salt or crushed nuts on top before chilling for added texture and gourmet presentation boost.
- Prep Time: 15 minutes
- Cook Time: 1 hour
- Category: Snacks, Desserts
- Method: Melting
- Cuisine: American
Nutrition
- Serving Size: 12
- Calories: 196
- Sugar: 10 g
- Sodium: 150 mg
- Fat: 9 g
- Saturated Fat: 2 g
- Unsaturated Fat: 7 g
- Trans Fat: 0 g
- Carbohydrates: 24 g
- Fiber: 1 g
- Protein: 4 g
- Cholesterol: 0 mg


Angelina Wiles
Content Editor & Culinary Enthusiast
Expertise
Food Writing and Editing, Vegetarian and Vegan Cuisine, Baking and Pastry Arts, Sustainable Cooking Practices
Education
Portland Community College
Certificate in Culinary Arts
Focus: Emphasis on sustainable cooking practices, vegetarian cuisine, and food writing.
Oregon Culinary Institute
Diploma in Baking and Pastry Arts
Focus: Specialized training in artisanal baking, pastry techniques, and dessert presentation.
Angelina’s love for cooking started with handwritten family recipes and weekend trips to farmers’ markets around Portland. She followed her passion with a Certificate in Culinary Arts from Portland Community College, then perfected her sweet side with a Diploma in Baking and Pastry Arts at Oregon Culinary Institute.
Angelina believes recipes should feel like a conversation, not a science project. She’s all about helping readers trust themselves in the kitchen with simple steps, fresh ideas, and easy twists on classic meals.
When she’s not editing recipes, she’s baking bread, sipping coffee, or getting inspired by the changing seasons.