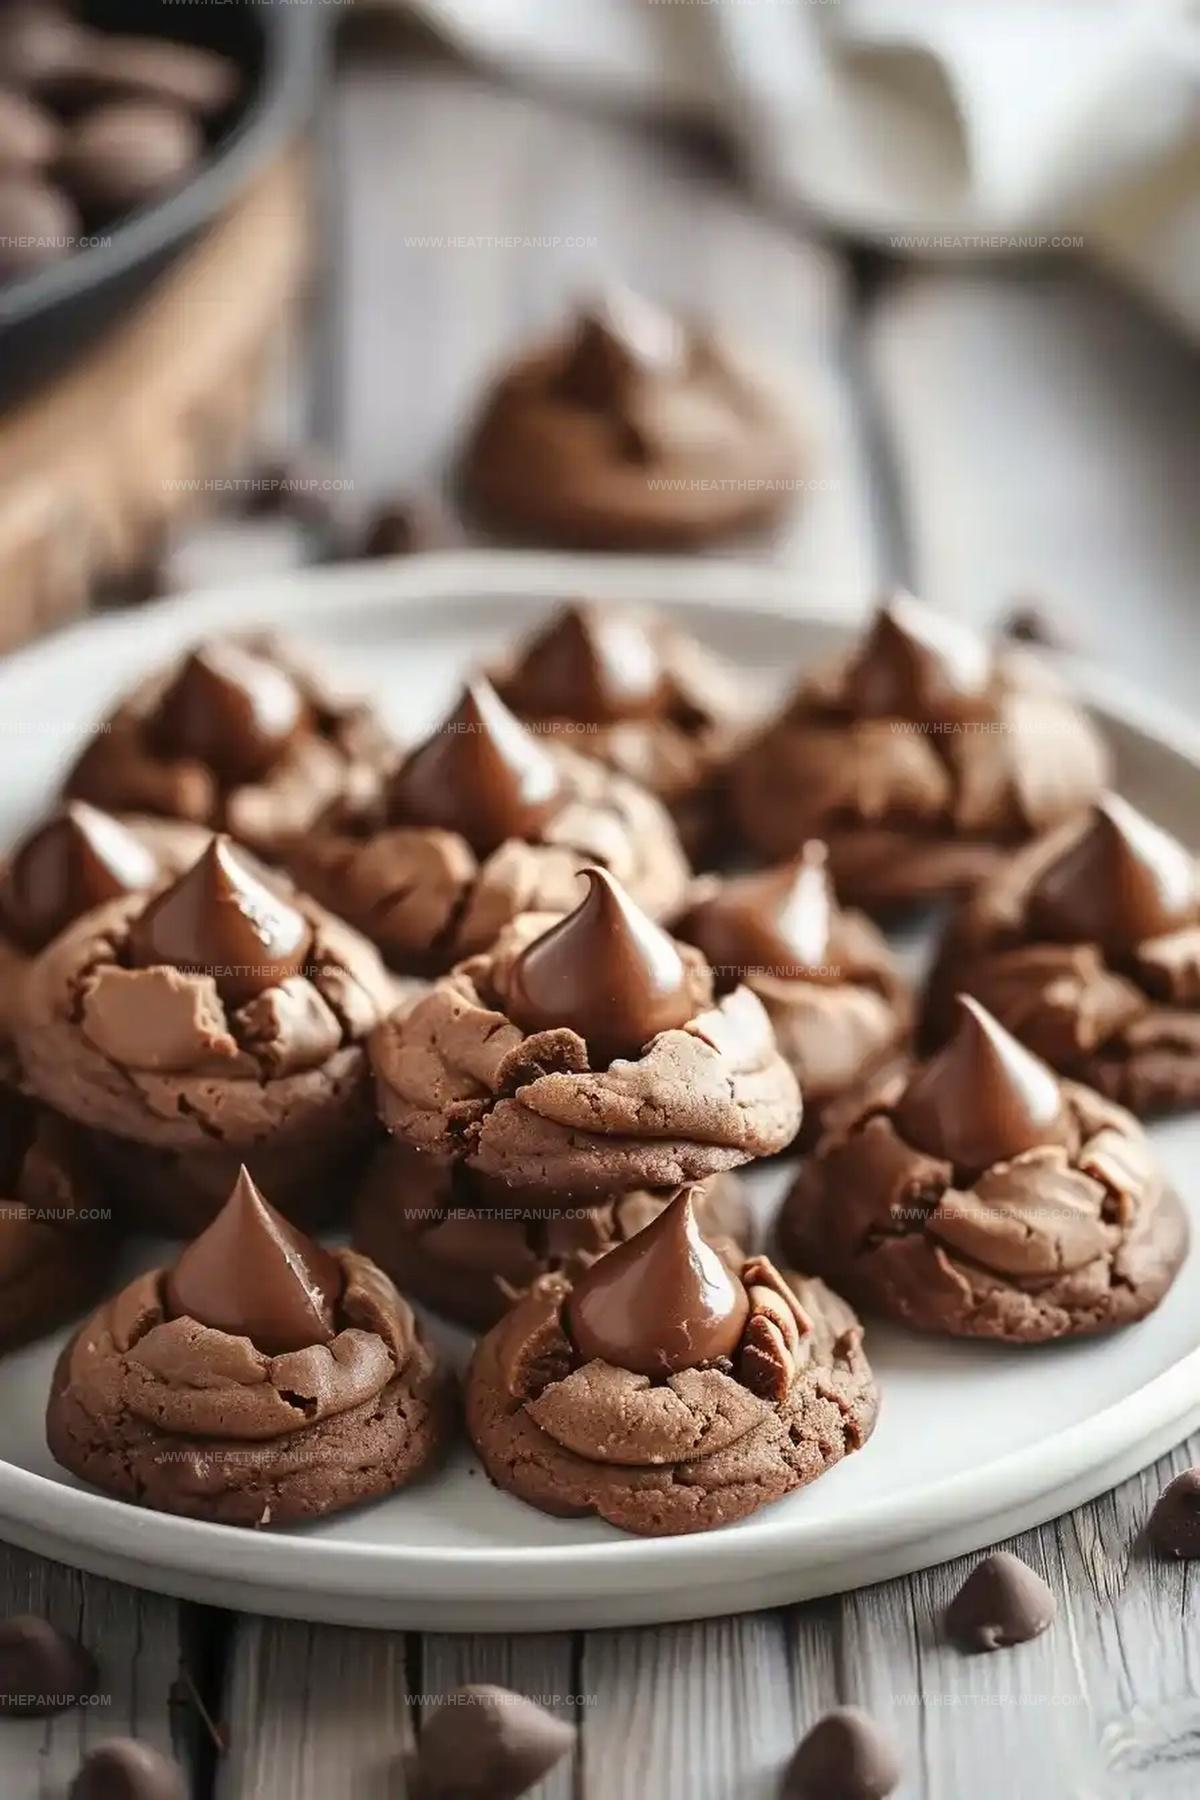
The Best Chocolate Kiss Cookies Recipe for Sweet Smiles
Sweet chocolate lovers rejoice when this chocolate kiss cookies recipe enters the kitchen!
Delightful treats emerge from simple ingredients blended with care and creativity.
Kisses nestled atop soft cookie bases create irresistible moments of pure enjoyment.
Buttery dough melts in your mouth, delivering rich chocolate notes that spark pure happiness.
Small gathered details make these cookies special beyond ordinary dessert expectations.
Mixing becomes an adventure where every ingredient plays a delicious role.
Things That Make Chocolate Kiss Cookies Hard to Resist
Chocolate Kiss Cookies Essentials
Cookie Base:Fats and Sweeteners:Binding and Flavor Ingredients:Topping:How to Make Chocolate Kiss Cookies
Step 1: Prepare Baking Setup
Grab your baking sheets and line them with parchment paper. Set your oven to preheat at 350°F (175°C) so it’s ready for cookie magic.
Step 2: Create Creamy Cookie Base
In a spacious mixing bowl, whip together:Blend until the mixture becomes light and airy with a fluffy texture.
Step 3: Incorporate Wet Ingredients
Add into the creamy mixture:Mix thoroughly until everything is smooth and well combined.
Step 4: Mix Dry Ingredients
In a separate bowl, sift together:Gradually fold these dry ingredients into the wet mixture, stirring until just combined.
Step 5: Shape Cookie Dough
Roll the dough into small, uniform balls about 1-inch in diameter. Place these balls on the prepared baking sheets, leaving approximately 2 inches between each cookie.
Step 6: Bake and Decorate
Slide the baking sheets into the preheated oven. Bake for 8-10 minutes until cookies are set. Immediately after removing from the oven, gently press a chocolate kiss into the center of each warm cookie.
Step 7: Cool and Enjoy
Allow cookies to rest on the baking sheet for 5 minutes. Transfer to a wire cooling rack and let them cool completely. Savor these delightful chocolate kiss cookies with a glass of cold milk.
How to Improve Chocolate Kiss Cookies
Chocolate Kiss Cookies: Save For Later Snacking
Chocolate Kiss Cookies Flavor Matches
Chocolate Kiss Cookie Versions
FAQs
Yes, you can experiment with various flavors like caramel, peanut butter, or almond kisses to create different taste variations.
Press the kiss into the warm cookie immediately after baking, but let the cookie cool for a few minutes first to help the kiss maintain its shape.
Use a small cookie scoop or roll the dough between your palms, creating uniform 1-inch balls for consistent baking and appearance.
Absolutely! You can refrigerate the cookie dough for up to 3 days or freeze it for up to 2 weeks before baking, which helps develop richer flavors.
Print
Chocolate Kiss Cookies Recipe
- Total Time: 30 minutes
- Yield: 24 1x
Description
Irresistible chocolate kiss cookies bring sweet nostalgia from grandma’s kitchen, melding rich chocolate with buttery cookie perfection. Delicate rounds crowned with smooth chocolate kisses invite warm memories and delightful moments you can savor with each delectable bite.
Ingredients
Main Ingredients:
- 3 cups all-purpose flour
- 1/2 cup unsweetened cocoa powder
- 2 large eggs
- 1 cup unsalted butter, softened
Sugars:
- 1 cup granulated sugar
- 1 cup light brown sugar, packed
Flavor and Binding Ingredients:
- 2 teaspoons vanilla extract
- 1 teaspoon baking soda
- 1/2 teaspoon salt
- 48 chocolate kiss candies, unwrapped
Instructions
- Prepare the oven by heating to 350°F and lining baking sheets with parchment paper for optimal cookie performance.
- Combine softened butter with sugars in a mixing bowl, whipping until the mixture becomes airy and pale, creating a smooth foundation for the cookies.
- Introduce eggs and vanilla extract, blending thoroughly to ensure a uniform and rich base for the dough.
- Sift together dry ingredients – flour, baking soda, salt, and cocoa powder – creating a fine, lump-free mixture that will provide structure and deep chocolate flavor.
- Gently fold the dry ingredients into the wet mixture, stirring until just incorporated to maintain a tender cookie texture.
- Craft uniform dough balls approximately 1 inch in diameter, strategically positioning them on the prepared baking sheets with sufficient spacing.
- Slide the cookies into the preheated oven, allowing them to bake for 8-10 minutes until edges appear slightly set but centers remain soft.
- Immediately upon removal from the oven, delicately press a chocolate kiss into the center of each warm cookie, creating an indulgent chocolate focal point.
- Allow cookies to rest on the baking sheet for 5 minutes, enabling them to firm up slightly before transferring to a wire cooling rack.
- Permit cookies to cool completely, allowing the chocolate kiss to set and the cookies to reach optimal texture and flavor.
Notes
- Chill the dough for 30 minutes before rolling to prevent spreading and maintain the cookie’s shape during baking.
- Use room temperature ingredients to ensure smooth blending and consistent texture in the final cookie.
- For gluten-free variation, substitute all-purpose flour with a 1:1 gluten-free baking blend, keeping the same measurements.
- Gently press chocolate kisses into warm cookies to create a perfect indentation without cracking the cookie surface.
- Prep Time: 20 minutes
- Cook Time: 10 minutes
- Category: Desserts, Snacks
- Method: Baking
- Cuisine: American
Nutrition
- Serving Size: 24
- Calories: 160
- Sugar: 10 g
- Sodium: 100 mg
- Fat: 8 g
- Saturated Fat: 5 g
- Unsaturated Fat: 3 g
- Trans Fat: 0 g
- Carbohydrates: 22 g
- Fiber: 1 g
- Protein: 2 g
- Cholesterol: 20 mg


James Hambly
Founder & Recipe Creator
Expertise
Recipe Development, Culinary Education, Farm-to-Table Cooking, Southern Cuisine
Education
Asheville-Buncombe Technical Community College
Certificate in Culinary Arts
Focus: Hands-on training in professional cooking techniques, emphasizing farm-to-table practices and Southern cuisine.
The Chef’s Academy
Associate Degree in Culinary Arts
Focus: Comprehensive culinary education covering global cuisines, kitchen management, and food safety.
James grew up surrounded by the smells of cast-iron skillets and slow-cooked Southern meals in Asheville, North Carolina.
He sharpened his skills with a Certificate in Culinary Arts from Asheville-Buncombe Technical Community College, and later leveled up with an Associate Degree from The Chef’s Academy.
James’s philosophy is simple: the best meals don’t need fancy tricks, just fresh ingredients, a hot pan, and a little bit of heart. His favorite days are spent testing one-pan wonders, chasing bold flavors, and creating recipes that feel easy, even on a busy night.