
The Perfect Homemade Chick-Fil-A Cool Wrap Recipe You’ll Love
My quest for a quick lunch led me to this incredible chick-fil-a cool wrap copycat that promises restaurant-quality flavors at home.
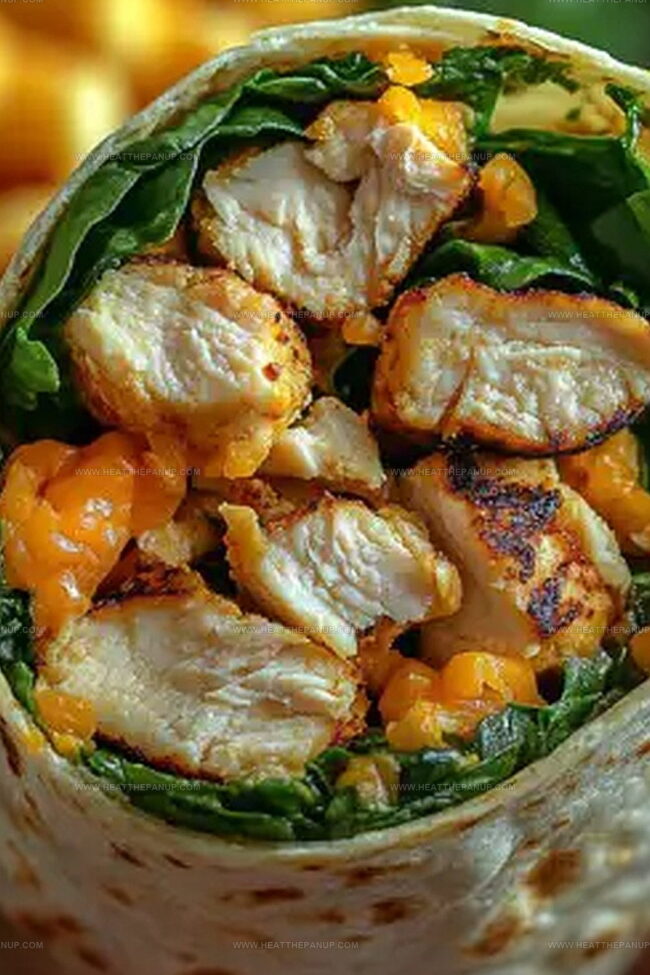
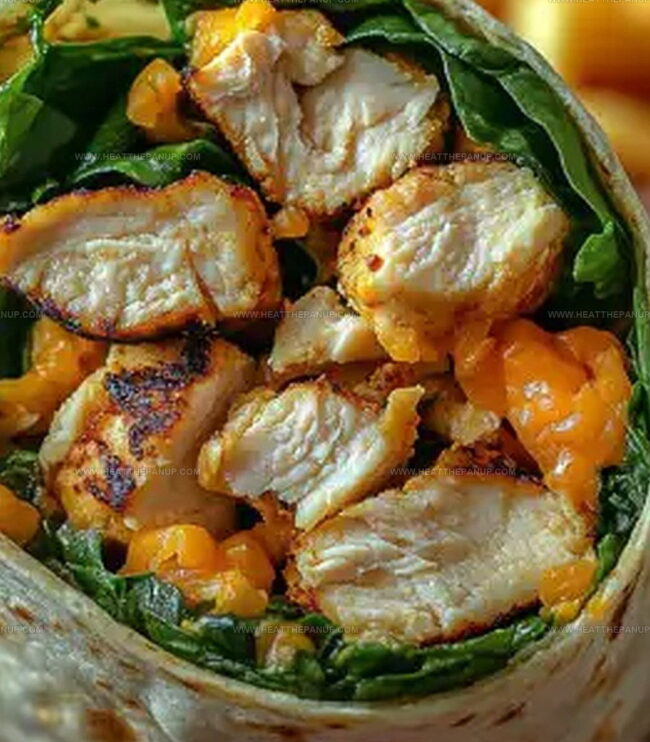
Crisp lettuce and tender grilled chicken create a delightful combination inside a soft tortilla.
Homemade versions often taste even better than the original restaurant offering.
Weekend meal prep becomes a breeze with these simple ingredients.
Assembling takes mere minutes, making this recipe perfect for busy schedules.
Succulent chicken and fresh vegetables combine into a satisfying meal you can customize to your taste.
Enjoy creating this restaurant favorite in your own kitchen and savor every delicious bite.
Why Chick-fil-a Cool Wrap Deserves a Spot on Your Menu
Chick-fil-a Cool Wrap Ingredients List
Protein:Wrap Base:Seasoning and Condiments:Steps to Make Chick-fil-a Cool Wrap
Step 1: Fire Up the Grill
Preheat your grill to a sizzling medium-high heat.
This will help create those perfect golden-brown marks on the chicken that scream deliciousness.
Step 2: Season the Chicken
Sprinkle chicken breasts with:Massage the spices gently into the meat to ensure maximum flavor penetration.
Step 3: Grill to Perfection
Place chicken on the grill and cook for 6-7 minutes on each side.
You’re looking for a beautiful golden exterior and a fully cooked interior.
Use a meat thermometer to confirm the chicken reaches 165°F/74°C.
Step 4: Rest and Slice
Allow the chicken to rest for 5 minutes to lock in those precious juices.
Then slice into thin, tender strips that will make your wrap irresistible.
Step 5: Build the Foundation
Lay out a soft flatbread on your work surface.
This is where the magic begins.
Step 6: Layer the Goodness
Place a crisp lettuce leaf right in the center of the flatbread.
This provides a fresh, crunchy base for your wrap.
Step 7: Cheese Please
Sprinkle a delightful blend of:Evenly distribute over the lettuce for maximum cheesy coverage.
Step 8: Add Protein Power
Arrange those perfectly grilled chicken strips on top of the cheese.
Don’t be shy – load it up!
Step 9: Wrap with Finesse
Fold the sides of the flatbread inward, then roll from the bottom up.
Create a tight, compact wrap that holds all the delicious ingredients.
Step 10: Slice and Present
Cut the wrap diagonally for a restaurant-style presentation.
This also makes it easier to handle and eat.
Step 11: Dressing Finale
Serve with your favorite dipping sauce.
Recommendations include:Enjoy your homemade Chick-fil-A inspired Cool Wrap!
Tips for a Perfect Chick-fil-a Cool Wrap
Storing and Reheating Chick-fil-a Cool Wrap
What to Pair with Chick-fil-a Cool Wrap
Chick-fil-a Cool Wrap Variations and Swaps
FAQs
Yes, you can substitute Monterey Jack and Cheddar with other melting cheeses like Pepper Jack, Swiss, or Provolone to customize the flavor of your wrap.
Not automatically. To make it gluten-free, use gluten-free flatbread and ensure all seasonings and cheese are certified gluten-free.
Ensure you fold the sides first, then roll tightly from bottom to top. Cut the wrap diagonally to help maintain its structure and make it easier to eat.
Absolutely! Grill the chicken in advance and store it in the refrigerator for up to 3 days. When ready to make the wrap, simply slice and reheat the chicken gently.
Print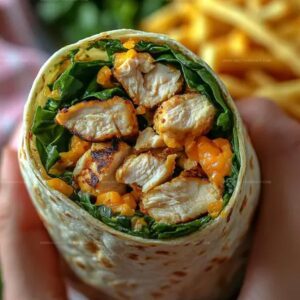
Chick-Fil-A Cool Wrap Recipe
- Total Time: 25 minutes
- Yield: 2 1x
Description
Chick-fil-A cool wrap delivers a refreshing blend of crisp lettuce, grilled chicken, and zesty seasonings rolled in a tasty tortilla. Crisp ingredients and balanced flavors make this wrap a perfect lunch companion you’ll crave again and again.
Ingredients
Main Proteins:
- 2 chicken breasts, grilled
Cheese and Dairy:
- 1 cup (240 milliliters / 8 ounces) shredded monterey jack and cheddar cheese
Wrap and Greens:
- 4 flaxseed flour flatbreads
- 4 leaf lettuce leaves
Instructions
- Prepare a clean grilling station with medium-high heat and necessary seasonings.
- Season chicken breasts with a blend of salt, pepper, and preferred spices to enhance flavor profile.
- Cook chicken on the grill for approximately 6-7 minutes per side, ensuring internal temperature reaches 165°F/74°C for complete doneness.
- Allow grilled chicken to rest for 5 minutes, then slice into thin, uniform strips for optimal wrap distribution.
- Select a fresh flatbread and lay it flat on a clean preparation surface.
- Position a crisp lettuce leaf precisely in the center of the flatbread to create a foundational layer.
- Distribute a measured portion of Monterey Jack and Cheddar cheese blend evenly across the lettuce surface.
- Arrange grilled chicken strips strategically over the cheese layer.
- Execute a precise wrapping technique by gently folding the flatbread’s sides inward.
- Roll the wrap tightly from bottom to top, ensuring a compact and secure configuration.
- Cut the completed wrap diagonally, creating two balanced halves for convenient consumption.
- Pair with complementary dressing options like Avocado Ranch Lime, Caesar, or Honey Mustard for enhanced flavor experience.
Notes
- Master grilling chicken by using a meat thermometer to ensure precise doneness without drying out the meat.
- Experiment with alternative proteins like grilled tofu or shredded rotisserie chicken for quick meal prep variations.
- Customize wrap fillings with low-carb lettuce wraps or gluten-free tortillas to accommodate different dietary needs.
- Prep chicken and cheese ahead of time for faster weeknight assembly, keeping ingredients separately refrigerated for optimal freshness.
- Prep Time: 10 minutes
- Cook Time: 15 minutes
- Category: Lunch, Snacks
- Method: Grilling
- Cuisine: American
Nutrition
- Serving Size: 2
- Calories: 440
- Sugar: 2 g
- Sodium: 900 mg
- Fat: 20 g
- Saturated Fat: 8 g
- Unsaturated Fat: 10 g
- Trans Fat: 0 g
- Carbohydrates: 36 g
- Fiber: 6 g
- Protein: 34 g
- Cholesterol: 100 mg
Angelina Wiles
Content Editor & Culinary Enthusiast
Expertise
Food Writing and Editing, Vegetarian and Vegan Cuisine, Baking and Pastry Arts, Sustainable Cooking Practices
Education
Portland Community College
Certificate in Culinary Arts
Focus: Emphasis on sustainable cooking practices, vegetarian cuisine, and food writing.
Oregon Culinary Institute
Diploma in Baking and Pastry Arts
Focus: Specialized training in artisanal baking, pastry techniques, and dessert presentation.
Angelina’s love for cooking started with handwritten family recipes and weekend trips to farmers’ markets around Portland. She followed her passion with a Certificate in Culinary Arts from Portland Community College, then perfected her sweet side with a Diploma in Baking and Pastry Arts at Oregon Culinary Institute.
Angelina believes recipes should feel like a conversation, not a science project. She’s all about helping readers trust themselves in the kitchen with simple steps, fresh ideas, and easy twists on classic meals.
When she’s not editing recipes, she’s baking bread, sipping coffee, or getting inspired by the changing seasons.