Soft & Gooey Cheesy Pepperoni Pizza Bombs Recipe
Pizza nights just got a serious upgrade with these irresistible cheesy pepperoni pizza bombs that explode with flavor in every single bite.
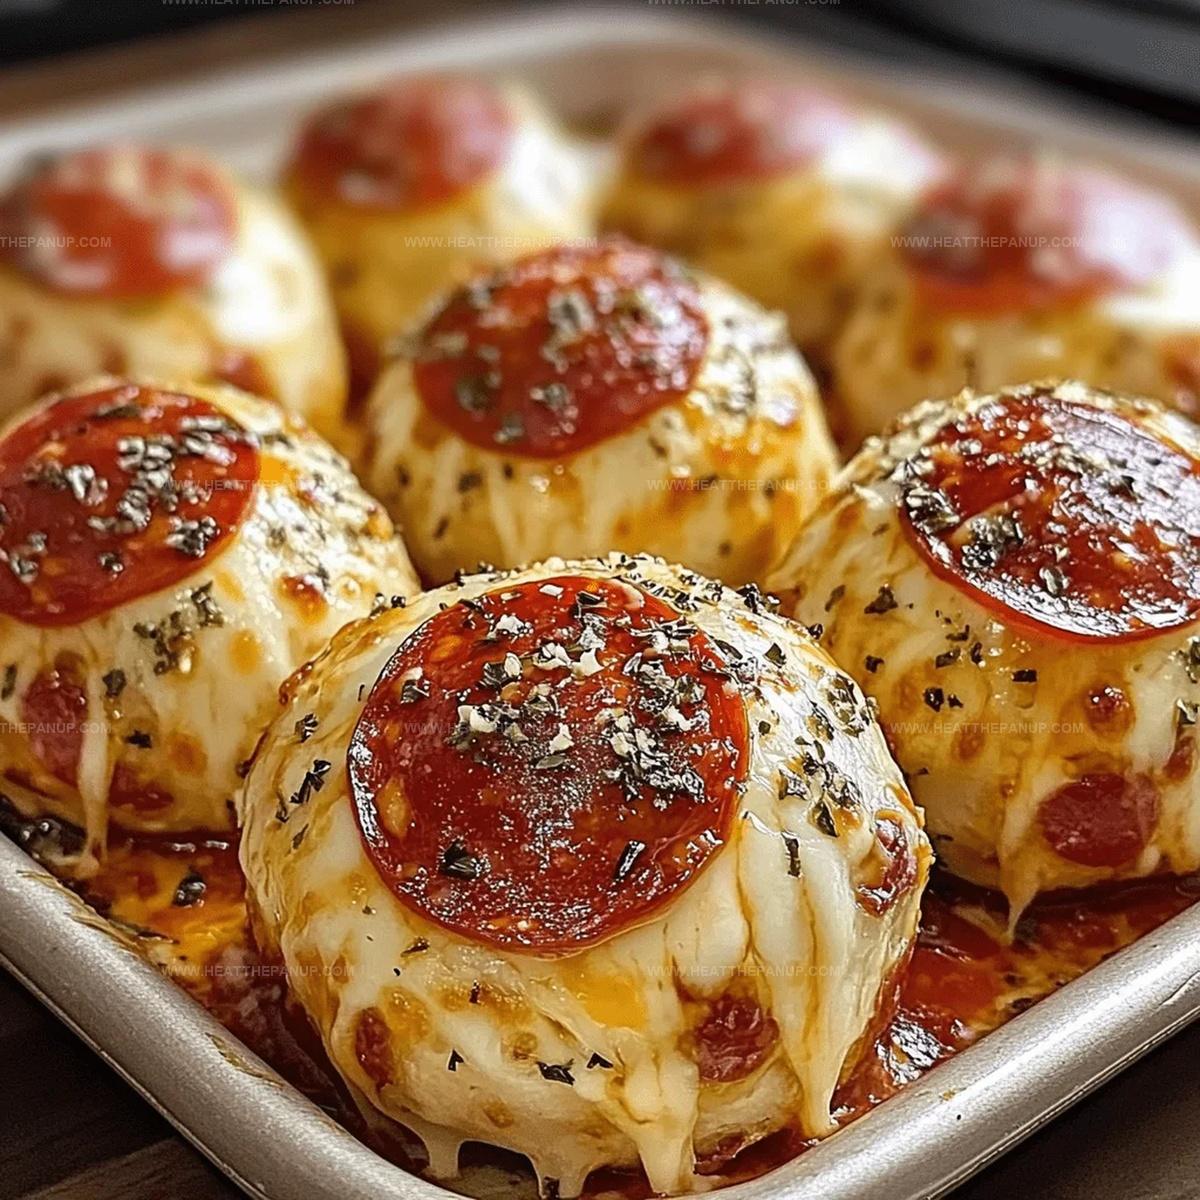
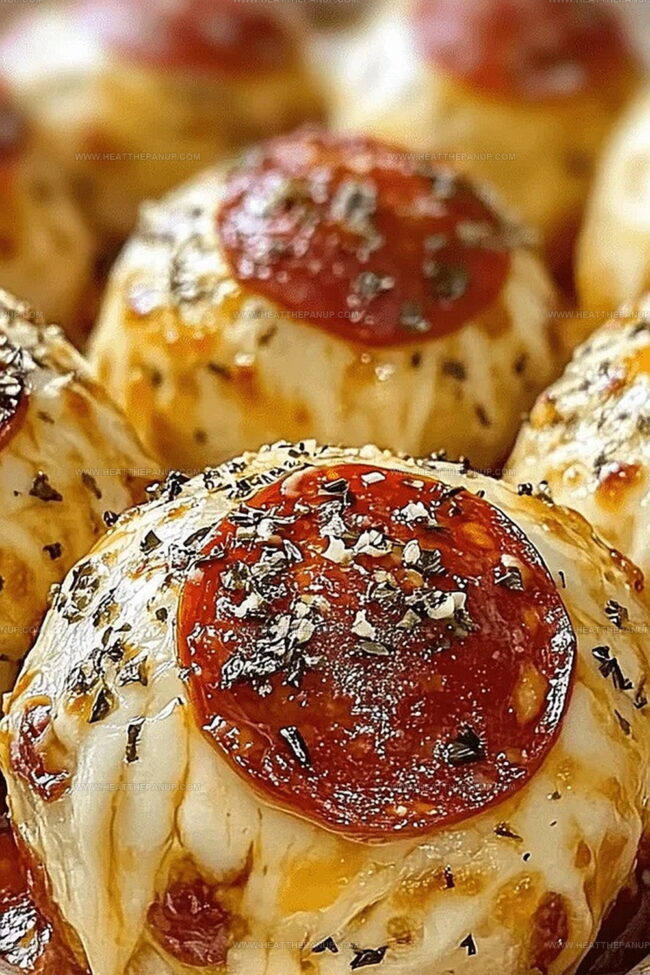
Crispy golden exteriors give way to molten cheese and zesty pepperoni centers that make taste buds dance with delight.
Compact and perfect for snacking, these little flavor bombs pack a serious punch of Italian-inspired goodness.
Small enough to pop in your mouth yet substantial enough to satisfy serious hunger pangs, they bring restaurant-quality appetizer magic straight to your kitchen.
Melted mozzarella and spicy pepperoni chunks create a dynamic duo that’ll have everyone reaching for seconds.
Kids and adults alike will go crazy for these handheld flavor explosions that turn ordinary ingredients into something extraordinary.
Grab an apron and get ready to become the snack hero your crowd didn’t know they needed.
Why You’ll Love These Pizza Bombs
What Goes in the Pizza Bombs
Main Ingredients:Seasoning and Coating:Dipping Sauce:Instructions for Pizza Bombs
Step 1: Prepare the Baking Station
Warm up your oven to 375°F.
Grab a baking sheet and cover it with parchment paper for easy cleanup.
This sets the stage for your delicious pizza bombs.
Step 2: Shape the Dough
Take each biscuit and gently stretch it into a small round shape.
Use your hands or a rolling pin to create soft, pliable circles that will cradle your tasty filling.
Step 3: Create Flavor Pockets
Place these delightful ingredients in the center of each dough circle:Carefully gather the dough edges and wrap them around the filling, forming adorable little balls.
Pinch the edges firmly to keep all the goodness locked inside.
Step 4: Boost the Flavor
Mix these ingredients to create a mouthwatering coating:Generously brush each dough ball with this flavor-packed mixture.
Step 5: Bake to Golden Perfection
Position the pizza bombs on the baking sheet with the sealed side facing down.
Slide them into the oven and bake for 12-15 minutes until they turn a beautiful golden brown color.
Step 6: Serve and Enjoy
Pull out your pizza bombs and let them cool slightly.
Serve alongside marinara or pizza sauce for dipping.
Watch as everyone devours these irresistible little flavor bombs!
Must-Know Pizza Bomb Tips
Storing & Reheating Pizza Bombs
Pizza Bomb Sides & Pairings

Tasty Pizza Bomb Twists
FAQs
Yes, you can substitute the biscuit dough with homemade pizza dough or any premade bread dough for a similar result.
Ensure you pinch the edges tightly and seal completely when folding the dough around the filling to prevent cheese from oozing out during baking.
Absolutely! Pizza bombs are perfect for kids because they’re handheld, bite-sized, and packed with cheese and pepperoni that most children love.
You can prepare the pizza bombs and refrigerate them before baking. Just add an extra 2-3 minutes to the baking time when cooking directly from the refrigerator.
Print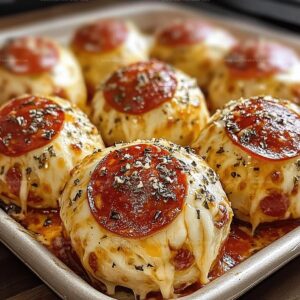
Cheesy Pepperoni Pizza Bombs Recipe
- Total Time: 30 minutes
- Yield: 4 1x
Description
Indulgent cheesy pepperoni pizza bombs deliver explosive flavor in one irresistible bite. Crispy dough pockets packed with melted cheese and zesty pepperoni create a perfect handheld snack you’ll crave again and again.
Ingredients
Main Ingredients:
- 1 can (8 ounces / 226 grams) refrigerated biscuit dough
- 3/4 cup (180 milliliters) shredded mozzarella cheese
- 1/2 cup (120 milliliters) mini pepperoni slices (ensure they are halal if needed)
Seasoning and Flavoring:
- 2 tablespoons melted butter
- 1 teaspoon garlic powder
- 1 teaspoon Italian seasoning
Dipping Sauce:
- Marinara or pizza sauce for dipping
Instructions
- Preheat the oven to 375°F (190°C) and line a baking sheet with parchment paper for optimal cooking surface.
- Gently separate each refrigerated biscuit and use your fingertips or a rolling pin to expand each piece into a thin, uniform circular shape.
- Position a small cluster of shredded mozzarella cheese and a few miniature pepperoni slices precisely in the center of each dough circle.
- Delicately gather and fold the dough’s edges upward, carefully encasing the cheese and pepperoni filling to create a compact, sealed spherical shape.
- Firmly press and pinch the dough’s edges to ensure a complete and secure closure, preventing any potential filling leakage during baking.
- Whisk together melted butter, garlic powder, and Italian seasoning in a compact mixing bowl to create a fragrant seasoning mixture.
- Meticulously brush each assembled dough ball with the aromatic seasoned butter blend, ensuring comprehensive coverage.
- Arrange the pizza bombs on the prepared baking sheet with their sealed side facing downward to maintain structural integrity.
- Slide the baking sheet into the preheated oven and bake for 12-15 minutes until the exterior develops a rich, golden-brown coloration.
- Remove from the oven and allow a brief cooling period before serving alongside marinara or pizza sauce for a delectable dipping experience.
Notes
- Customize the dough by using homemade or gluten-free biscuit dough for those with dietary restrictions.
- Ensure a tight seal when folding the dough to prevent cheese from leaking during baking.
- Experiment with different cheese varieties like cheddar or pepper jack for unique flavor combinations.
- Keep the filling minimal to avoid overstuffing, which can cause the bombs to burst open while cooking.
- Prep Time: 15 minutes
- Cook Time: 15 minutes
- Category: Snacks, Appetizer, Dinner
- Method: Baking
- Cuisine: Italian
Nutrition
- Serving Size: 4
- Calories: 280
- Sugar: 2 g
- Sodium: 800 mg
- Fat: 16 g
- Saturated Fat: 7 g
- Unsaturated Fat: 9 g
- Trans Fat: 0 g
- Carbohydrates: 28 g
- Fiber: 1 g
- Protein: 10 g
- Cholesterol: 25 mg
James Hambly
Founder & Recipe Creator
Expertise
Recipe Development, Culinary Education, Farm-to-Table Cooking, Southern Cuisine
Education
Asheville-Buncombe Technical Community College
Certificate in Culinary Arts
Focus: Hands-on training in professional cooking techniques, emphasizing farm-to-table practices and Southern cuisine.
The Chef’s Academy
Associate Degree in Culinary Arts
Focus: Comprehensive culinary education covering global cuisines, kitchen management, and food safety.
James grew up surrounded by the smells of cast-iron skillets and slow-cooked Southern meals in Asheville, North Carolina.
He sharpened his skills with a Certificate in Culinary Arts from Asheville-Buncombe Technical Community College, and later leveled up with an Associate Degree from The Chef’s Academy.
James’s philosophy is simple: the best meals don’t need fancy tricks, just fresh ingredients, a hot pan, and a little bit of heart. His favorite days are spent testing one-pan wonders, chasing bold flavors, and creating recipes that feel easy, even on a busy night.