
Sweet & Savory Cheeseburger Sliders Recipe: Bite-sized Joy
Crispy, golden cheeseburger sliders promise a mini feast that packs serious flavor into every compact bite.
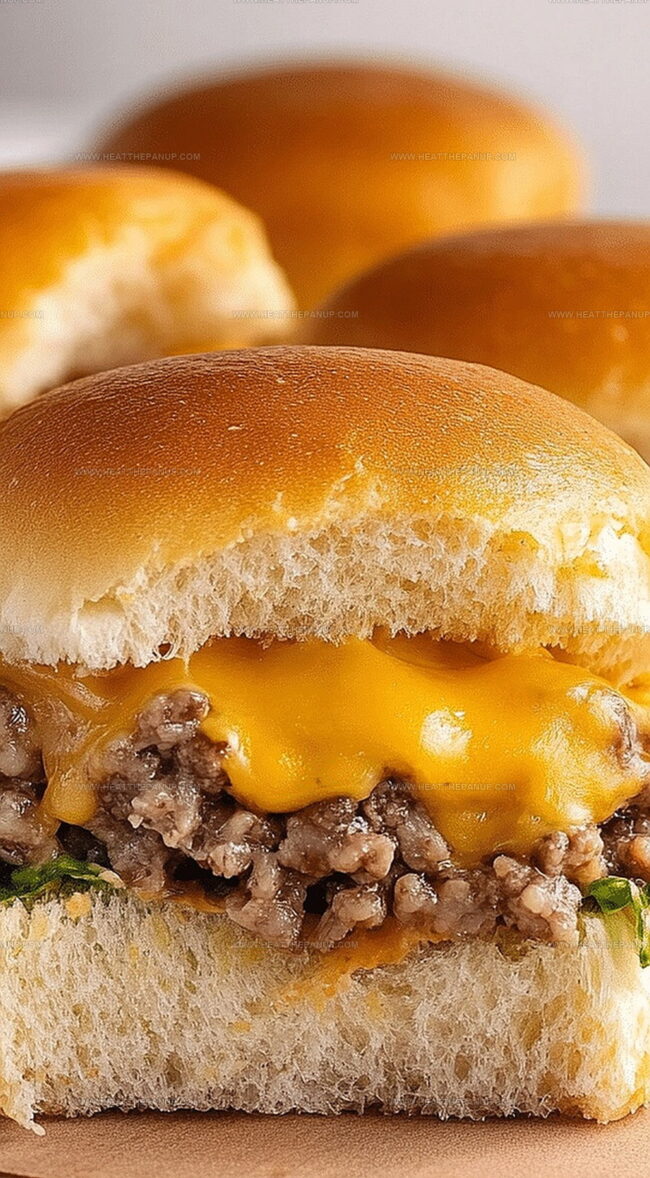
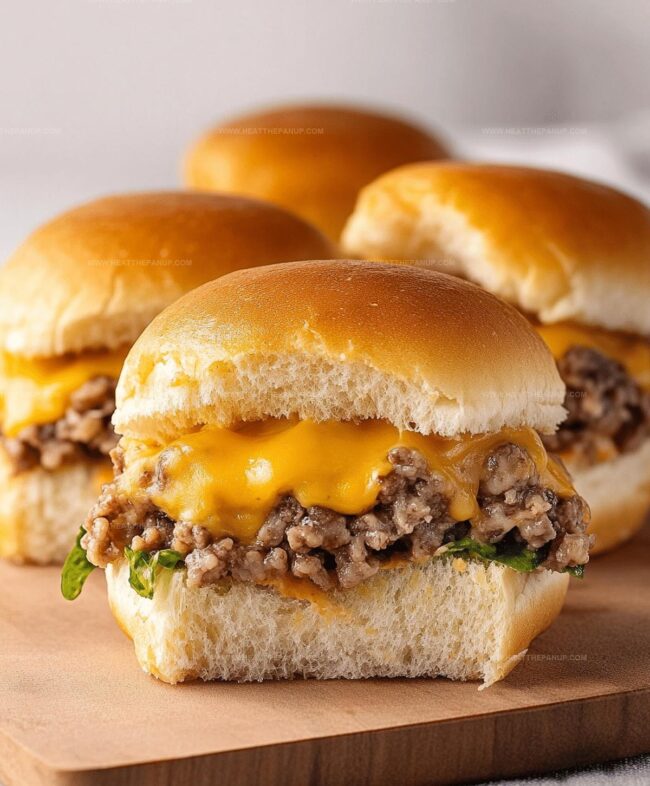
Miniature patties nestled between soft rolls create an irresistible appetizer for casual gatherings.
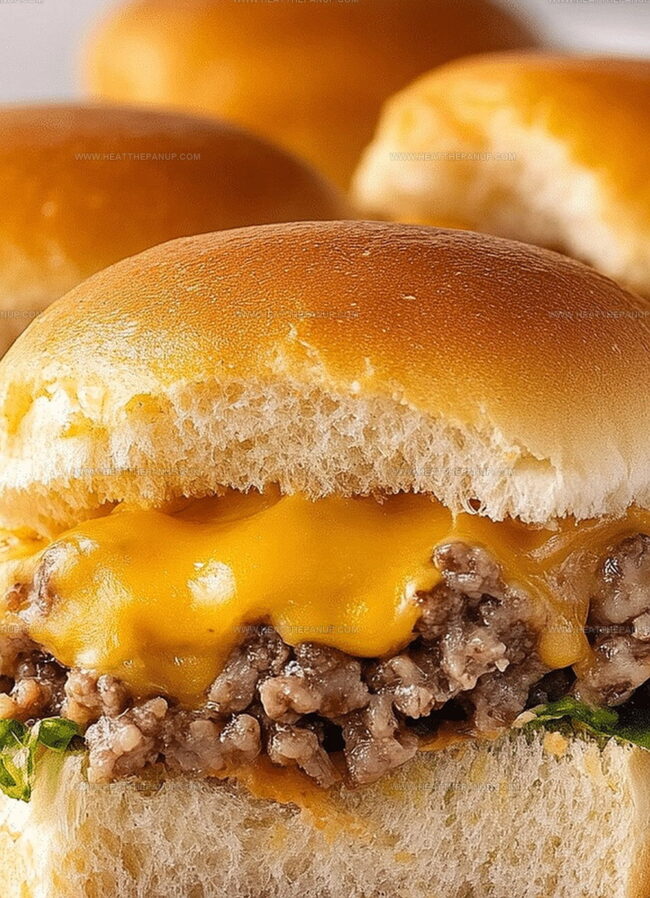
Juicy beef combined with melted cheese delivers a satisfying experience in one perfect mouthful.
Small yet mighty, these sliders bring excitement to any table with their playful size and robust taste.
Crafting these little delights requires simple ingredients and minimal preparation time.
Seasoned meat, sharp cheddar, and fresh toppings will have everyone reaching for seconds.
You won’t be able to resist these adorable, flavor-packed mini burgers that are sure to impress.
Cheeseburger Sliders Are Small But Packed With Flavor
Components In Cheeseburger Sliders
Meat Base:Bread:Cheese:Seasoning and Flavor Enhancers:Cooking Fat:Aromatics:Optional Toppings:Cheeseburger Sliders Cooking Plan
Step 1: Warm Up The Oven
Crank the oven to a cozy 350°F, getting ready for some slider magic.
Step 2: Sizzle The Beef
Grab a skillet and toss in ground beef over medium heat.
Sprinkle in:Cook until the meat turns beautifully browned and releases those incredible aromas.
Step 3: Prepare The Slider Base
Gently slice the slider buns into bottom and top halves.
Spread a generous layer of:Right across the bottom bun surfaces.
Step 4: Build Your Mini Burgers
Place a hearty spoonful of the sizzling beef mixture onto each bun bottom.
Top each with a half slice of melty cheddar cheese.
Step 5: Complete And Bake
Crown each slider with its matching top bun.
Lovingly brush the exterior with smooth, melted butter.
Slide the tray into the preheated oven and bake for 10 minutes until the cheese transforms into a gooey wonderland.
Step 6: Dress And Serve
Pull out your sliders and garnish with fresh:Enjoy these bite-sized burger treasures hot and fresh!
Cheeseburger Sliders – Helpful Assembly Tips
Guide to Reheating and Saving Cheeseburger Sliders
Cheeseburger Sliders Side Ideas
Cheeseburger Sliders Fun Assembly Combos
FAQs
Yes, you can substitute ground beef with ground turkey, chicken, or even plant-based meat alternatives for a different flavor profile.
Toast the bottom buns lightly before adding ingredients, and don’t overload them with condiments to keep them crisp and delicious.
Absolutely! They’re perfect for parties, game days, and gatherings because they’re easy to make in large batches and everyone loves them.
You can assemble them beforehand and refrigerate, then bake just before serving to ensure they’re warm and the cheese is perfectly melted.
Print
Cheeseburger Sliders Recipe
- Total Time: 30 minutes
- Yield: 12 1x
Description
Juicy cheeseburger sliders deliver mini-sized comfort packed with bold flavors and classic American charm. Crispy edges, melted cheese, and perfectly seasoned beef create an irresistible bite you’ll crave at every gathering.
Ingredients
Main Protein:
- 1 lb (454 grams) ground beef
Cheese and Bread:
- 12 slider buns
- 6 slices of cheddar cheese, halved
Seasonings and Toppings:
- 1 onion, finely chopped
- 1 tablespoon butter
- Salt to taste
- Pepper to taste
- 1 tablespoon ketchup
- 1 tablespoon mustard
- Pickles (optional)
- Lettuce (optional)
- Tomatoes (optional)
Instructions
- Prepare the culinary workspace by heating the oven to a moderate temperature of 350°F, ensuring an optimal cooking environment.
- In a sizzling skillet, transform the ground beef over medium flame, incorporating finely chopped onions, seasoning with salt and pepper. Allow the meat to brown thoroughly, releasing rich, savory flavors.
- Carefully bisect the slider buns, creating a perfect foundation for your miniature culinary masterpiece. Generously apply tangy ketchup and zesty mustard across the bottom halves, creating a flavor-packed base.
- Delicately distribute the seasoned beef mixture atop each bun, creating a hearty foundation. Crown the meat with a delicate half-slice of sharp cheddar cheese, promising a melty, indulgent experience.
- Gently cap each slider with its corresponding top bun, then lovingly brush the exterior with golden melted butter, enhancing both appearance and flavor profile.
- Slide the prepared sliders into the preheated oven, allowing them to bake for approximately 10 minutes until the cheese transforms into a luxurious, molten blanket.
- Present the sliders with an elegant array of crisp pickles, fresh lettuce, and juicy tomato slices, inviting diners to personalize their miniature burger experience.
Notes
- Select high-quality ground beef with 80/20 fat content for juicier, more flavorful sliders that won’t dry out during cooking.
- Customize seasonings by adding garlic powder, Worcestershire sauce, or your favorite spice blend to enhance the beef’s taste profile.
- Opt for mini brioche or potato rolls instead of traditional slider buns for a richer, softer texture that complements the meaty filling.
- Prepare sliders ahead of time by assembling and refrigerating them before baking, making them perfect for game day or casual gatherings with minimal last-minute preparation.
- Prep Time: 10 minutes
- Cook Time: 20 minutes
- Category: Lunch, Dinner, Appetizer, Snacks
- Method: Baking
- Cuisine: American
Nutrition
- Serving Size: 12
- Calories: 250
- Sugar: 2 g
- Sodium: 400 mg
- Fat: 12 g
- Saturated Fat: 6 g
- Unsaturated Fat: 4 g
- Trans Fat: 0 g
- Carbohydrates: 28 g
- Fiber: 1 g
- Protein: 12 g
- Cholesterol: 50 mg
Angelina Wiles
Content Editor & Culinary Enthusiast
Expertise
Food Writing and Editing, Vegetarian and Vegan Cuisine, Baking and Pastry Arts, Sustainable Cooking Practices
Education
Portland Community College
Certificate in Culinary Arts
Focus: Emphasis on sustainable cooking practices, vegetarian cuisine, and food writing.
Oregon Culinary Institute
Diploma in Baking and Pastry Arts
Focus: Specialized training in artisanal baking, pastry techniques, and dessert presentation.
Angelina’s love for cooking started with handwritten family recipes and weekend trips to farmers’ markets around Portland. She followed her passion with a Certificate in Culinary Arts from Portland Community College, then perfected her sweet side with a Diploma in Baking and Pastry Arts at Oregon Culinary Institute.
Angelina believes recipes should feel like a conversation, not a science project. She’s all about helping readers trust themselves in the kitchen with simple steps, fresh ideas, and easy twists on classic meals.
When she’s not editing recipes, she’s baking bread, sipping coffee, or getting inspired by the changing seasons.